
How to Capture Your Gear with NAM – Dry/Wet Method
Create hyper-accurate digital models of your analog gear without a reamp box. This beginner-friendly guide walks you through capturing your guitar/bass amps, pedals, and outboard gear using the dry/wet method. It's simple, quick, and free.

In this guide
Overview
The dry/wet method is the simplest way to capture your gear with Neural Amp Modeler (NAM). Unlike the Sweep Signal method, you don't need a reamp box: just something to split your signal (like a tuner pedal) and an interface with two inputs.
You can also use this method with old sessions! If you have previously recorded dry and wet stems from an old session, you can upload those instead of recording new ones.
Here's how it works: You record two versions of the same performance simultaneously, one clean (dry) and one processed through your gear (wet). TONE3000 learns the relationship between these two signals and creates a digital model (called a NAM capture) that replicates your exact tone.
Before you begin, make sure you have:
- The gear you want to capture (amp, pedals, outboard gear, etc.)
- An audio interface with at least two inputs
- A signal splitter (DI box, tuner pedal, or any pedal with dual outputs)
- A DAW (Digital Audio Workstation) like Reaper, Logic, or GarageBand
- Cables to connect everything
Let's go!
Step 1: Prepare Your Gear
Before you start recording, dial in your sound:
- Set up your rig exactly as you want it captured
- Adjust all knobs and settings to your desired tone
- Position your microphone (if capturing a full rig)
- Make sure everything is powered on and ready
Important: Neural Amp Modeler captures a "snapshot" of your gear at specific settings. Whatever knob positions you choose will be permanently captured in this model.
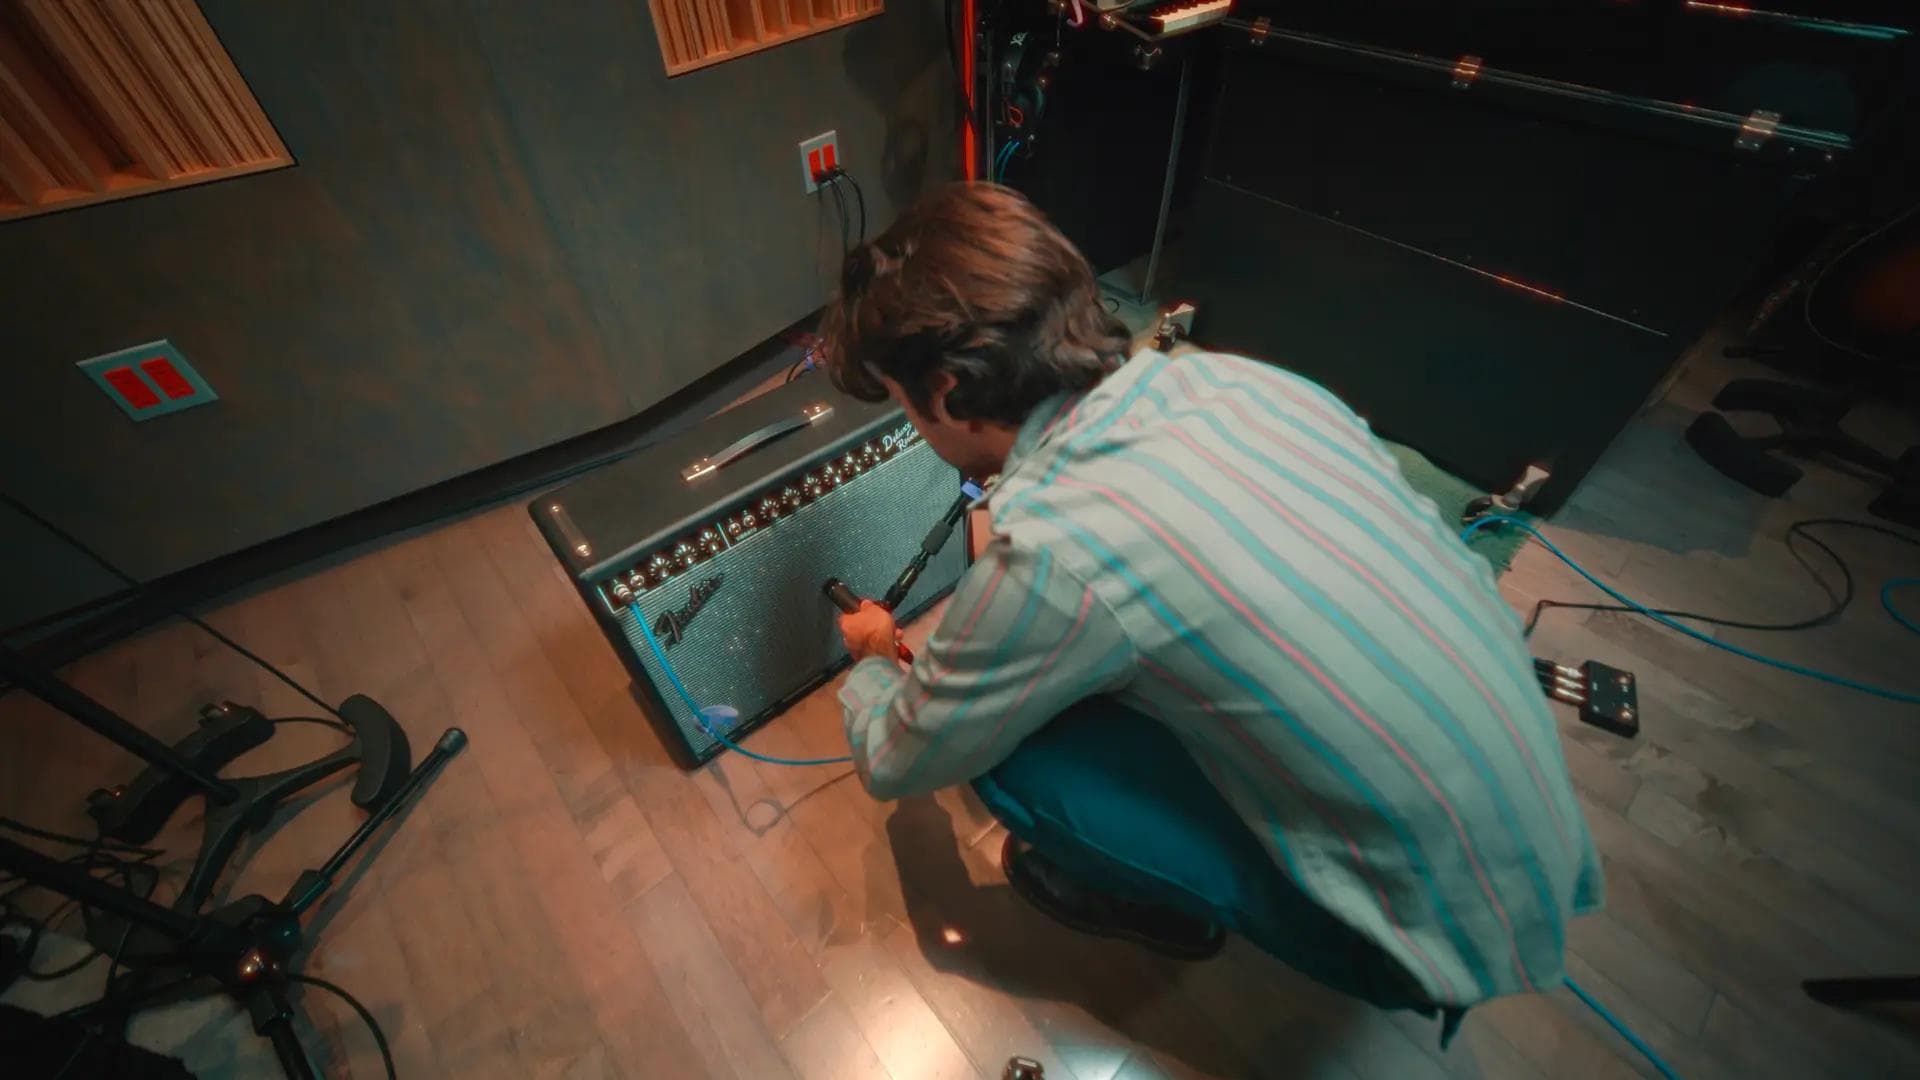
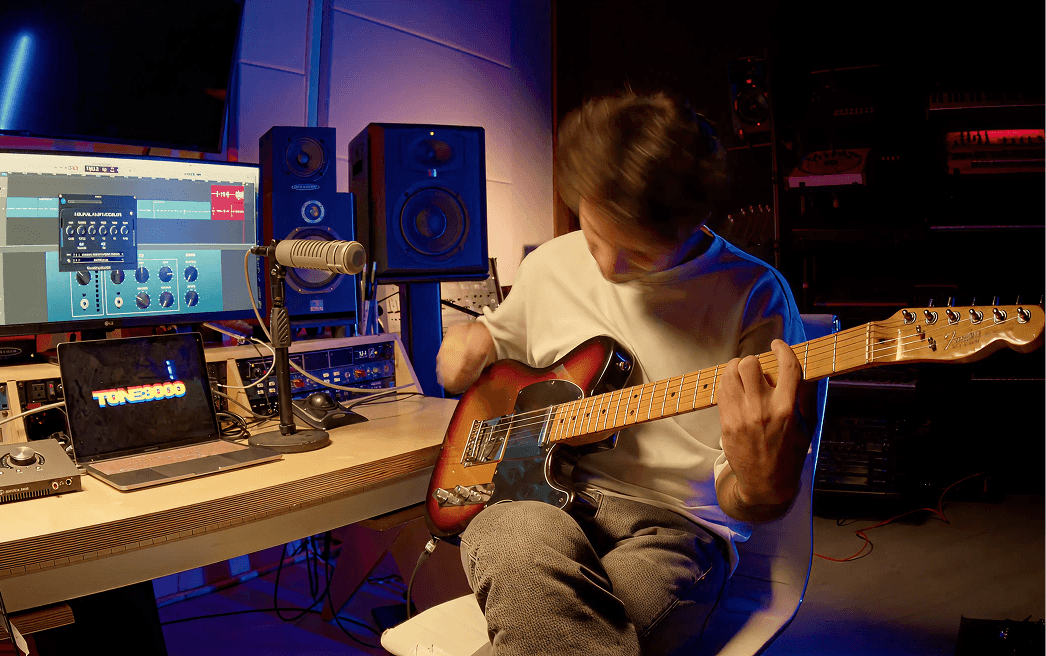
Step 2: Set Up Your Signal Chain
Now it's time to connect everything. The goal is to split your signal into two paths: one clean (the "dry" signal) and one processed (the "wet" signal or matching stem).
Split Your Signal
Use a DI box or any pedal with two outputs. A tuner pedal works perfectly for this. Just make sure it's bypassed so the signal passes through clean.
- Plug your guitar/bass into the splitter
- Connect one output directly to Input 1 on your interface (this is your dry signal)
- Connect the other output through your gear, then to Input 2 on your interface (this is your wet signal)
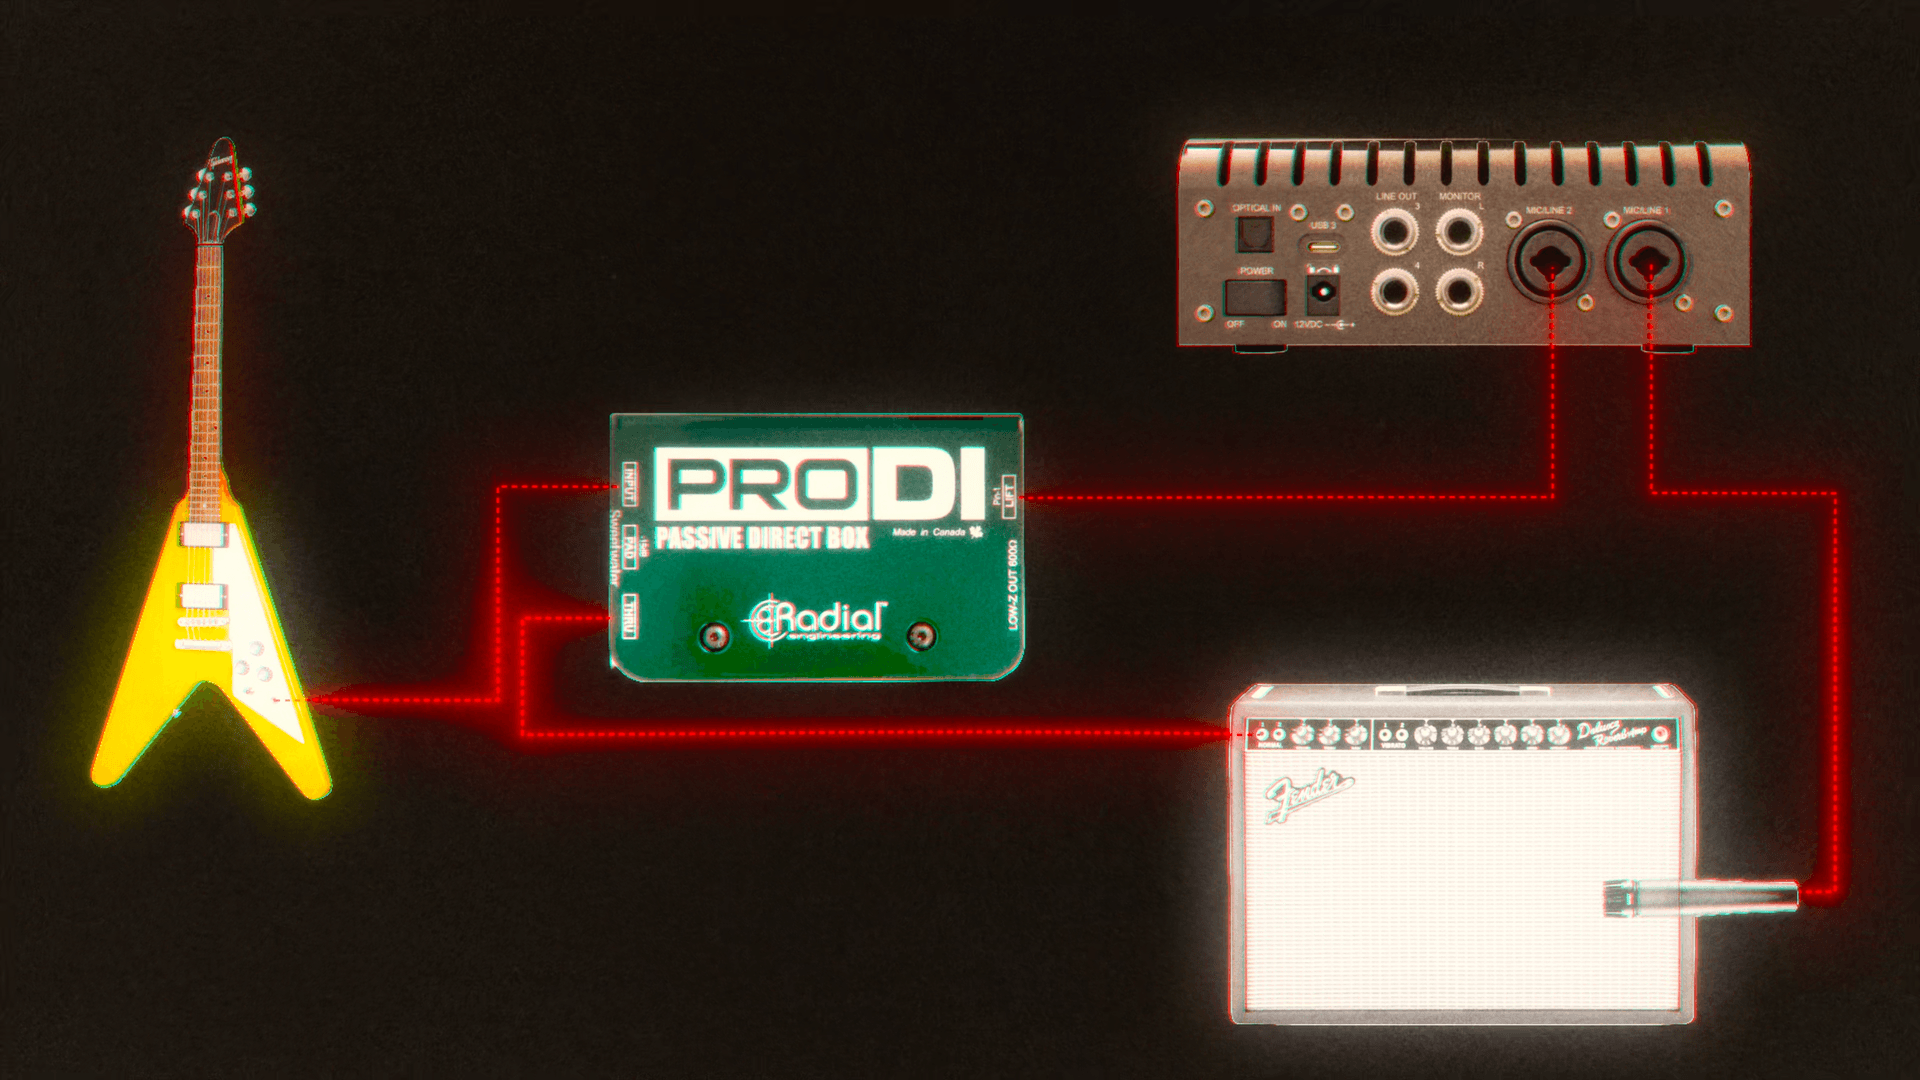
Recording Your Wet Signal
Depending on what you're capturing:
- For amp heads: Use a load box or DI tap to record the direct output
- For pedals: Record the direct output from the pedal
- For full rigs (amp + cabinet, combo amp, or complete signal chain): Record with a microphone positioned in front of your speaker
Critical Alignment Rule: Both tracks must line up perfectly. No drifting, no edits, no timing changes. They must be the exact same performance: one clean and one processed.
Set Your Levels
Adjust your input gain so both signals peak around -8 dB. This prevents clipping and ensures clean recordings.
Step 3: Record Your Performance
Here's where you actually capture your tone:
- Arm both recording tracks in your DAW
- Hit record
- Play guitar/bass for 2-3 minutes
What to Play
Give Neural Amp Modeler plenty of variety in your performance:
- Single notes and chords
- Bends and vibrato
- Different dynamics (soft and hard playing)
- Use different areas of the fretboard
- Include palm mutes and open strings
Why variety matters: The more diverse your playing, the more accurately NAM can learn how your gear responds across different situations. A wider dataset creates a more accurate model.
Step 4: Export and Upload
After recording, export both tracks with these exact settings:
- Format: WAV file
- Bit depth: 24-bit
- Sample rate: 48 kHz
- Channels: Mono
Name your files clearly (for example: "Deluxe_Reverb_DRY.wav" and "Deluxe_Reverb_WET.wav").
Critical: Both files must be exactly the same length and perfectly aligned. Any drift or misalignment will cause errors or poor results.
Now, head to tone3000.com/capture, click Create Tone, select Capture, and choose Dry/Wet Pair. Upload both your dry and wet tracks.
Step 5: Train Your Model
Name Your Model
Give your model a descriptive name that tells users exactly what it is. Your model name should help users understand the knob settings and mic placement.
Include:
- Make and model of your gear
- Knob settings
- Mic type and placement (for full rigs)
- Pedal settings (if applicable)
Example: "Fender Deluxe Reverb - Volume 5, Treble 6, Bass 4, Klon Gain 10, SM57"
This helps users understand what they're downloading and makes your captures easier to find.
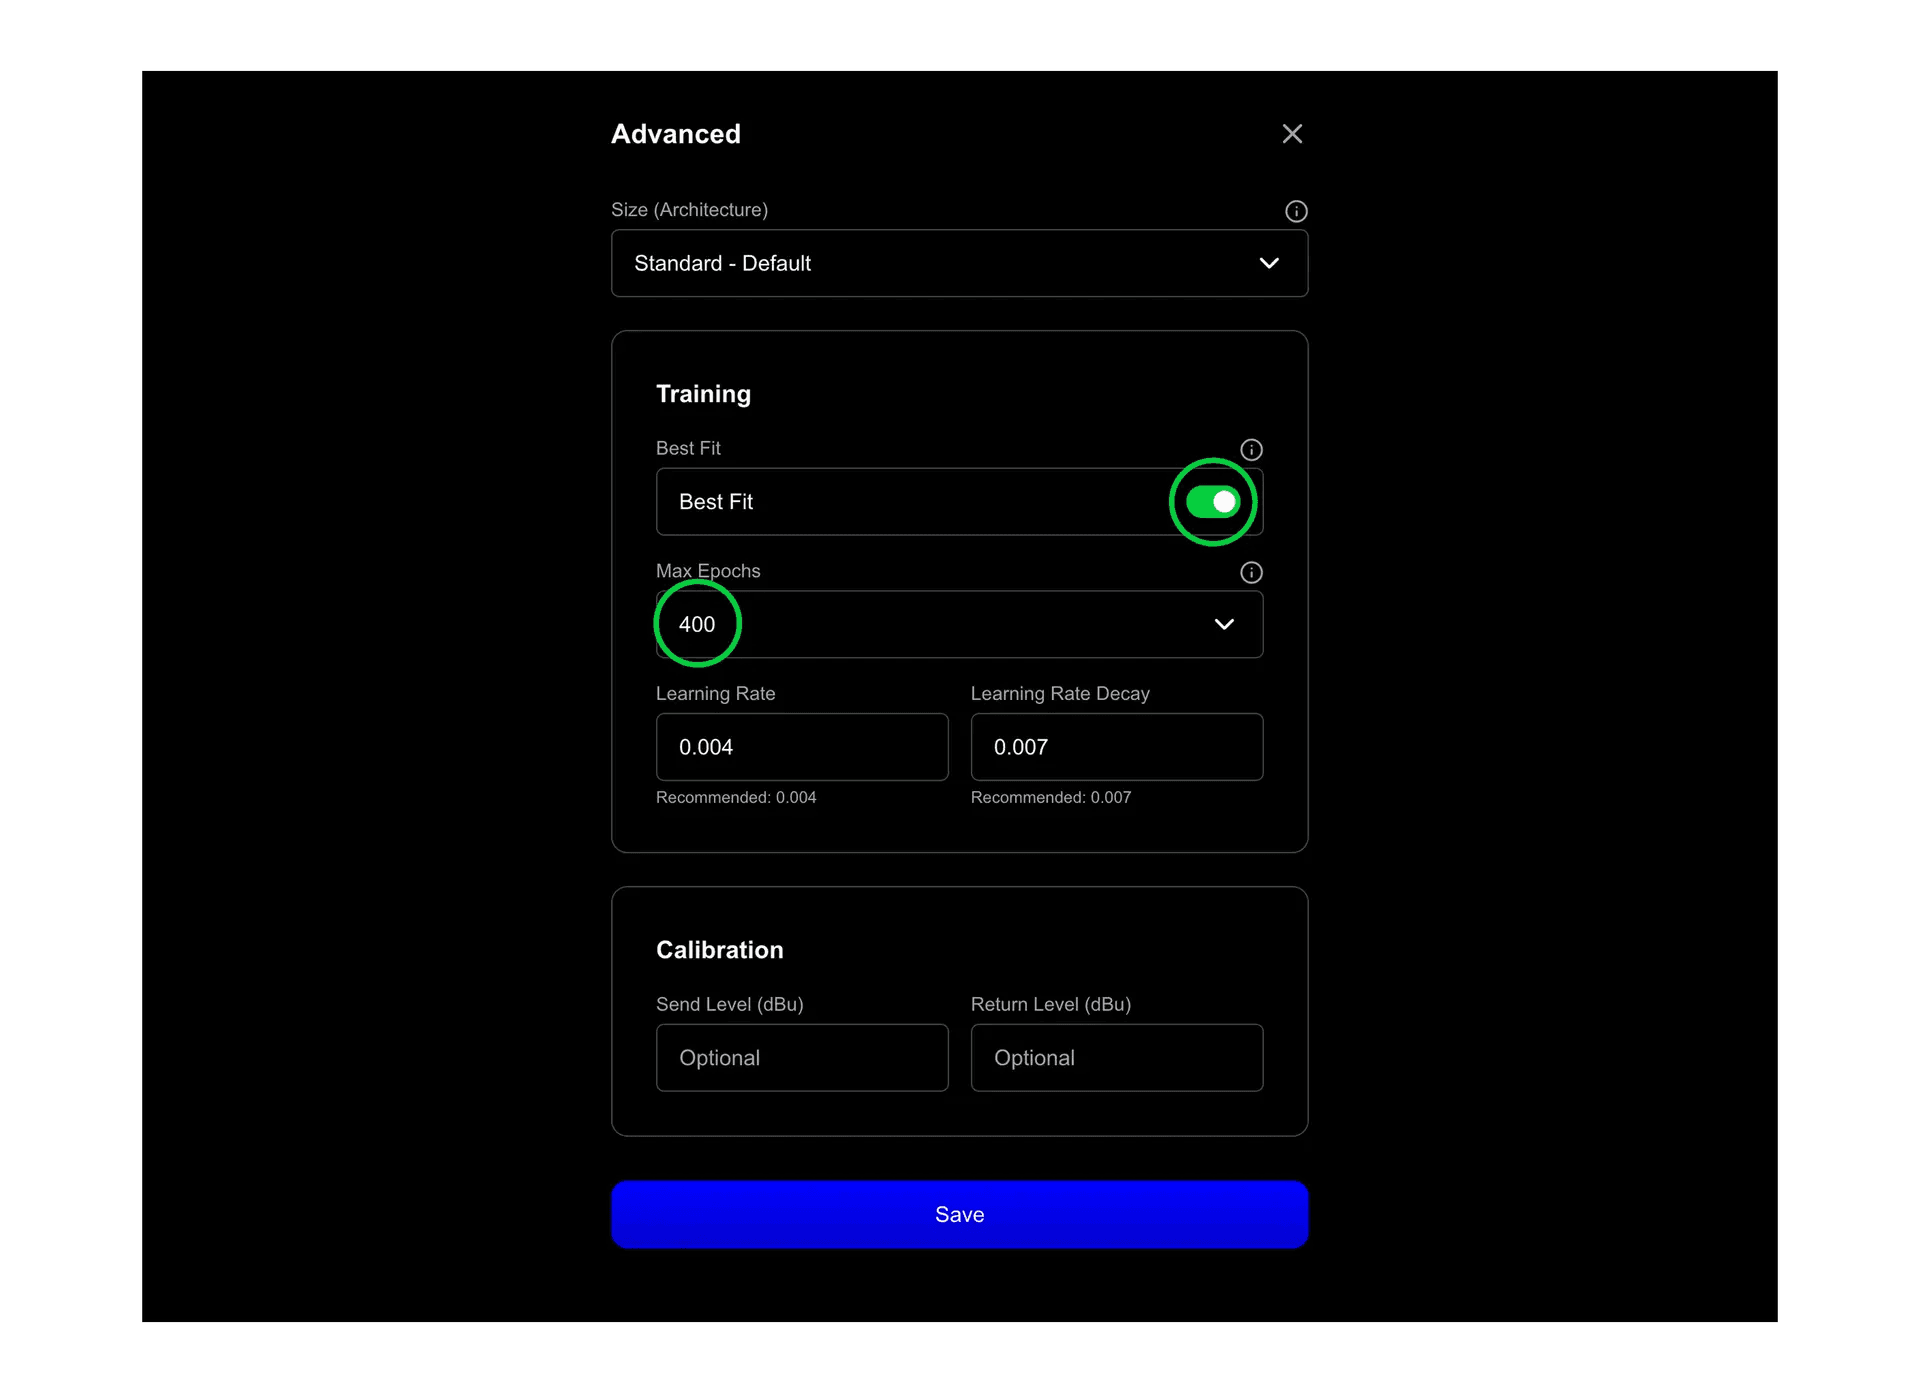
Training Settings
For your first capture, the default settings work great. But here are some tips for even better results:
- Model: Standard
- Best Fit: Enabled
- Max Epochs: 400 (feel free to experiment with higher numbers)
The epoch count is how many times the neural network trains on your audio data. Higher epochs can improve accuracy but take longer to process.
Batch Training Tip: You can train multiple models simultaneously. No need to wait for one to finish before starting the next. You can even batch upload dozens of recordings at once!
Step 6: Fill in Tone Pack Details
Public Tones
If you're keeping your tone private, fill this out however you like. But if you're sharing publicly, follow these guidelines carefully. They build trust with the community.
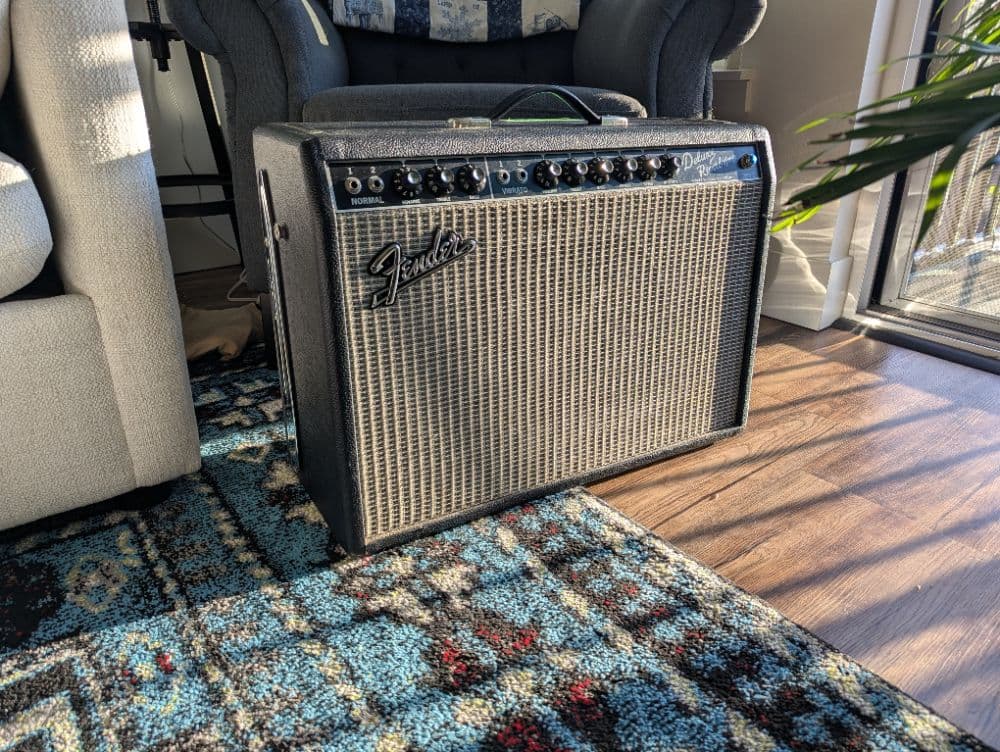
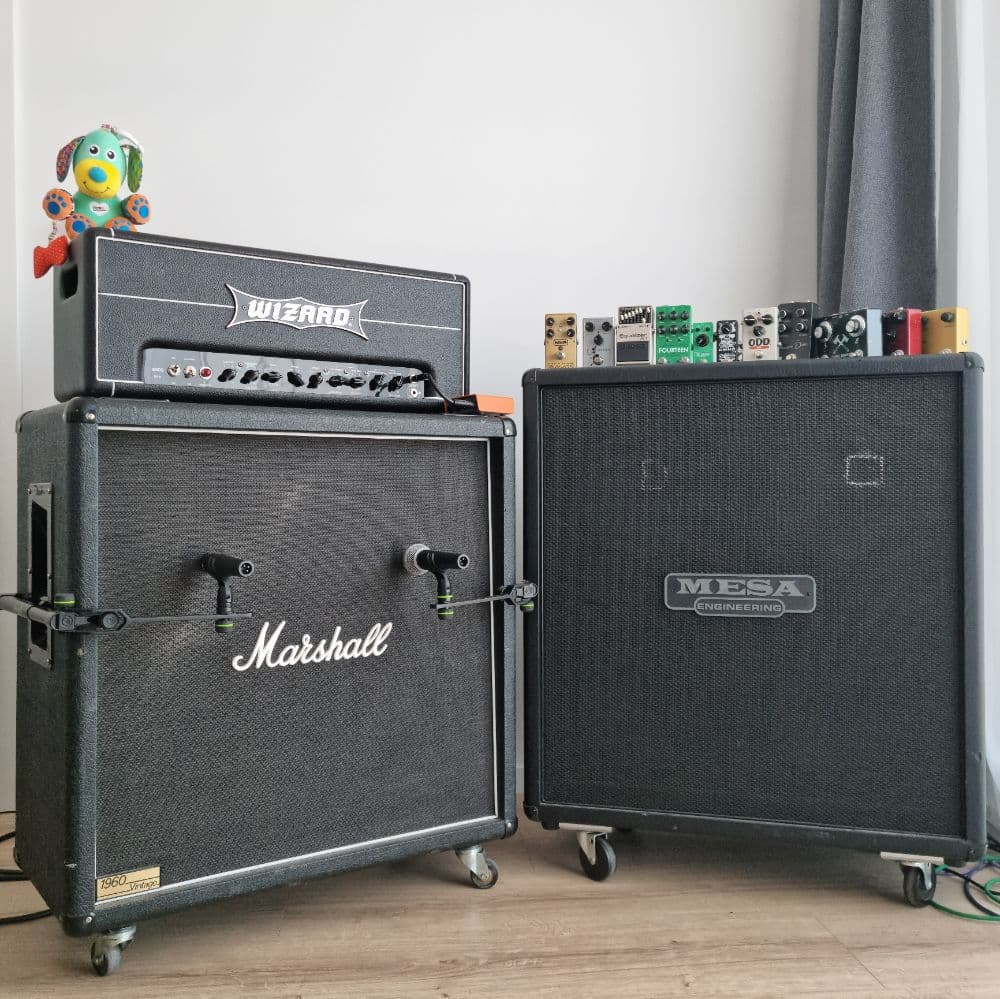
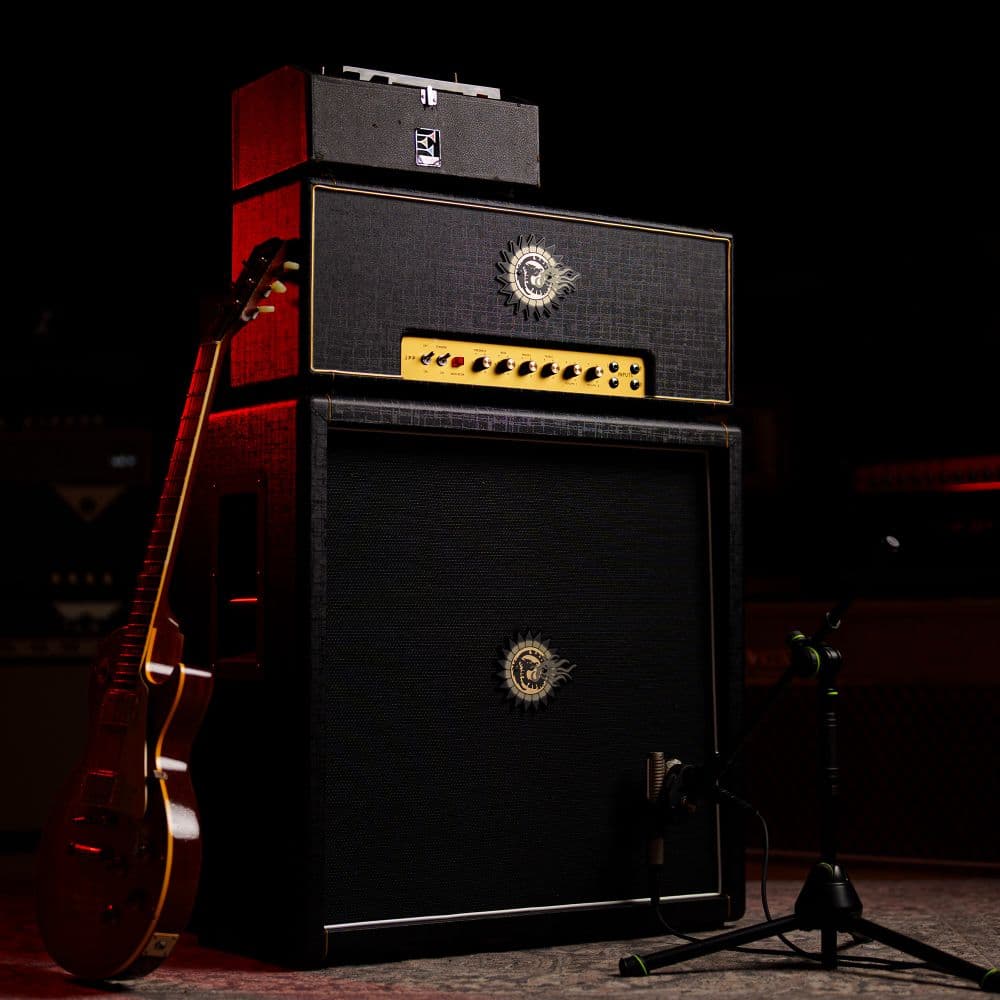
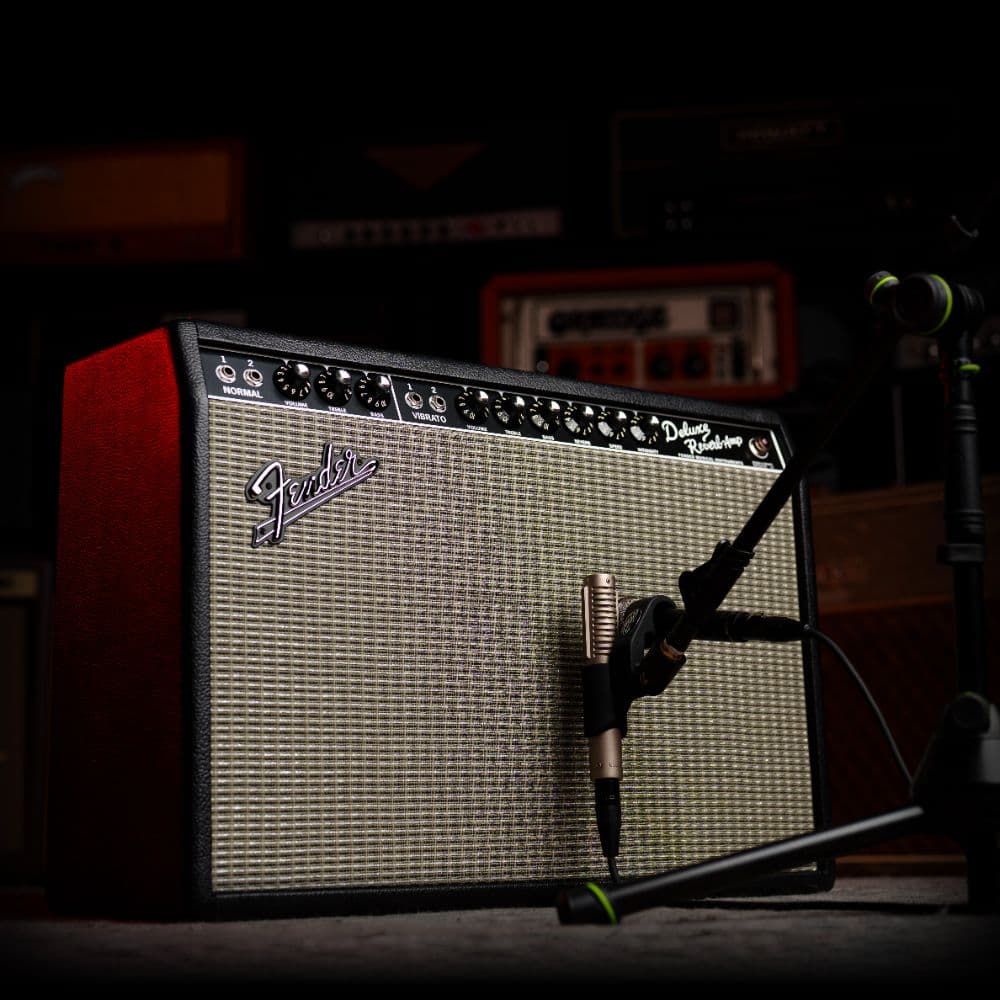
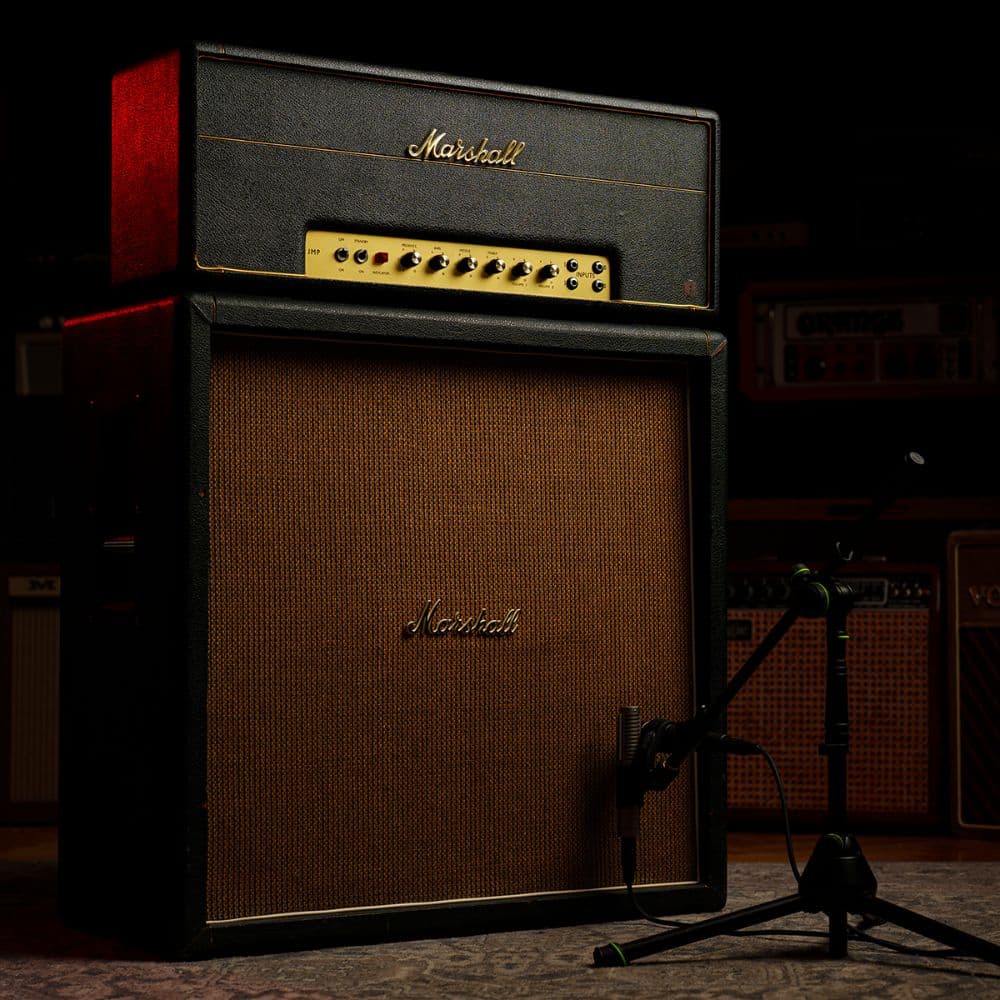
Add a Real Photo
Upload a photo of the actual gear you captured. Ideally, take photos during the capture process.
- ✅ Real photos of your actual gear
- ✅ Cropped square
- ❌ Stock photos
- ❌ Web photos
- ❌ AI-generated images
- ❌ Graphics or logos
- ❌ Edited photos

Real photos prove to users that you captured authentic analog gear. Our moderation team will remove captures that do not follow our guidelines.
Select Gear Type
Choose the type of gear you captured:
- Amp Head: Amplifier only (users will pair it with an IR)
- Full Rig / Combo: Complete amp + cabinet, combo amp, or signal chain
- Pedal: Overdrive, distortion, fuzz, etc.
- Outboard: Studio gear like compressors or EQs
Write a Detailed Description
Help users understand your capture:
- Describe the sound and character
- Share any history or fun facts about the gear
- Mention famous artists who used it
- Detail your complete signal chain
- Include recording techniques or mic placement notes
The more detail, the better. Rich descriptions help users trust your captures are legit.
Add Tags and Links
- Tag genres, artists, decades, and tone characteristics
- Add links to demos, your website, or social media
- Enable or disable public visibility based on your preference
Recommendation: If you're sharing publicly, capture at least 5 models of each piece of gear with different knob settings. This gives users variety and more tonal options. Top creators often capture way more!
Review the Tone Sharing Policy
TONE3000 is designed for sharing authentic analog gear. Amp sims and plugins are only allowed in specific cases, so please review the policy before submitting.
Hit Submit and the training will begin!
Understanding Your Results
Once training is complete, you've created a Neural Amp Modeler file of your tone!
ESR (Error to Signal Ratio)
The ESR measures how closely your model matches the real gear:
- Lower is better: the closer to zero, the more accurate
- High ESR usually means something went wrong:
- Clipping in your recording
- Excessive noise or hum
- Misalignment between dry and wet tracks
- Noisy or inconsistent performance
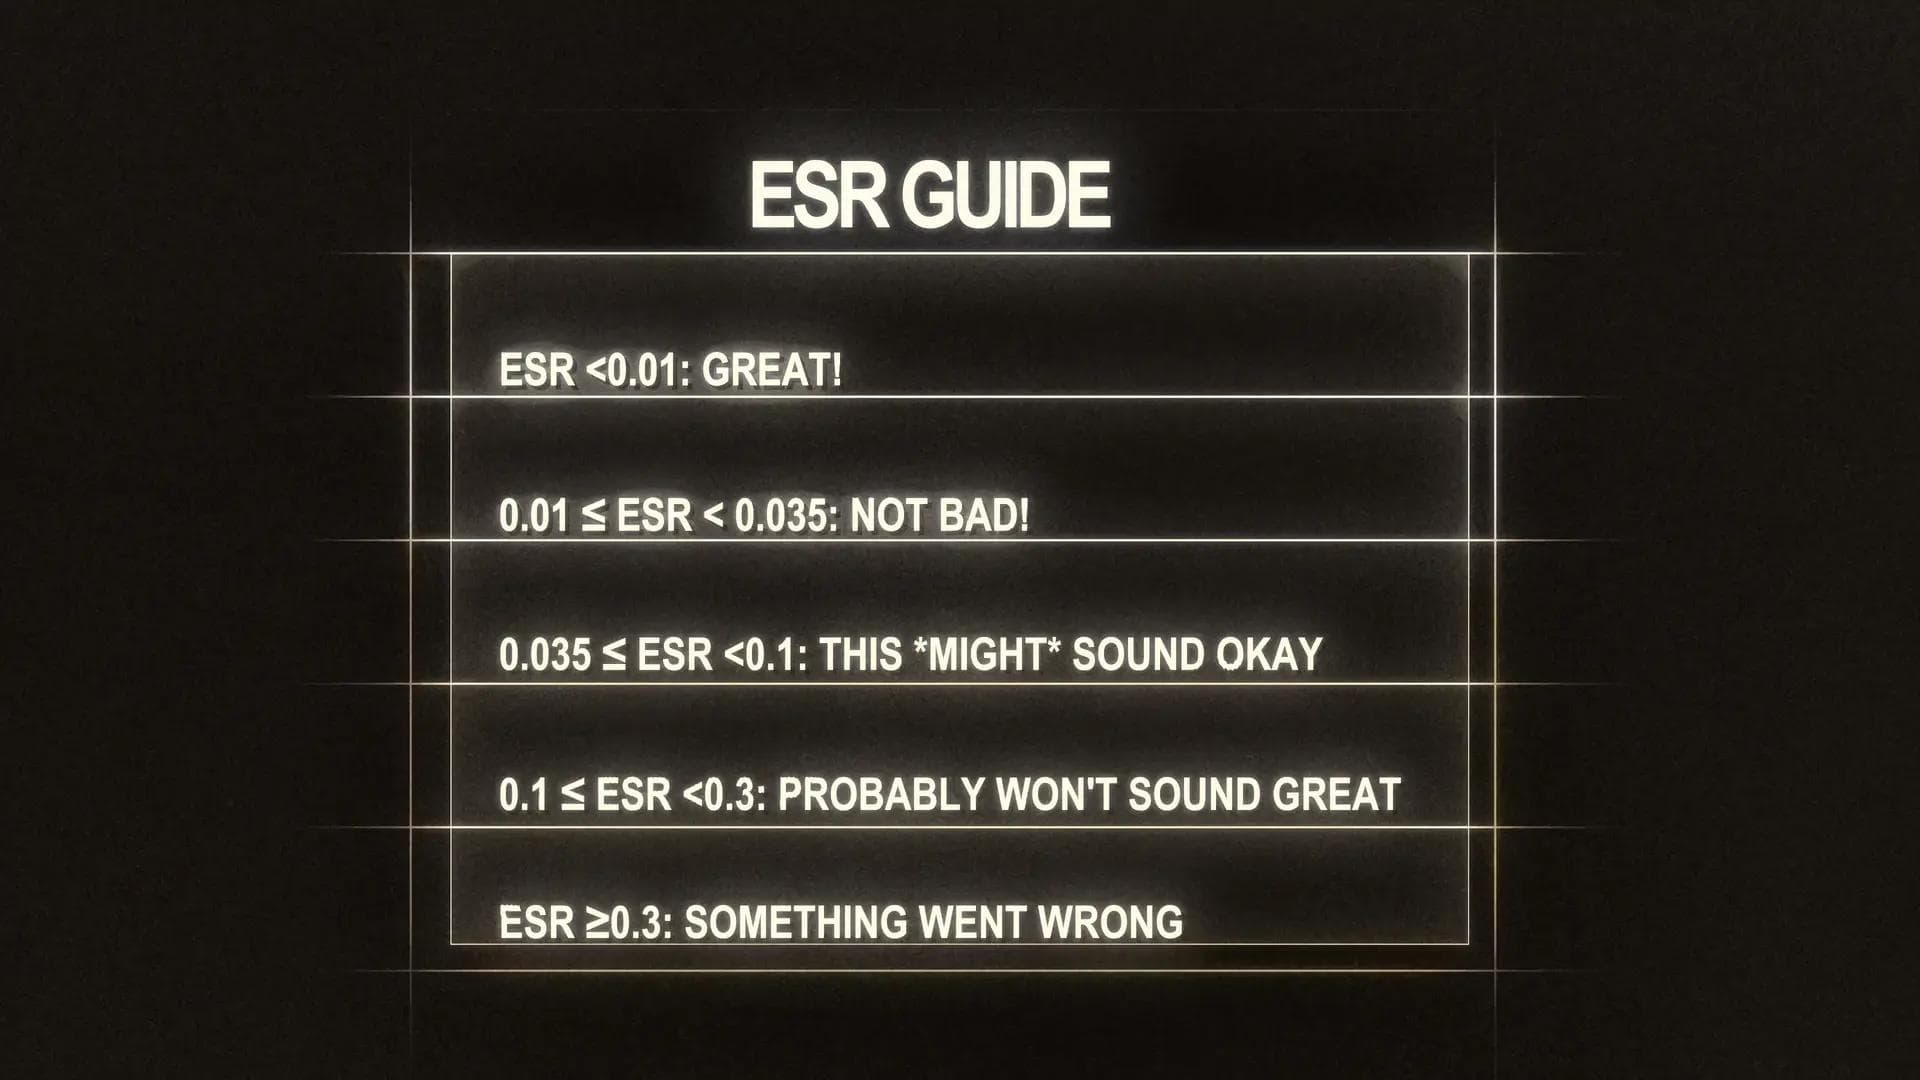
ESR Guide:
- ESR < 0.01: Great!
- 0.01 ≤ ESR < 0.035: Not bad!
- 0.035 ≤ ESR < 0.1: This might sound okay
- 0.1 ≤ ESR < 0.3: Probably won't sound great
- ESR ≥ 0.3: Something went wrong
If your ESR looks great, congratulations! You can preview your tone in the preview section, download it, and load it into the NAM plugin in your DAW.
What to Capture Next
Now that you know how to capture, the possibilities are endless:
- Different settings on the same amp
- Your favorite pedal stacks
- Different microphone positions and types
- Studio outboard gear like compressors or EQs
- Entire signal chains
- Weird, beautiful, broken gear no one else has
Every unique setting or configuration deserves its own capture!
Beyond Traditional Captures
Here's where it gets fun. Once you understand how the dry/wet method works, you can start experimenting:
- Make a guitar sound like a trumpet: Record a MIDI progression with both a MIDI guitar and MIDI trumpet. Use the MIDI guitar as the dry signal and the MIDI trumpet as the wet signal. Play your real guitar through the resulting model.
- Make a cheap mic sound expensive: Record vocals through a $100 SM57 and a $3,000 U87. Train NAM to learn the difference between the two mics. Now your cheap mic can sound like the expensive one.
- Capture unconventional gear: Tape machines, lo-fi cassette decks, telephone effects, or any signal processor you can imagine.
The dry/wet method works on any audio transformation. If it changes your signal, you can capture it. Begin your dry/wet capture.
Need Help?
Need help? Email support@tone3000.com or join our Discord community where thousands of creators share tips and techniques.
Related Blog Posts
Trending Tones


NEW TO TONE3000?
Discover hyper-realistic digital models of iconic gear, including the Fender Twin Reverb, Vox AC30, Marshall JCM 800, and thousands more. Getting started is easy—and free!