Get Started with TONE3000
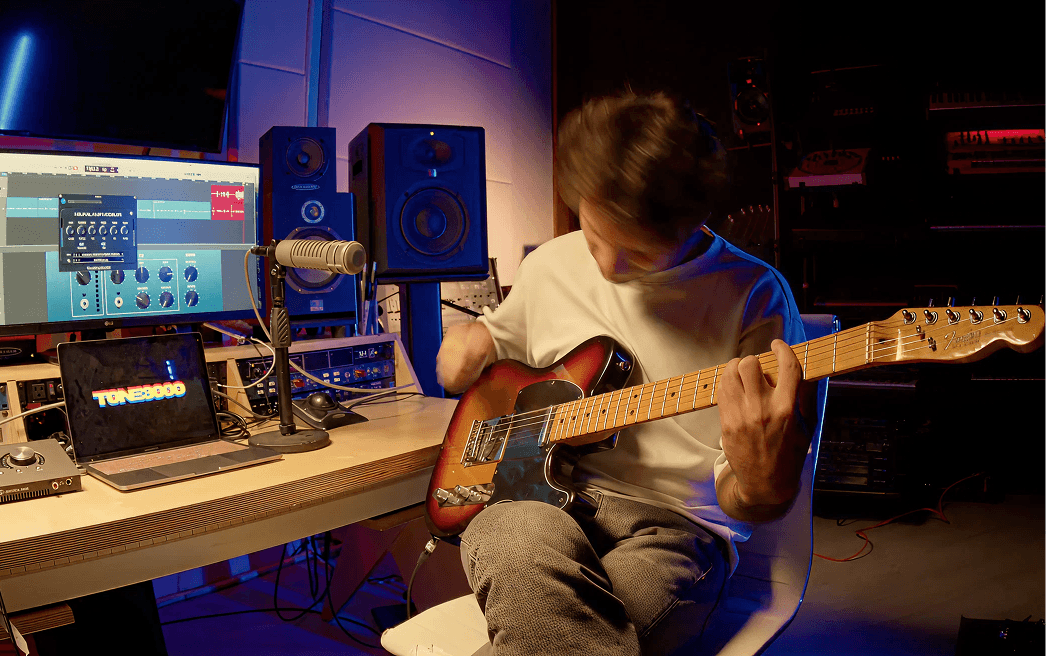
This beginner-friendly guide will help you experience the incredible sound and feel of Neural Amp Modeler (NAM) with the free TONE3000 Plugin, in your DAW or as a standalone app.
In this guide
Overview
This guide shows you how to play your instrument through a NAM capture using the free TONE3000 Plugin. Before you begin, make sure you have:
- An audio interface to plug your instrument into
- Optional: a DAW (Digital Audio Workstation) like GarageBand, Reaper, or Logic. The TONE3000 standalone app works with no DAW required.
Let's go!
Step 1: Install the TONE3000 Plugin
Download and install the free, official TONE3000 Plugin for Mac, Windows, or Linux.
Run the installer, then open the TONE3000 standalone app, or open your DAW and insert TONE3000 on a track. If it doesn't appear, restart your DAW or rescan for plugins.
Important: Every tone lives inside the plugin. Sign in and you can browse and load the entire TONE3000 library without downloading or managing any files.
Step 2: Find Your Tones
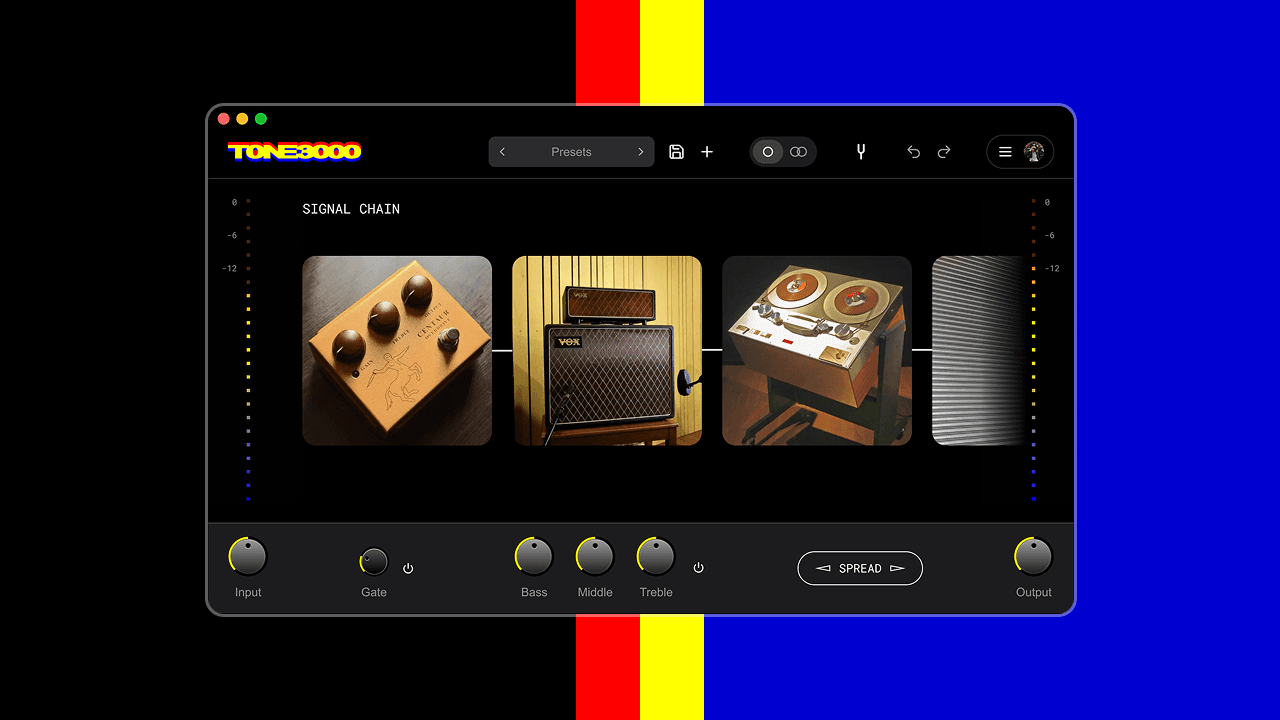
Click any + (Add Tone) slot in the plugin to open the tone browser. Explore Trending, search the library, and filter by gear type. Click a tone to load it.
Understanding the Components
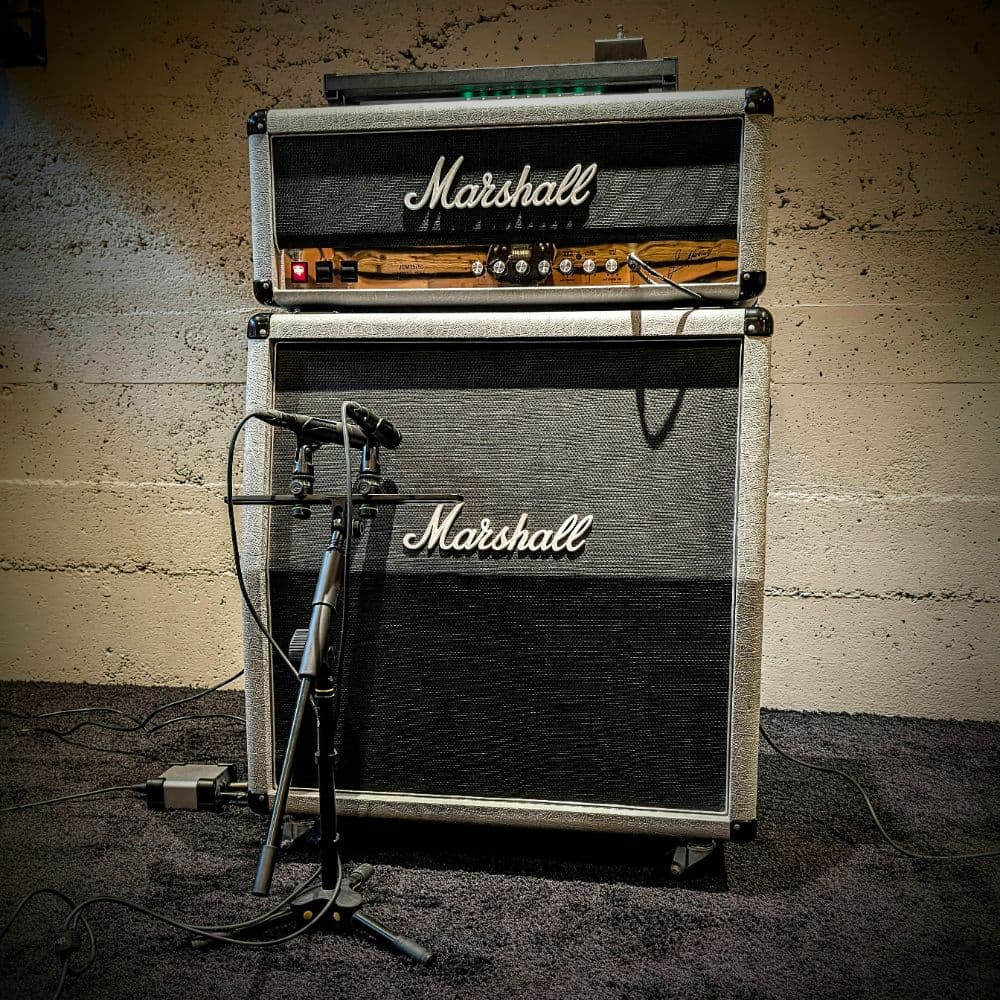
NAM Captures are digital models of real gear. There are a few types:
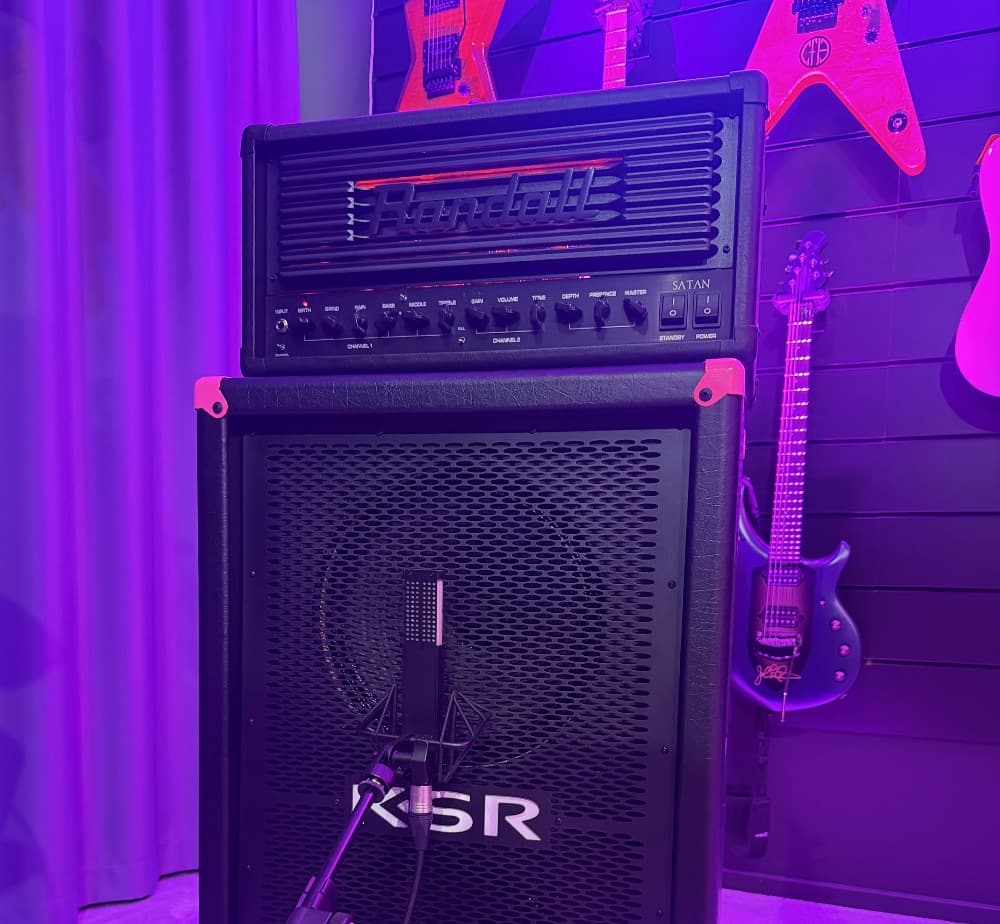
- Amp Head: Amplifier only (add a Cabinet IR after it to sound complete)
- Amp + Cab: Complete amp + cabinet (ready to use, no IR needed)
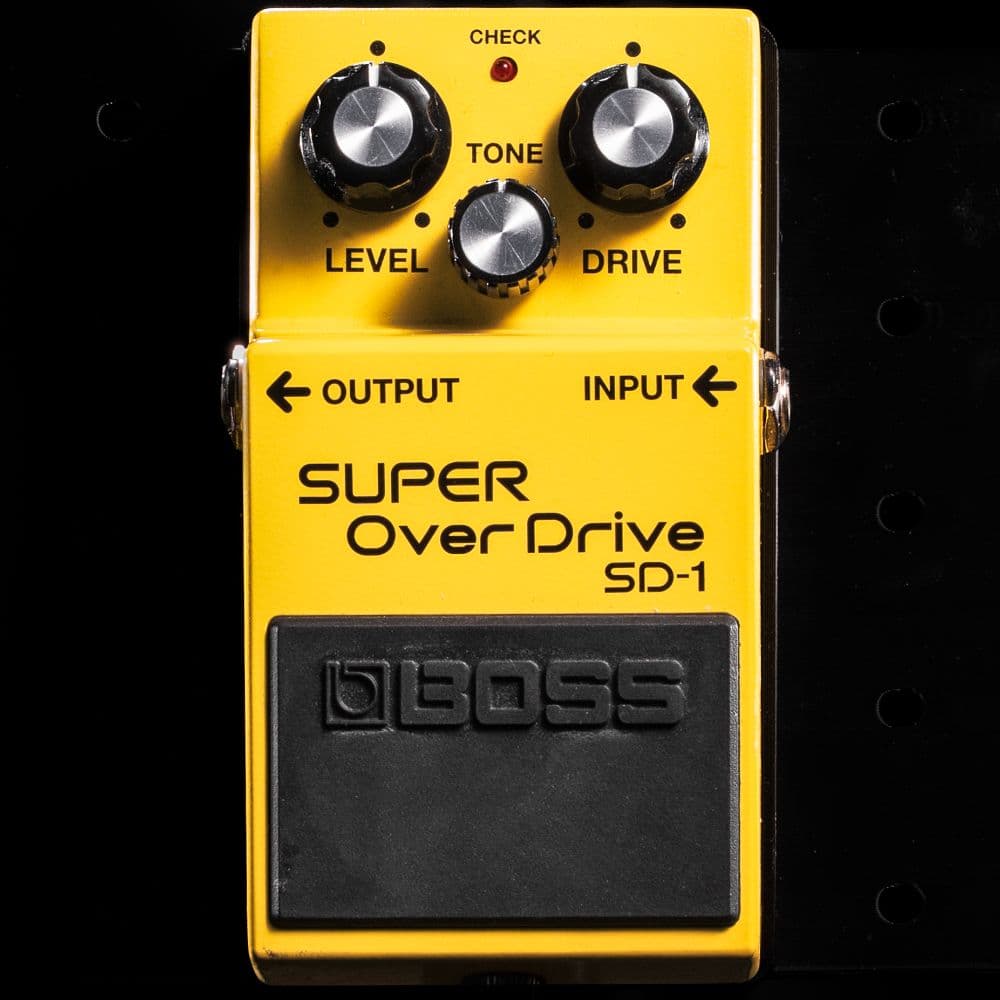
- Pedals: Effects like overdrive, distortion, or fuzz (place before your amp)
- Outboard: Studio gear like compressors or EQs (place at the end of your chain)
Impulse Responses (IR's) are digital models of:
- Cabinets: Pair with Amp Heads for a complete tone (an Amp Head needs a Speaker Cabinet to sound right)
- Spaces: Acoustic spaces like rooms and halls, plus reverbs and delays (use at the end of your chain)
Beginner Tip: Start with "Amp + Cab" captures – they already include the speaker cabinet, so there's nothing else to configure.
Use the search bar and filters in the tone browser to find specific amps, manufacturers, or tone creators. You can also audition tones at tone3000.com right in your web browser.
Step 3: Build Your Chain
Each tone loads as a block in your signal chain. An Amp + Cab tone is ready to go on its own. If you load an Amp Head, add a Cabinet IR after it:
- Load an Amp Head capture in one block
- Click the + slot after it and load a Cabinet IR
Now you've built a custom amp + cabinet combination!
Why multiple models? Neural Amp Modeler captures a "snapshot" of gear at specific knob settings, so creators include several models per tone. Use the Model control on a block to switch between them.
Step 4: Play
- Plug your guitar into your audio interface
- In the standalone app, pick your interface under Settings → System Settings and turn on Hear Yourself
- In a DAW, enable input monitoring on the TONE3000 track
- Play =)
Step 5: Record Your Music
Recording with TONE3000 works like any other plugin:
- Select your guitar track
- Arm it for recording
- Hit record and play
You're now using professional-grade amp tones captured from iconic amplifiers.
Capture Your Own Gear!
Want to capture your own amps, pedals, or signal chains? TONE3000 makes it free and easy to create your own NAM captures. You can keep them private or share them with the community. If you share, follow the Tone Sharing Guidelines so your packs are easy to find and trust.
Once you've captured something, log into your TONE3000 account in the plugin and select your created tone right from the tone browser.
Need help? Email support@tone3000.com.
Related Guides
Trending Tones





NEW TO TONE3000?
Discover hyper-realistic digital models of iconic gear, including the Fender Twin Reverb, Vox AC30, Marshall JCM 800, and thousands more. Getting started is easy—and free!