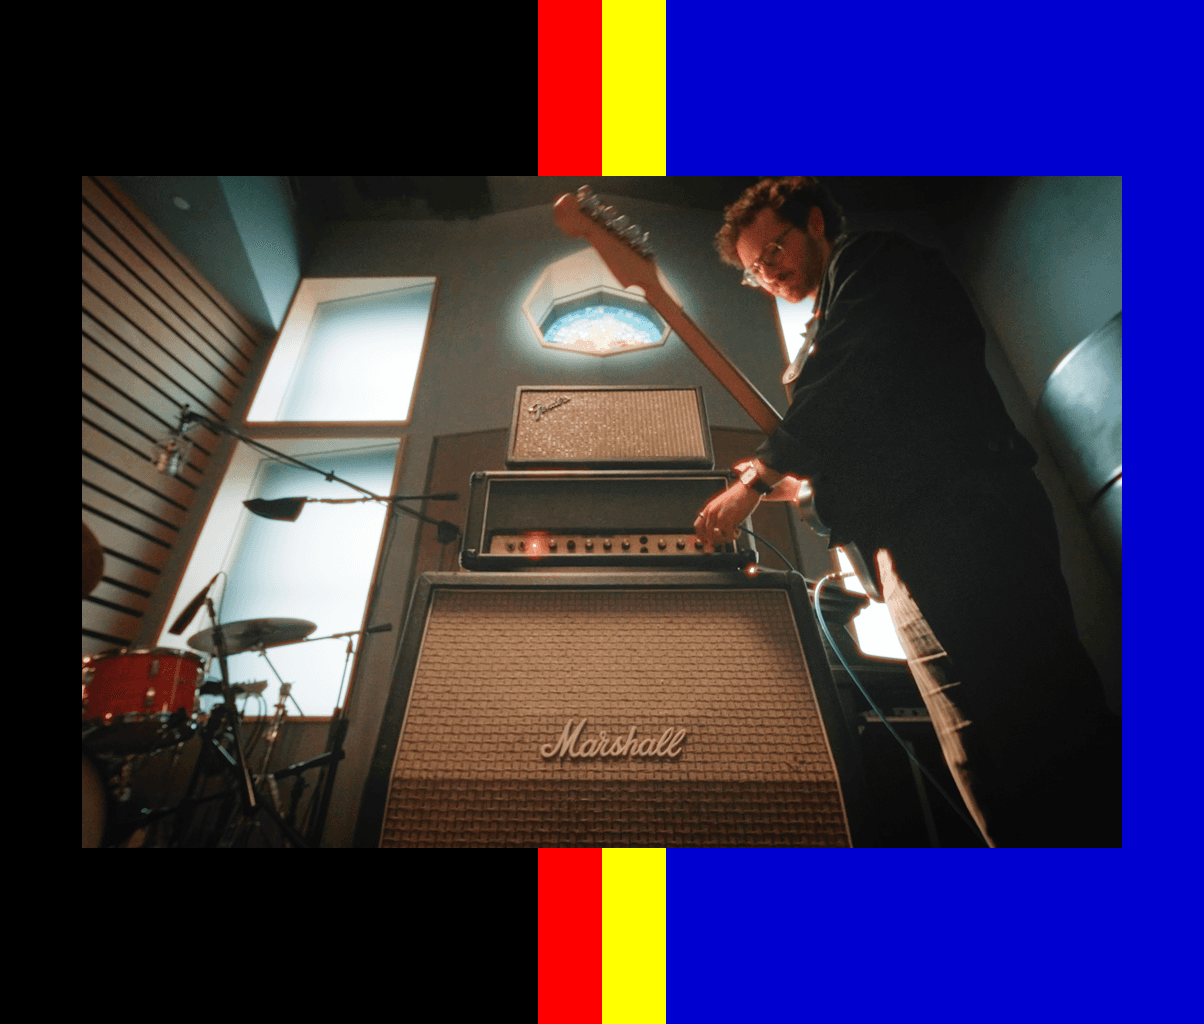
How to Capture an Impulse Response (IR) of a Speaker Cabinet
Capture a digital model of your speaker cabinet as an impulse response (IR) file that you can use anywhere. This guide walks you through mic placement, signal routing, and the sine sweep method.
In this guide
Overview
This guide shows you how to capture an impulse response (IR) of a guitar speaker cabinet using the sine sweep method. You send a test signal through the cabinet, record it with a microphone, then run deconvolution to isolate the cabinet's response as a WAV file you can pair with any amp head capture.
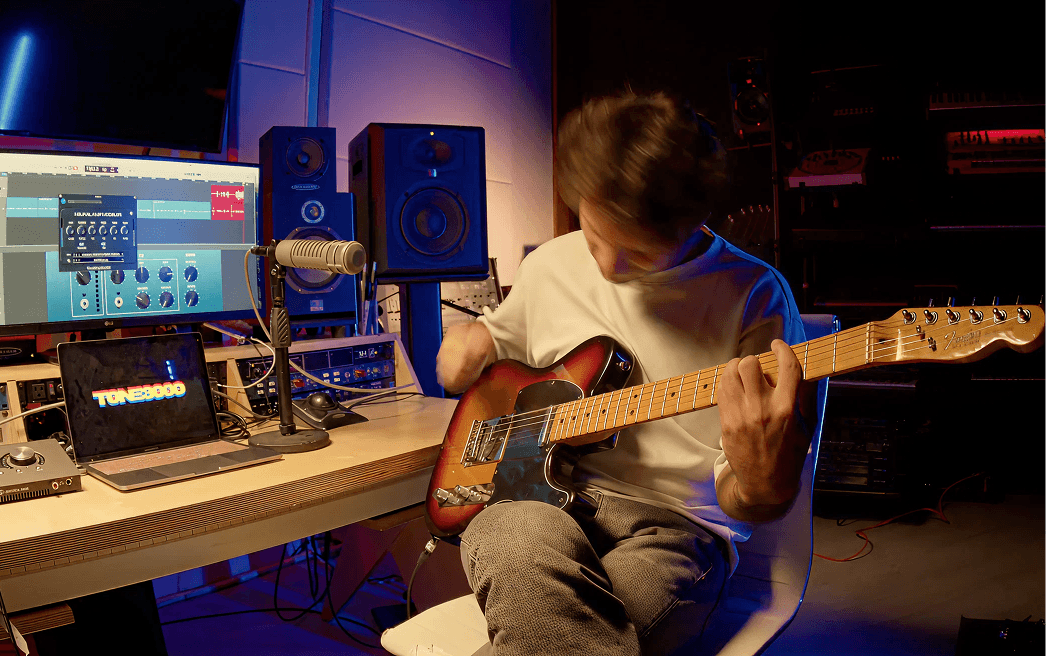
This guide accompanies the video above, in which we captured an impulse response of a Marshall 1960 Lead with Fane Speakers:
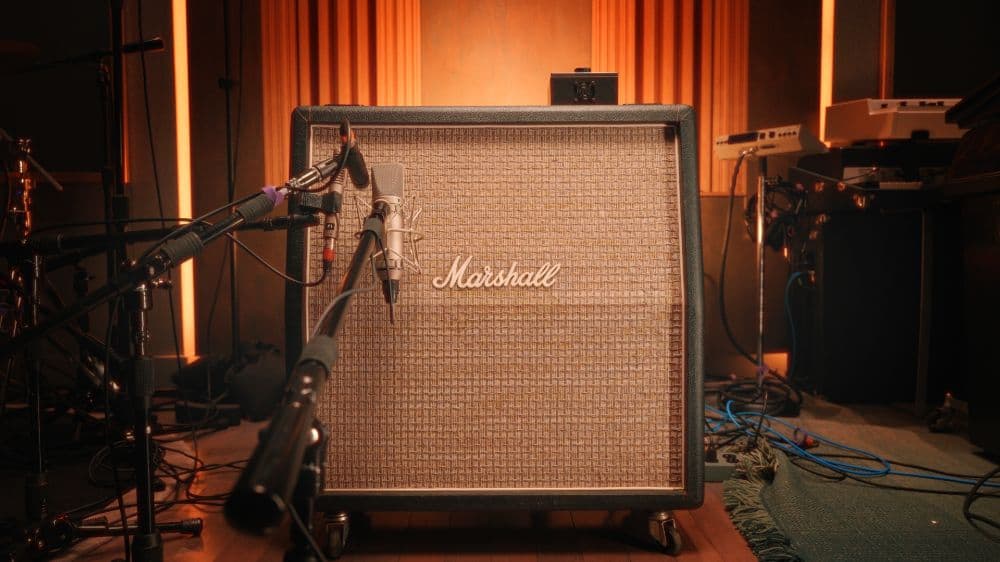

Once you're done, upload your IR to TONE3000 and share it with the world's largest community for NAM captures and IRs.
Explore IRs on TONE3000
Explore NAM captures on TONE3000
What You Need
Before you begin, make sure you have:
- A speaker cabinet
- An amp head to power the cabinet. We recommend a solid state amp with plenty of headroom.
- A microphone
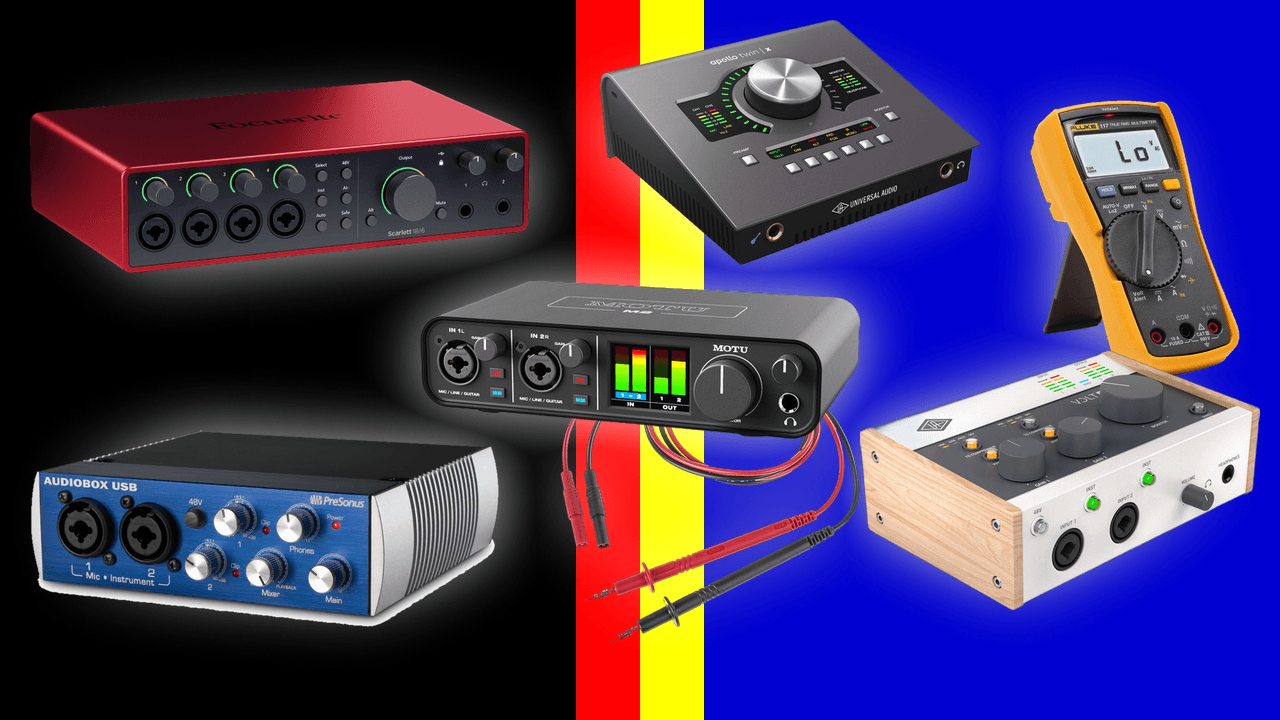
- An audio interface
- A reamp box
- A deconvolution program such as WaveArts IR Capture (free)
Let's go!
Step 1: Set Up Your Cabinet and Mic
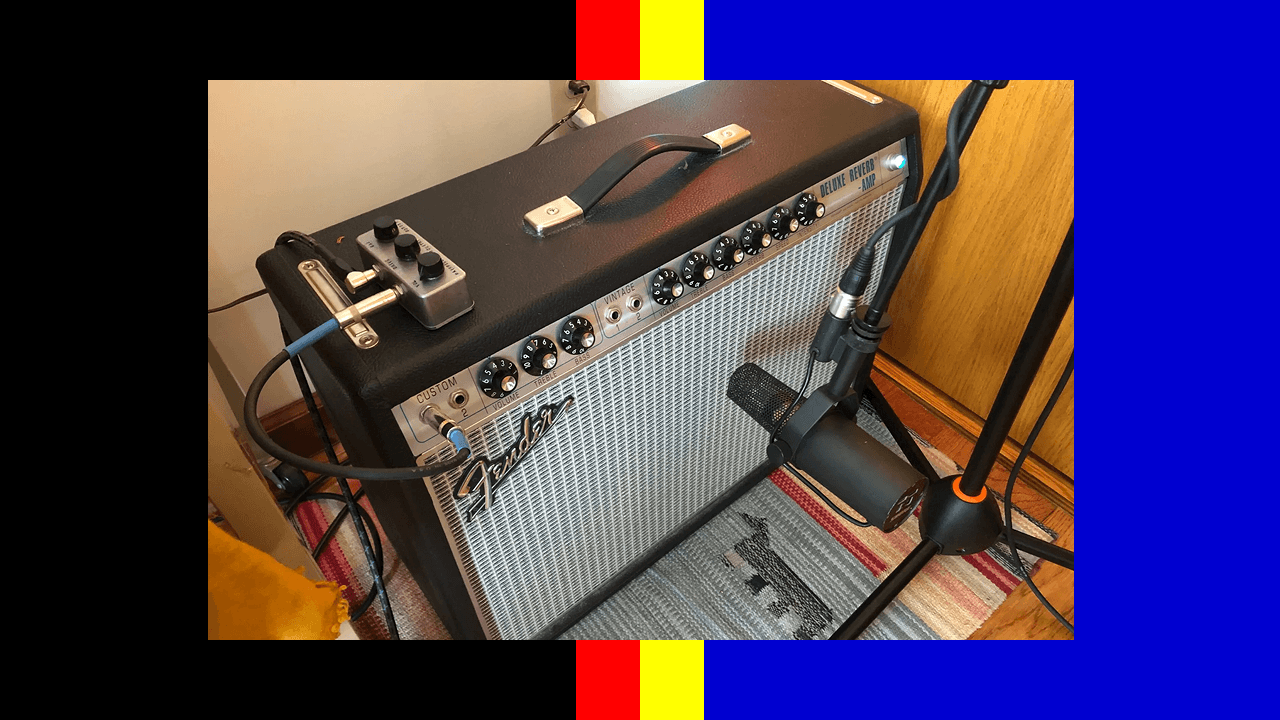
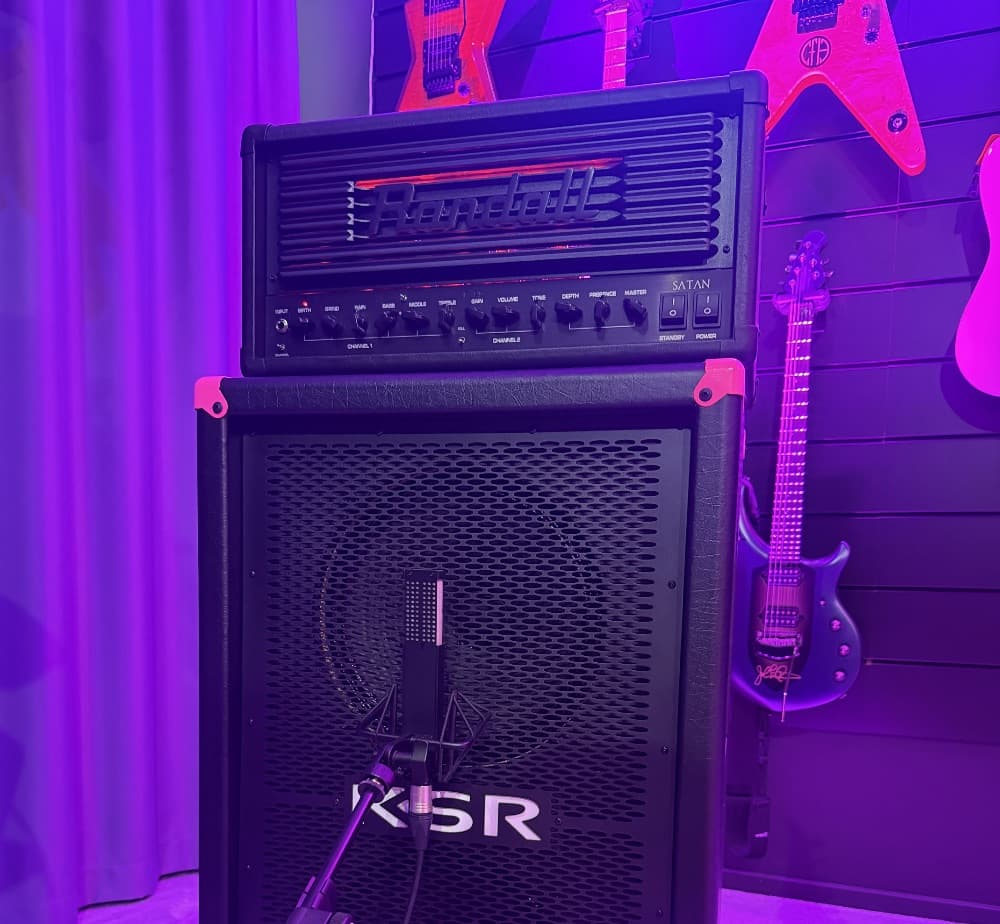
Set up your cabinet the way you normally would for a recording session. A Shure SM57 is a solid default, but any mic you like will work. Your mic choice and placement get baked directly into the IR, so they matter as much as the cabinet itself.
Use a flashlight to find the center of the speaker cone. The center gives you the brightest, most aggressive sound. Moving toward the edge softens and smooths it out. A good starting point is halfway between the center and the edge, about an inch from the cab, or roughly two fingers away.
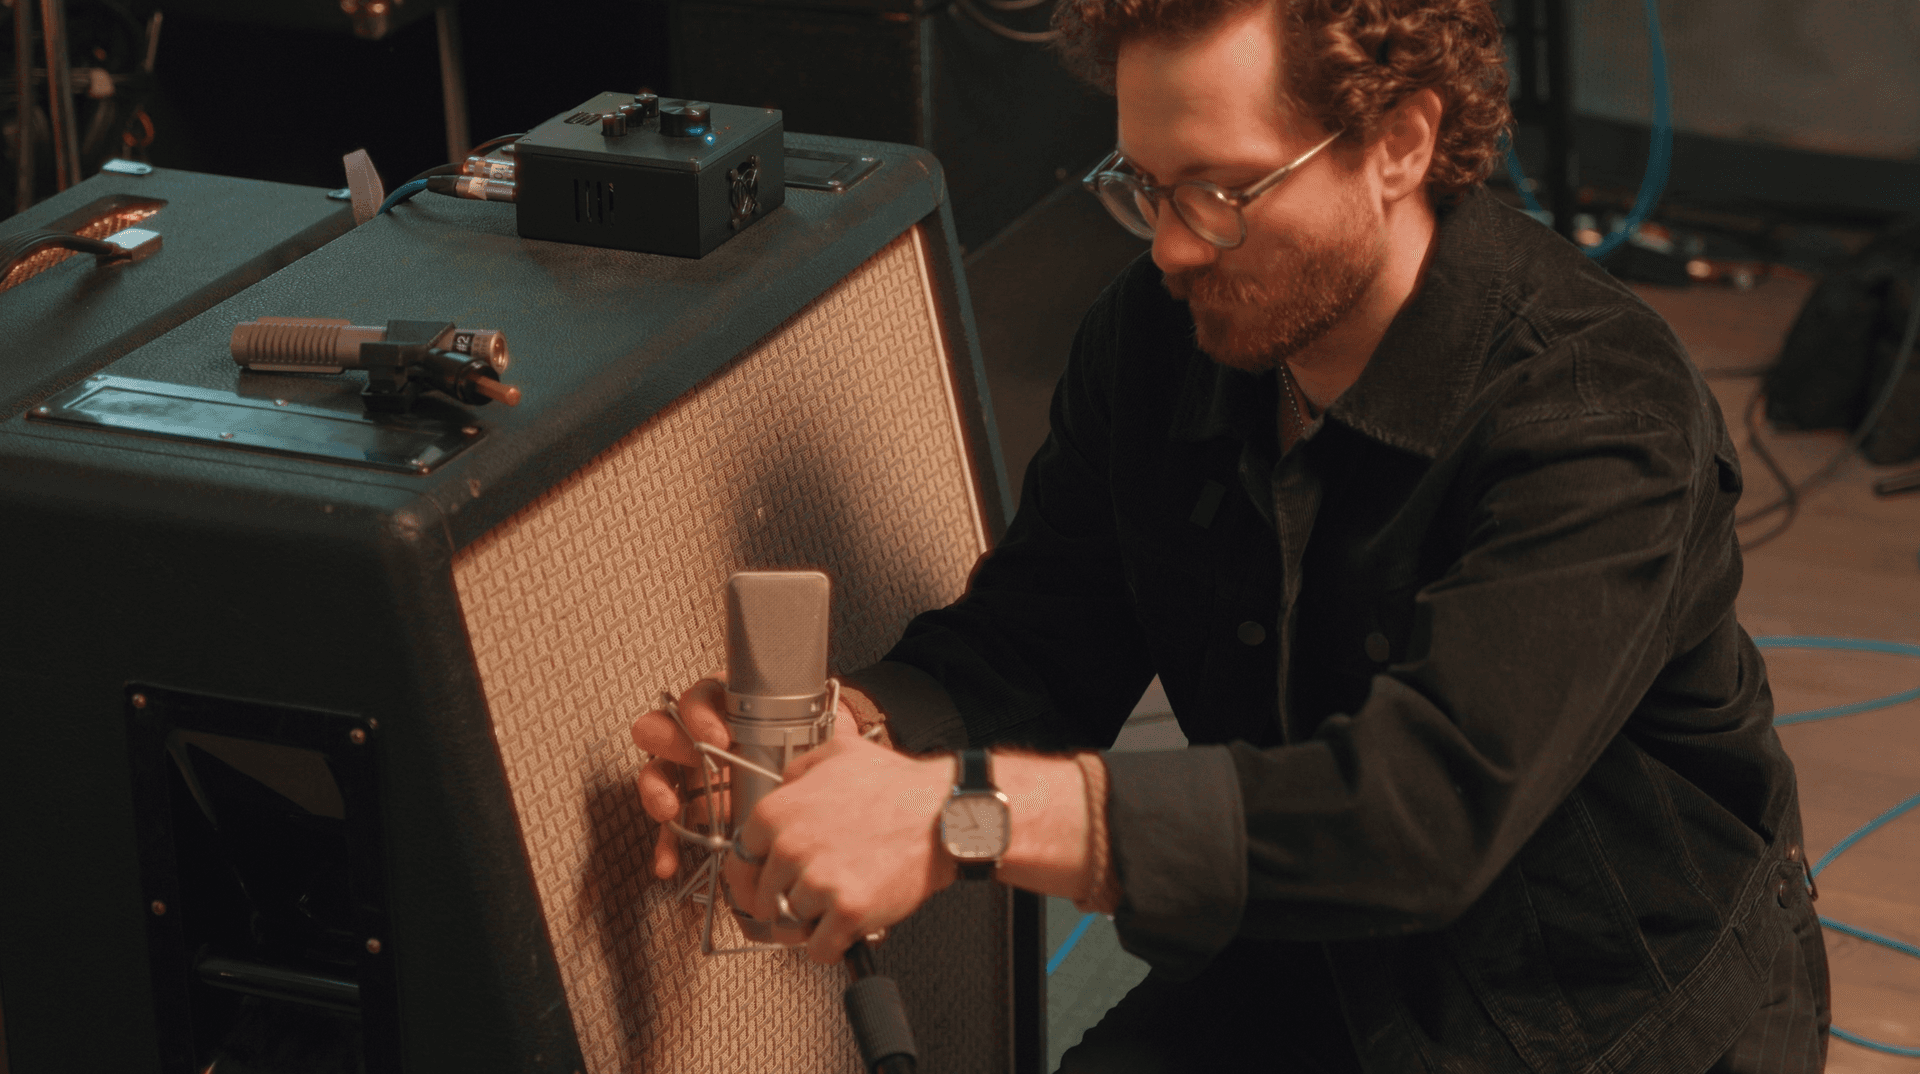
Use a clean, neutral amp so you're capturing the character of the cabinet, not the amp. A solid state amp with plenty of headroom is ideal. Headroom keeps the amp from clipping or adding its own color to the signal.
Step 2: Route Your Signal Chain
Connect your gear:
- Run an output from your audio interface into your reamp box
- Run the reamp box into the input of your amplifier
- Position your microphone in front of the cabinet and run it into an input on your interface
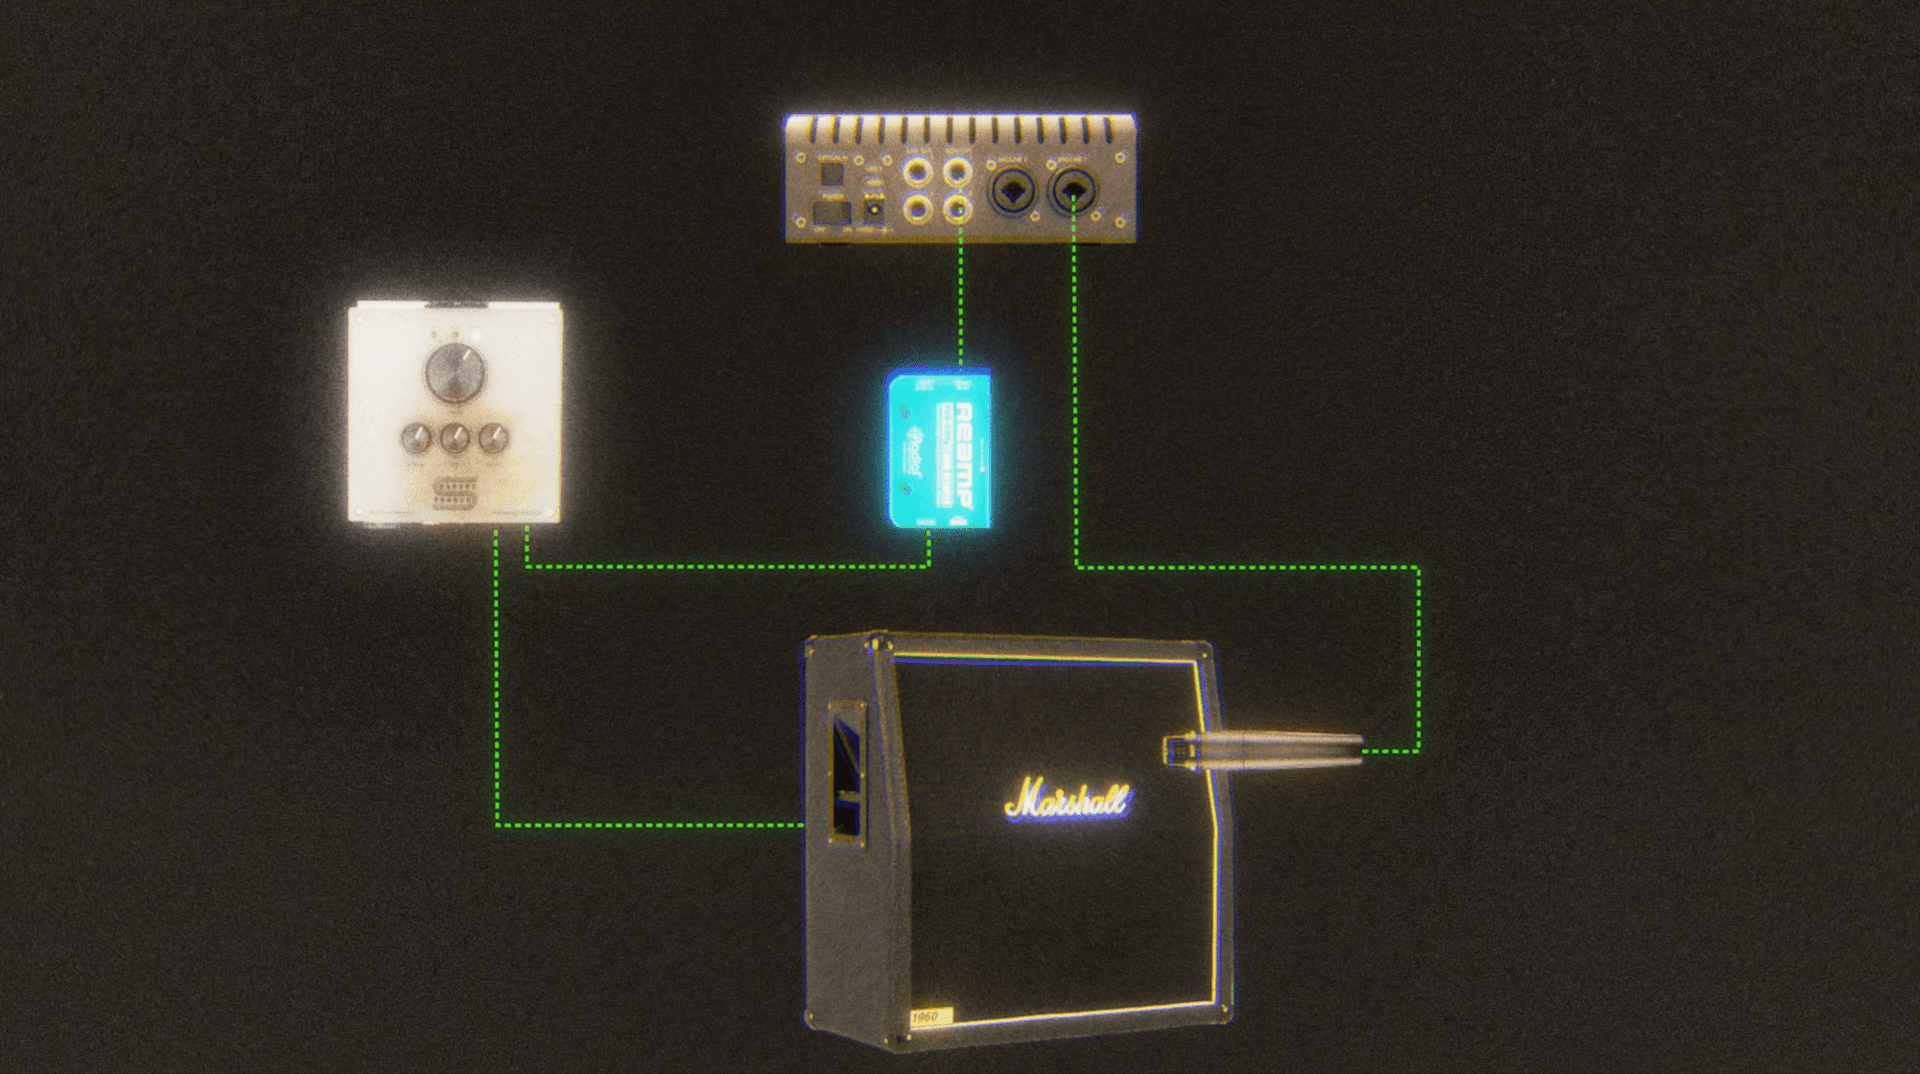
Your interface outputs a line-level, low-impedance signal, while your amplifier expects an instrument-level, high-impedance signal. The reamp box handles that conversion.
Dealing With Ground Loop Hum
If your interface and amplifier share a power source, you might pick up hum from a ground loop. Toggle the ground lift switch on your reamp box to see if it clears things up. Any background or amp noise in the room gets captured along with your cabinet, so it's worth getting this right before you record.
Step 3: Download and Set-Up a Deconvolution Program
Download and open a deconvolution program. WaveArts IR Capture is free and works well for this. Any deconvolution software you already use will also work.
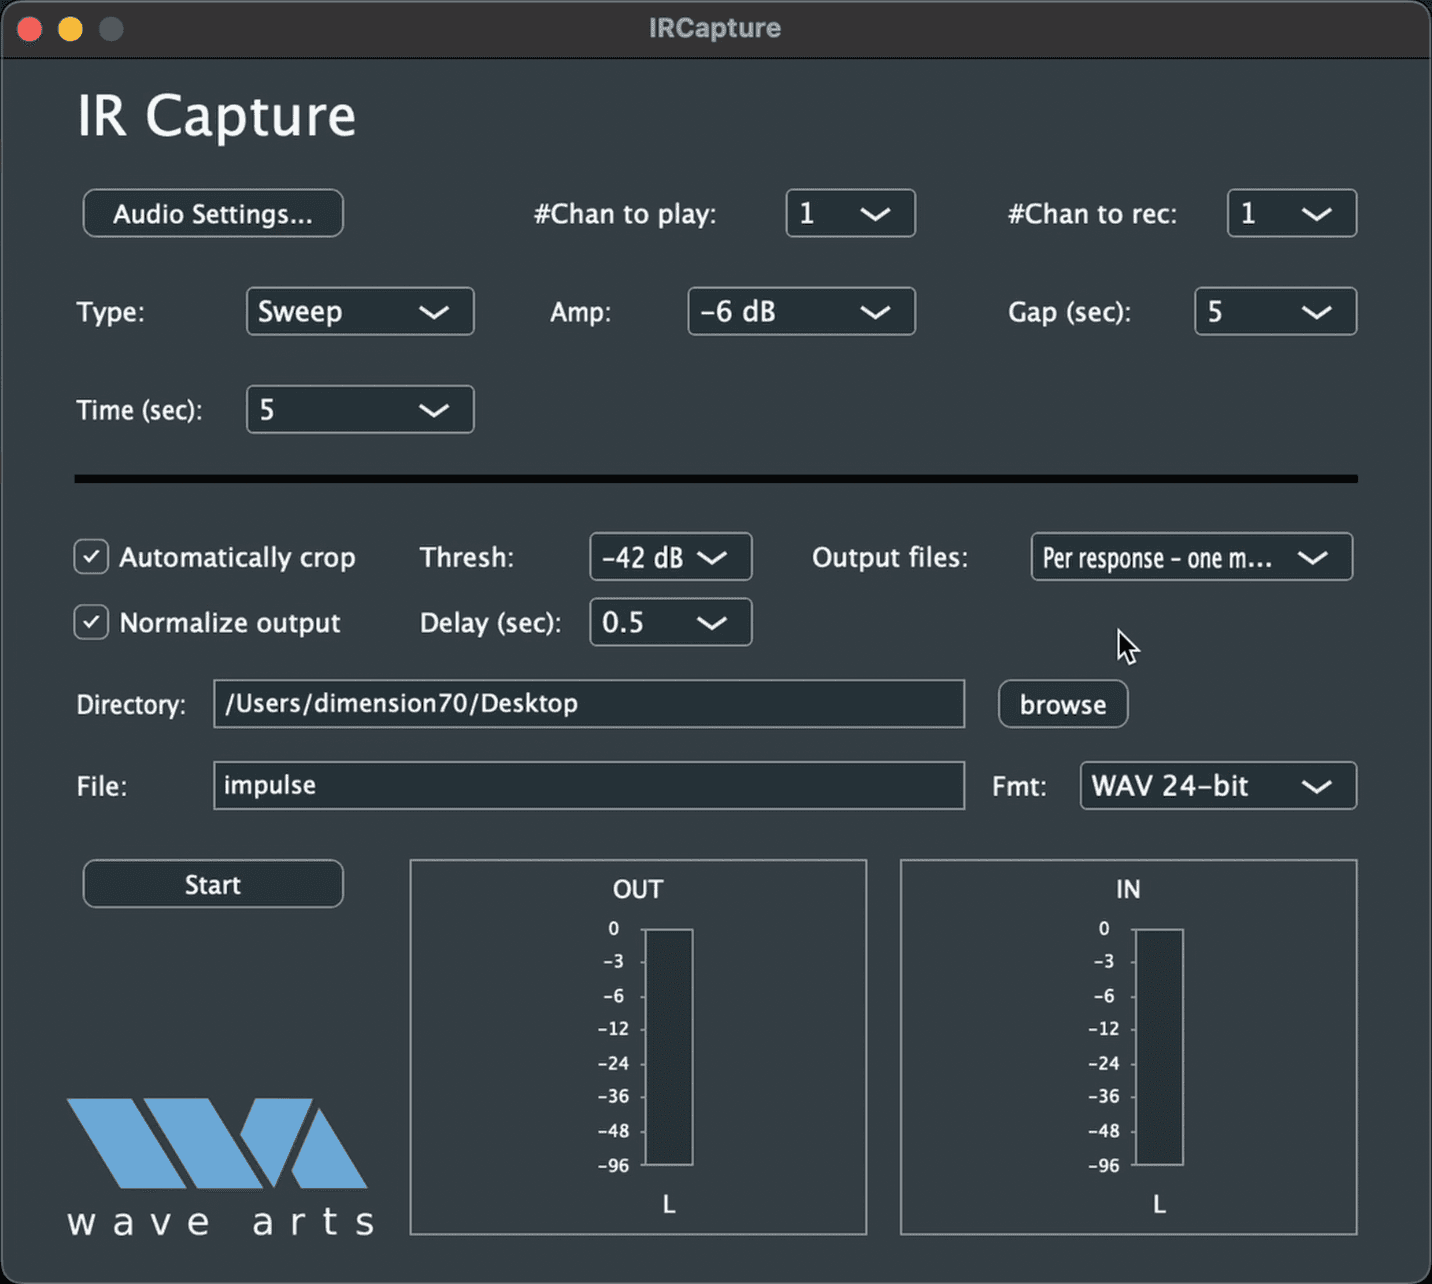
Inside the program, open your audio settings and select the interface you're using. Set your output channel and input channel to match how you wired your signal chain.
Set the sample rate to 48,000 Hz. Then on the main capture screen, confirm the following:
- Automatically crop: enabled
- Normalize output: enabled
- Output files: one mono file per response
- Format: WAV, 24-bit
Choose a destination folder and give your file a name before you start.
Step 4: Run the Sweep
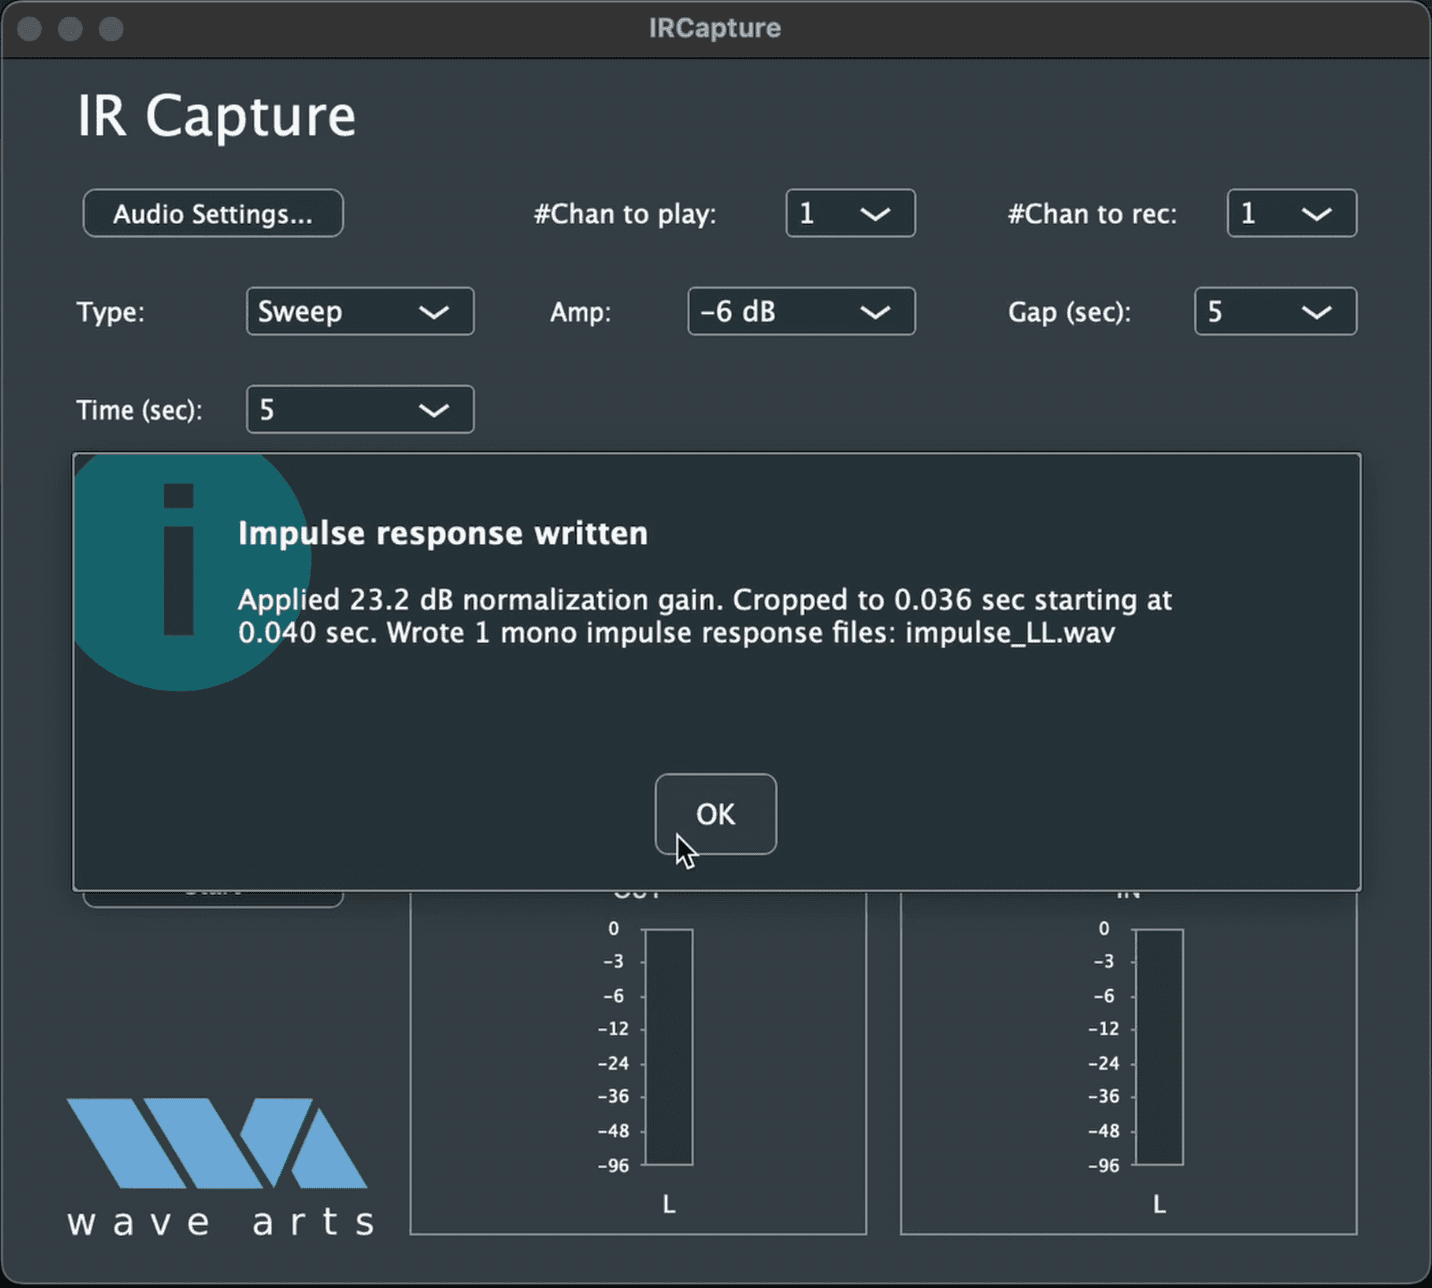
Hit start and let the sine sweep play all the way through your effects unit. Don't stop it early. The software records the sweep as it passes through your gear, then automatically runs deconvolution once it finishes.
Deconvolution mathematically removes the original sweep from the recording, leaving only your gear's response. That response is your IR. When the process completes, hit OK to export the file.
Step 5: Upload to TONE3000
Go to tone3000.com, click Create Tone, and select Upload. Bring in your IR file and fill in the tone pack details. We created an entire guide to help you name, photograph, and describe tone packs that you share publicly. Read the Tone Sharing Guidelines before you upload.
- Make and model of the effects unit
- The exact knob settings you used
- A description of the character and use case (slap delay, warm plate, slow chorus, and so on)
- The gear type, tagged as a Cabinet capture
- Upload a photo of the actual gear you captured. Ideally, take photos during the capture process.
- ✅ Real photos of your actual gear
- ✅ Cropped square
- ❌ Stock photos
- ❌ Web photos
- ❌ AI-generated images
- ❌ Graphics or logos
- ❌ Edited photos
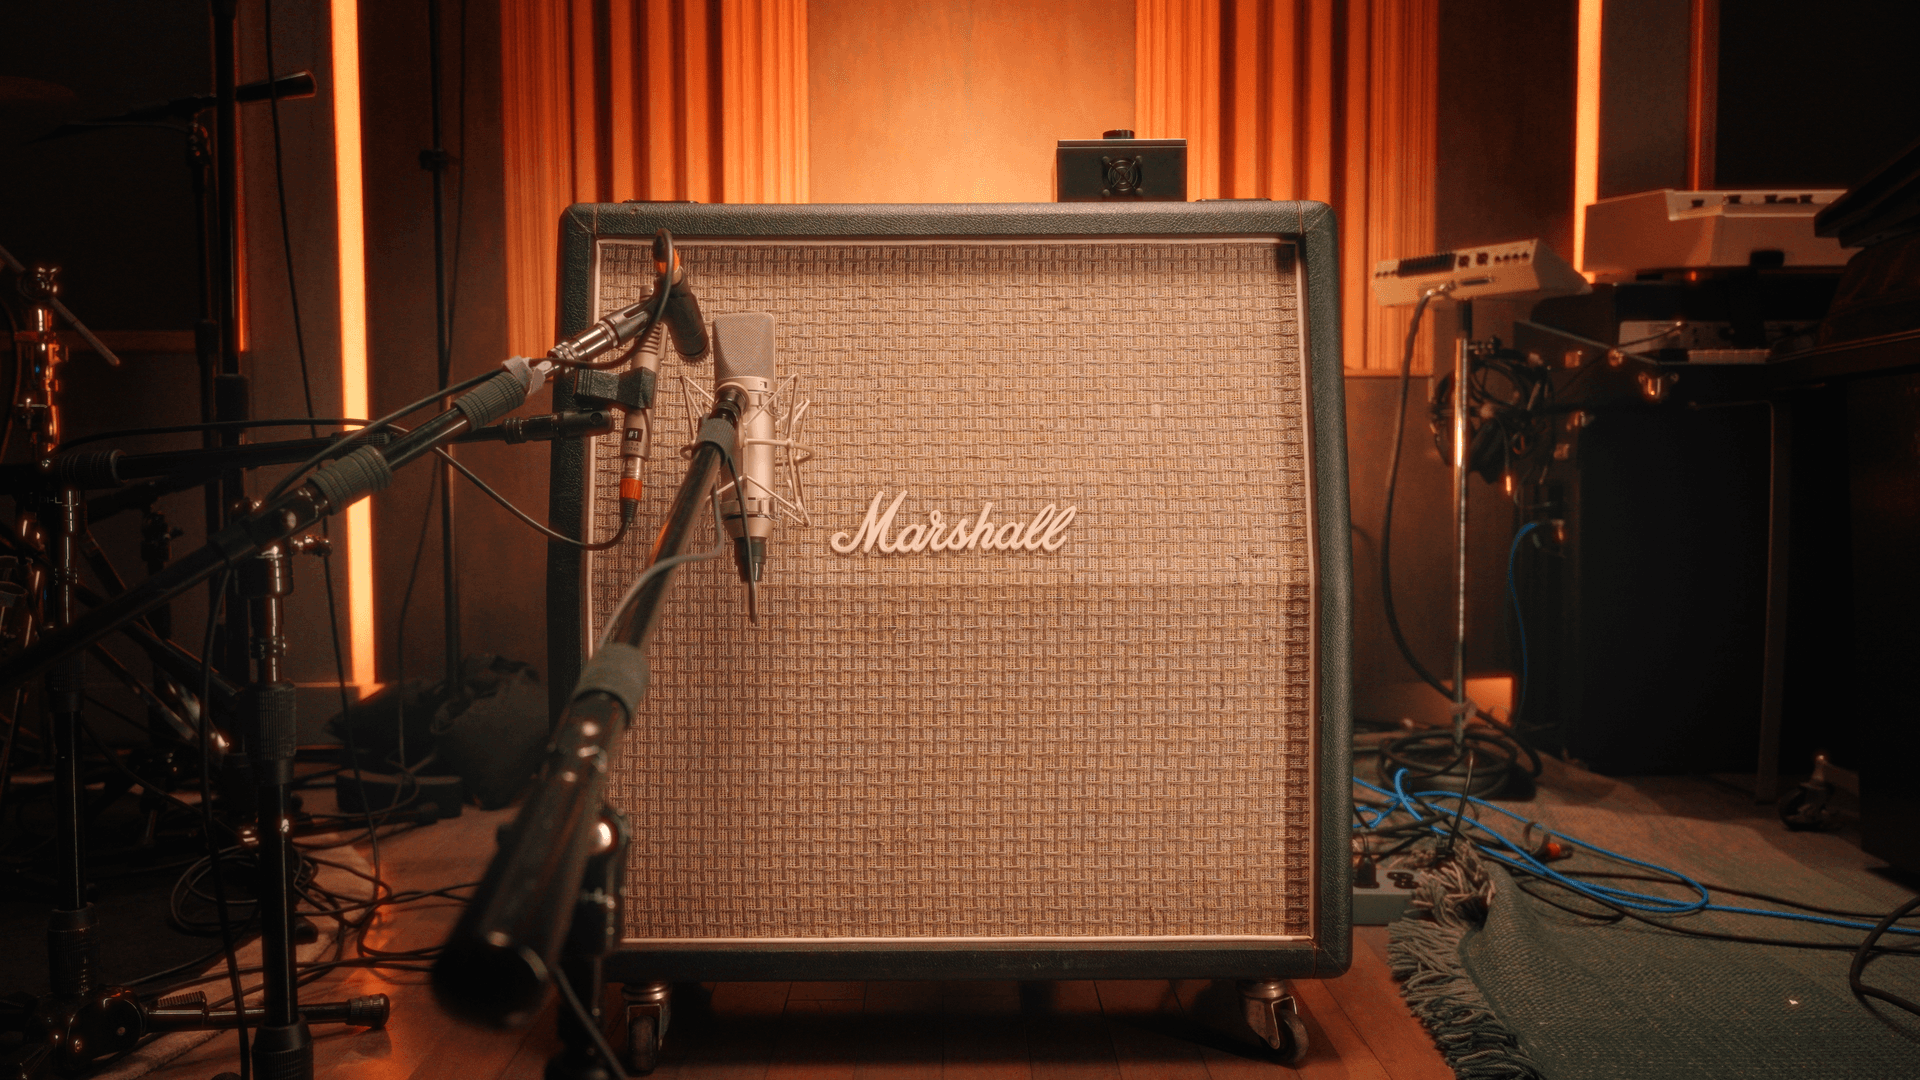
Clear, specific details help other users find your IR and trust that it came from real hardware.
Learn more
New to TONE3000? Check out our Get Started Guide or our Neural Amp Modeler (NAM) guide. Want to upload your IRs and share them with the community? You can upload impulse responses directly on TONE3000.
Need help?
Email support@tone3000.com or join our Discord community.
Related Guides
Trending Tones




NEW TO TONE3000?
Discover hyper-realistic digital models of iconic gear, including the Fender Twin Reverb, Vox AC30, Marshall JCM 800, and thousands more. Getting started is easy—and free!