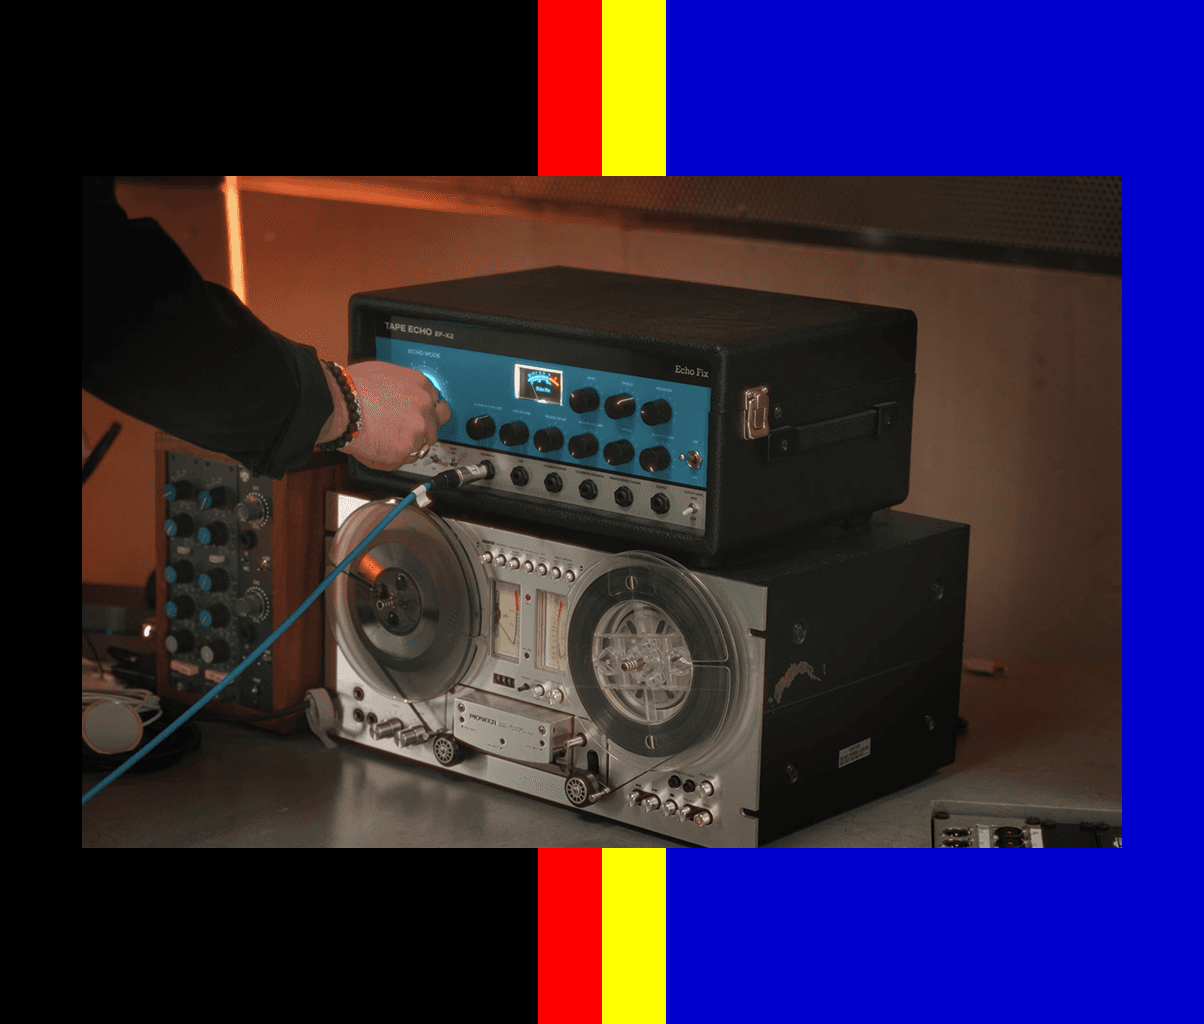
How to Capture an Impulse Response (IR) of an Effects Unit
Turn a time-based effects unit into an impulse response (IR) file. Capture modulation, tape delays, plate reverbs, and more using the sine sweep method, then share it with the TONE3000 community. It's quick, free and simple.
In this guide
Overview
An impulse response, or IR, is a digital snapshot of a linear system, which can be a speaker cabinet, a time based effects unit or a physical space. You capture one by running a test signal through a piece of gear and recording how that gear responds. Once captured, the IR becomes a WAV file you can load into any rig, on any computer, forever.
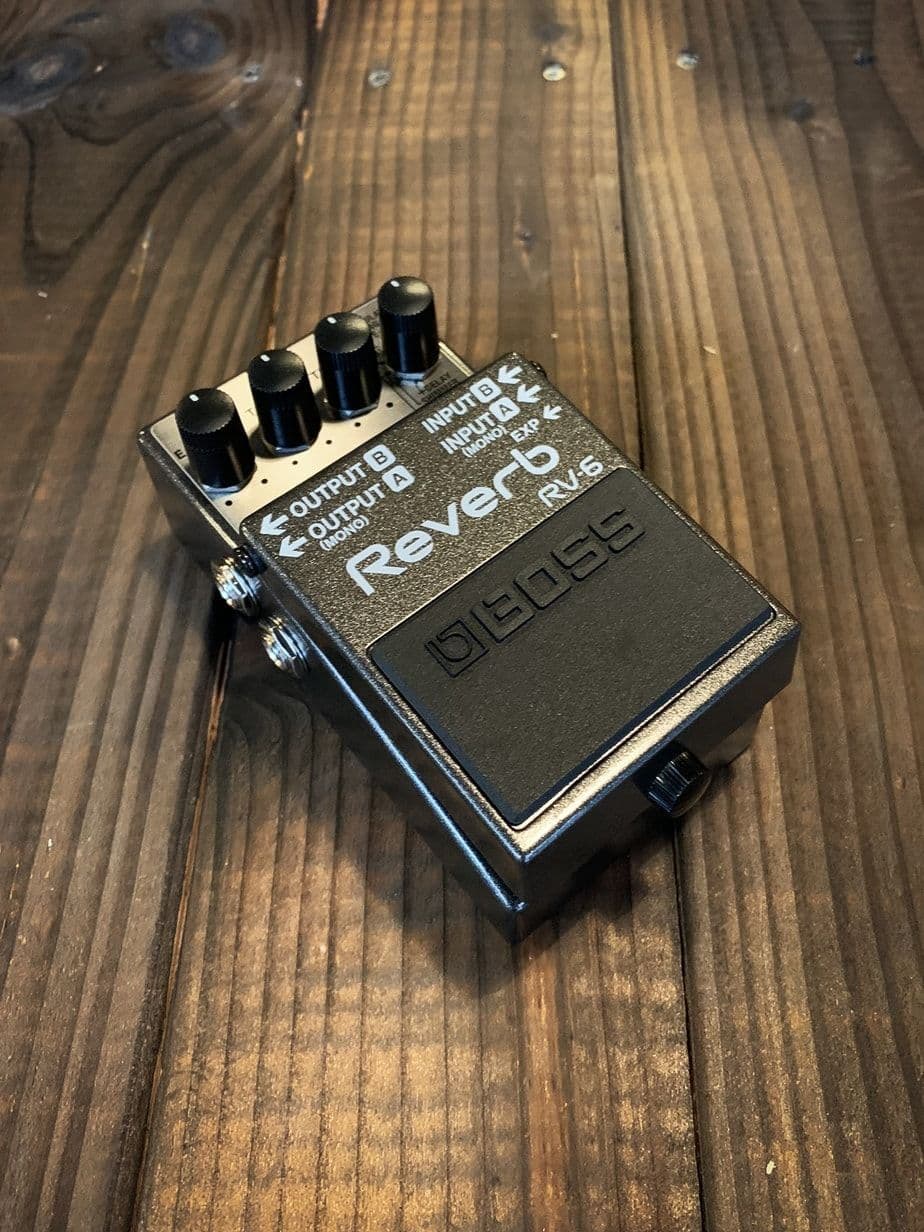
This guide covers time-based effects units: modulation, tape delays, plate reverbs, and similar gear.
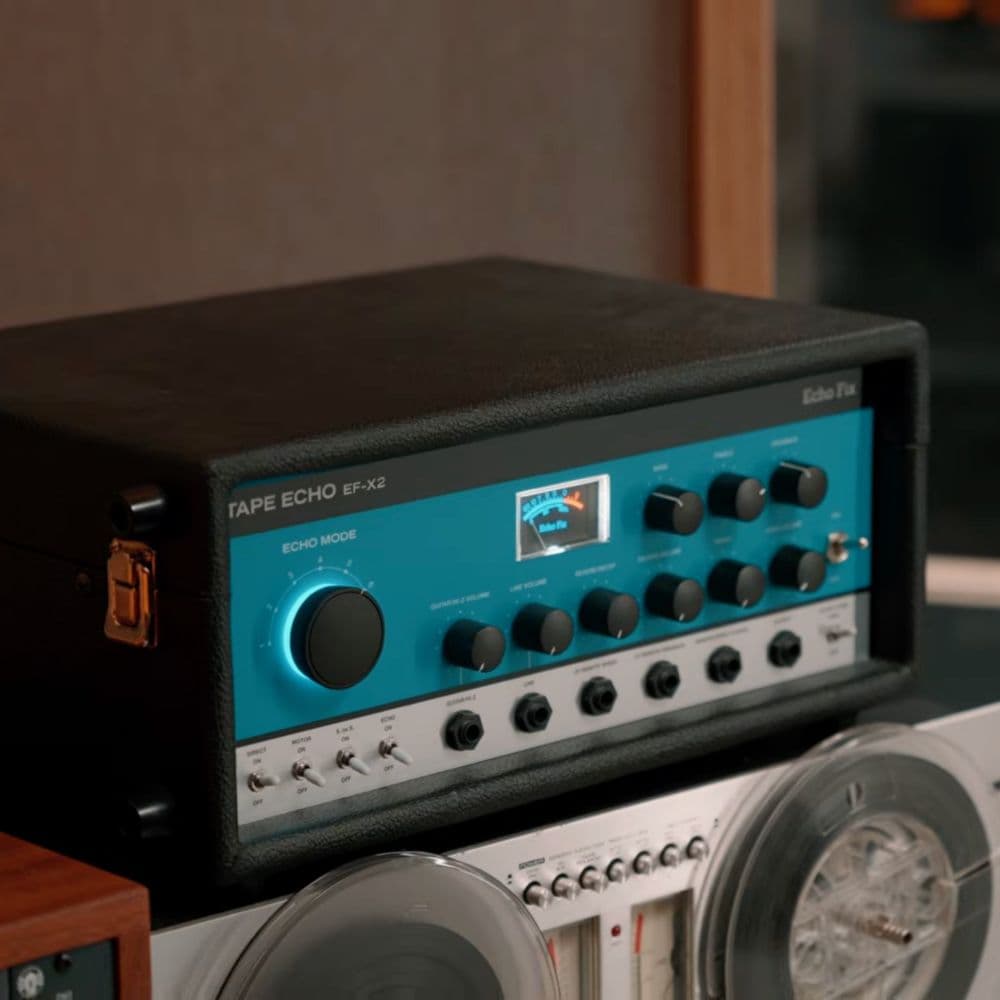
This guide accompanies the video above, in which we captured an impulse response of a Echo Fix EF X2:

Once you're done, upload your IR to TONE3000 and share it with the world's largest community for NAM captures and IRs.
Explore IRs on TONE3000
Explore NAM captures on TONE3000
What You Need
Before you begin, make sure you have:
- The effects unit you want to capture
- An audio interface with an available input and output
- A reamp box, if your unit runs at instrument level instead of line level
- A DI box, if your unit runs at instrument level instead of line level
- A deconvolution program such as WaveArts IR Capture (free)
- Cables to connect everything
If your effects unit accepts and outputs a line-level signal, you can skip the reamp box and DI box entirely.
Let's go!
Step 1: Prepare Your Effects Unit
Before you record anything, dial in the sound you want captured:
- Plug your guitar or source instrument into the effects unit
- Adjust every knob and setting until you're happy with the tone
- Take your time. Whatever setting you land on is exactly what gets captured
Important: An IR only captures a snapshot of your gear at one setting.
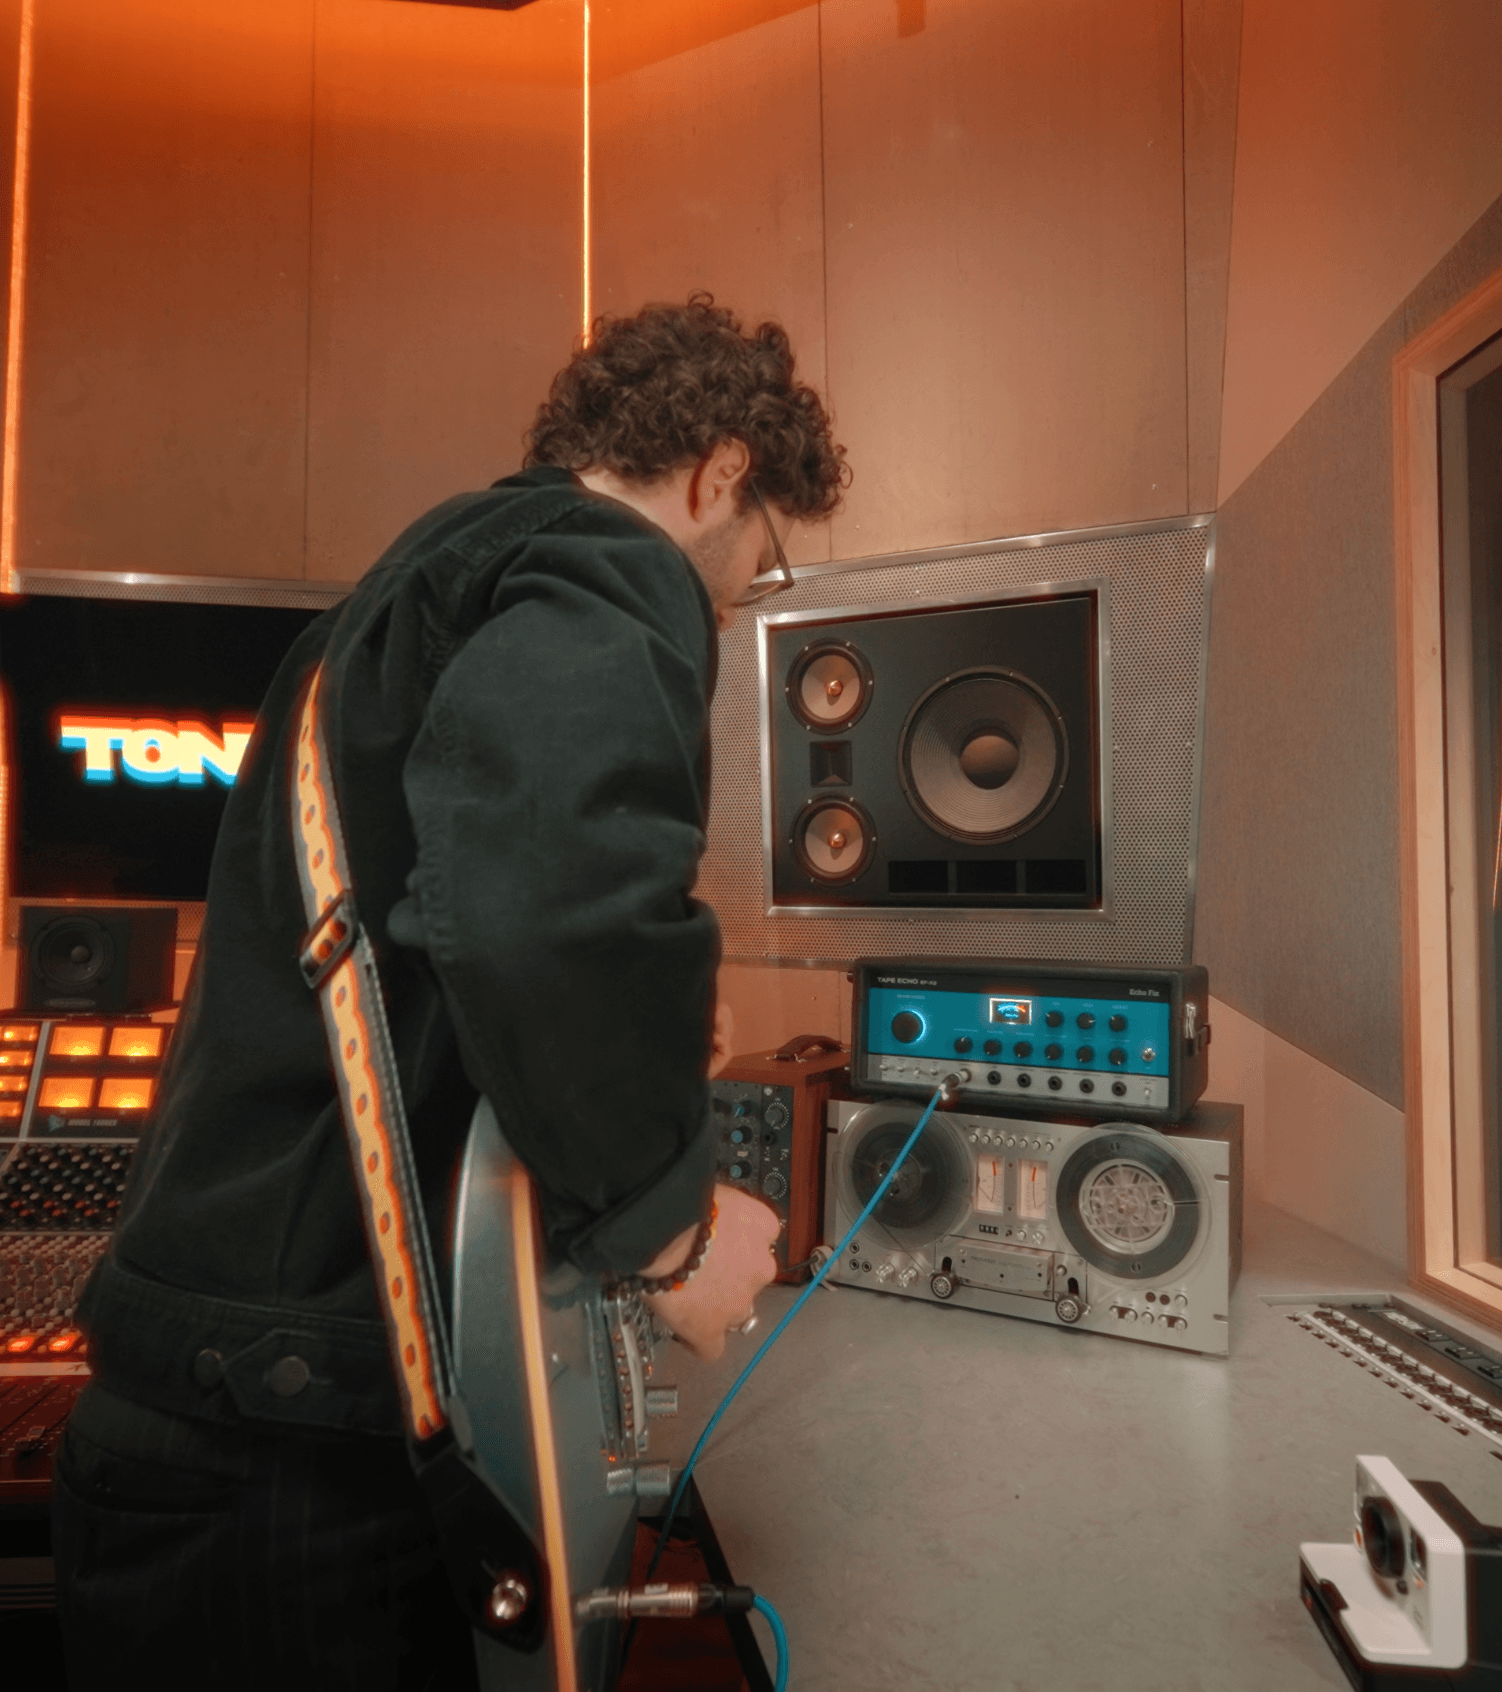
Step 2: Set Up Your Signal Chain
Once your unit is dialed in, route your gear:
- Connect an output from your audio interface into your reamp box, if your effects unit uses instrument level input.
- Run the reamp box into the input of your effects unit
- Run the output of your effects unit into a DI box, if your effects unit uses instrument level output.
- Send that signal back into an input on your audio interface
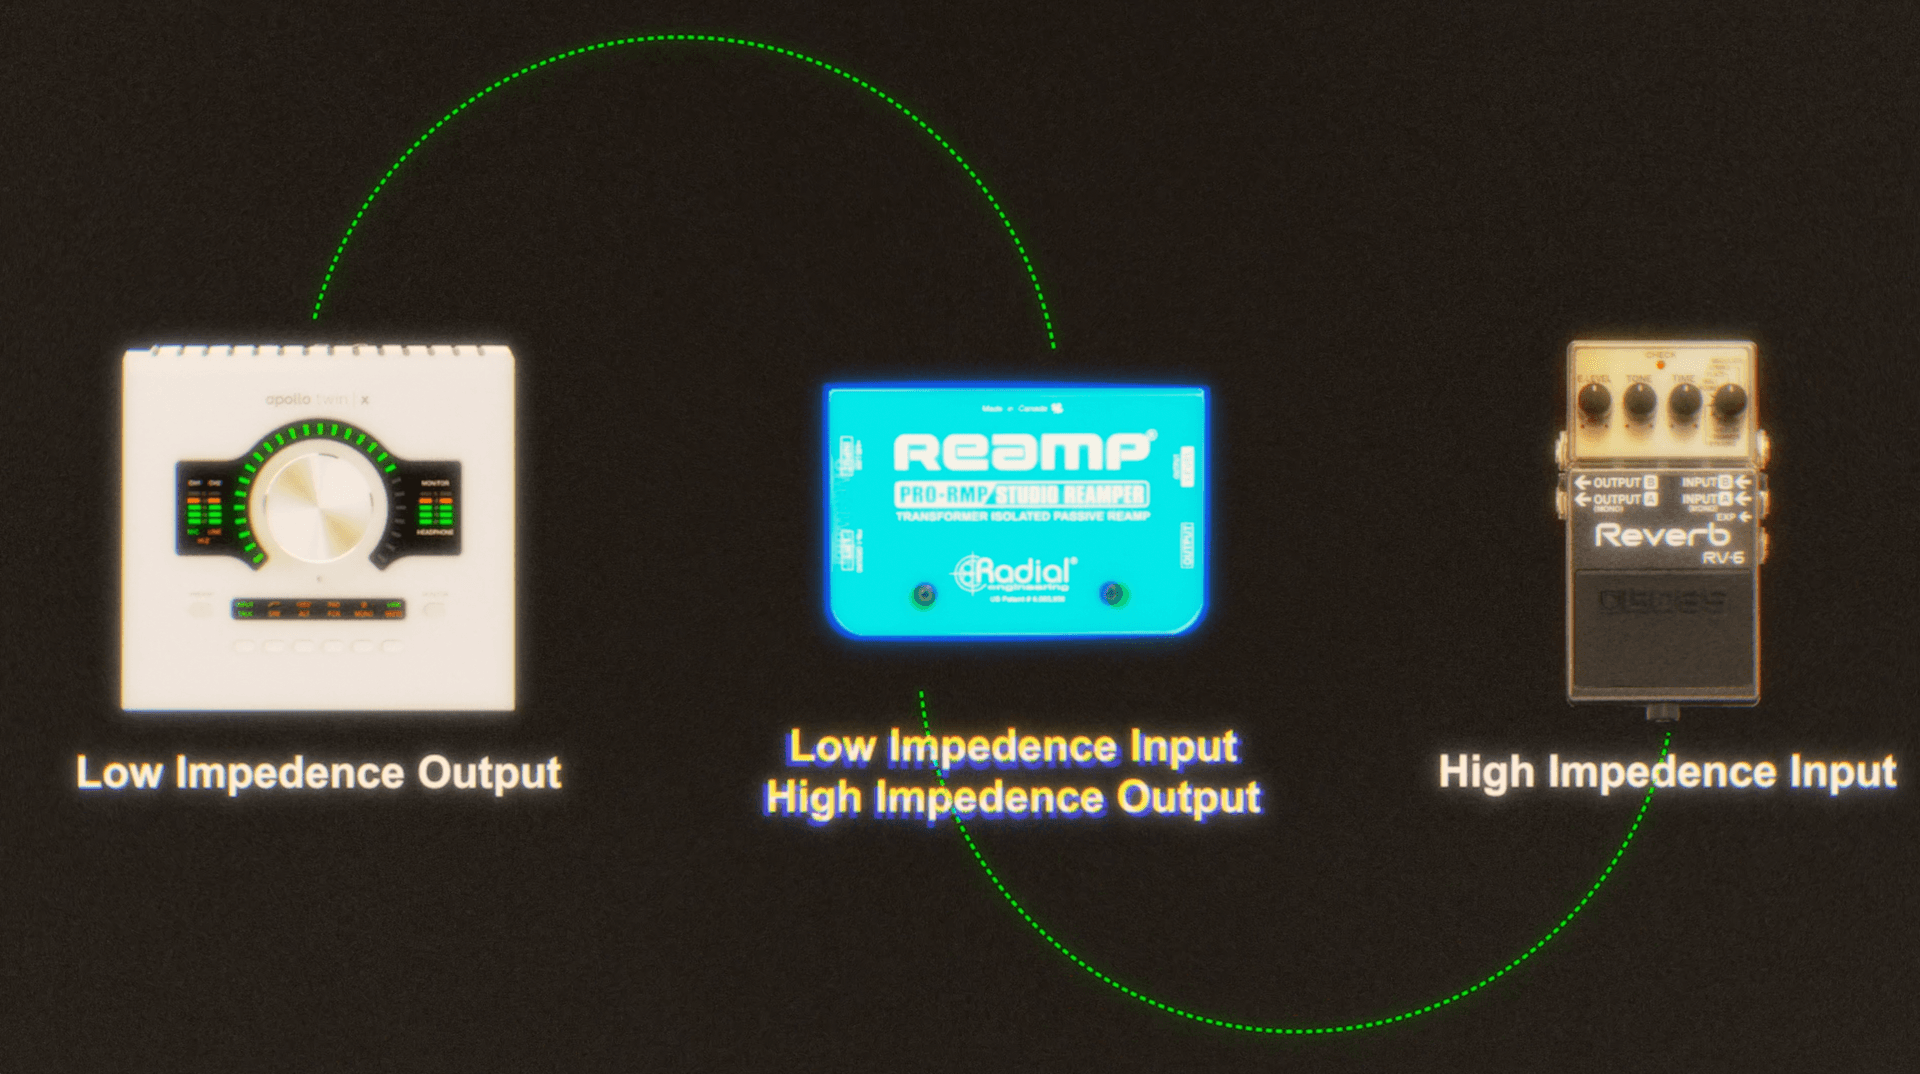
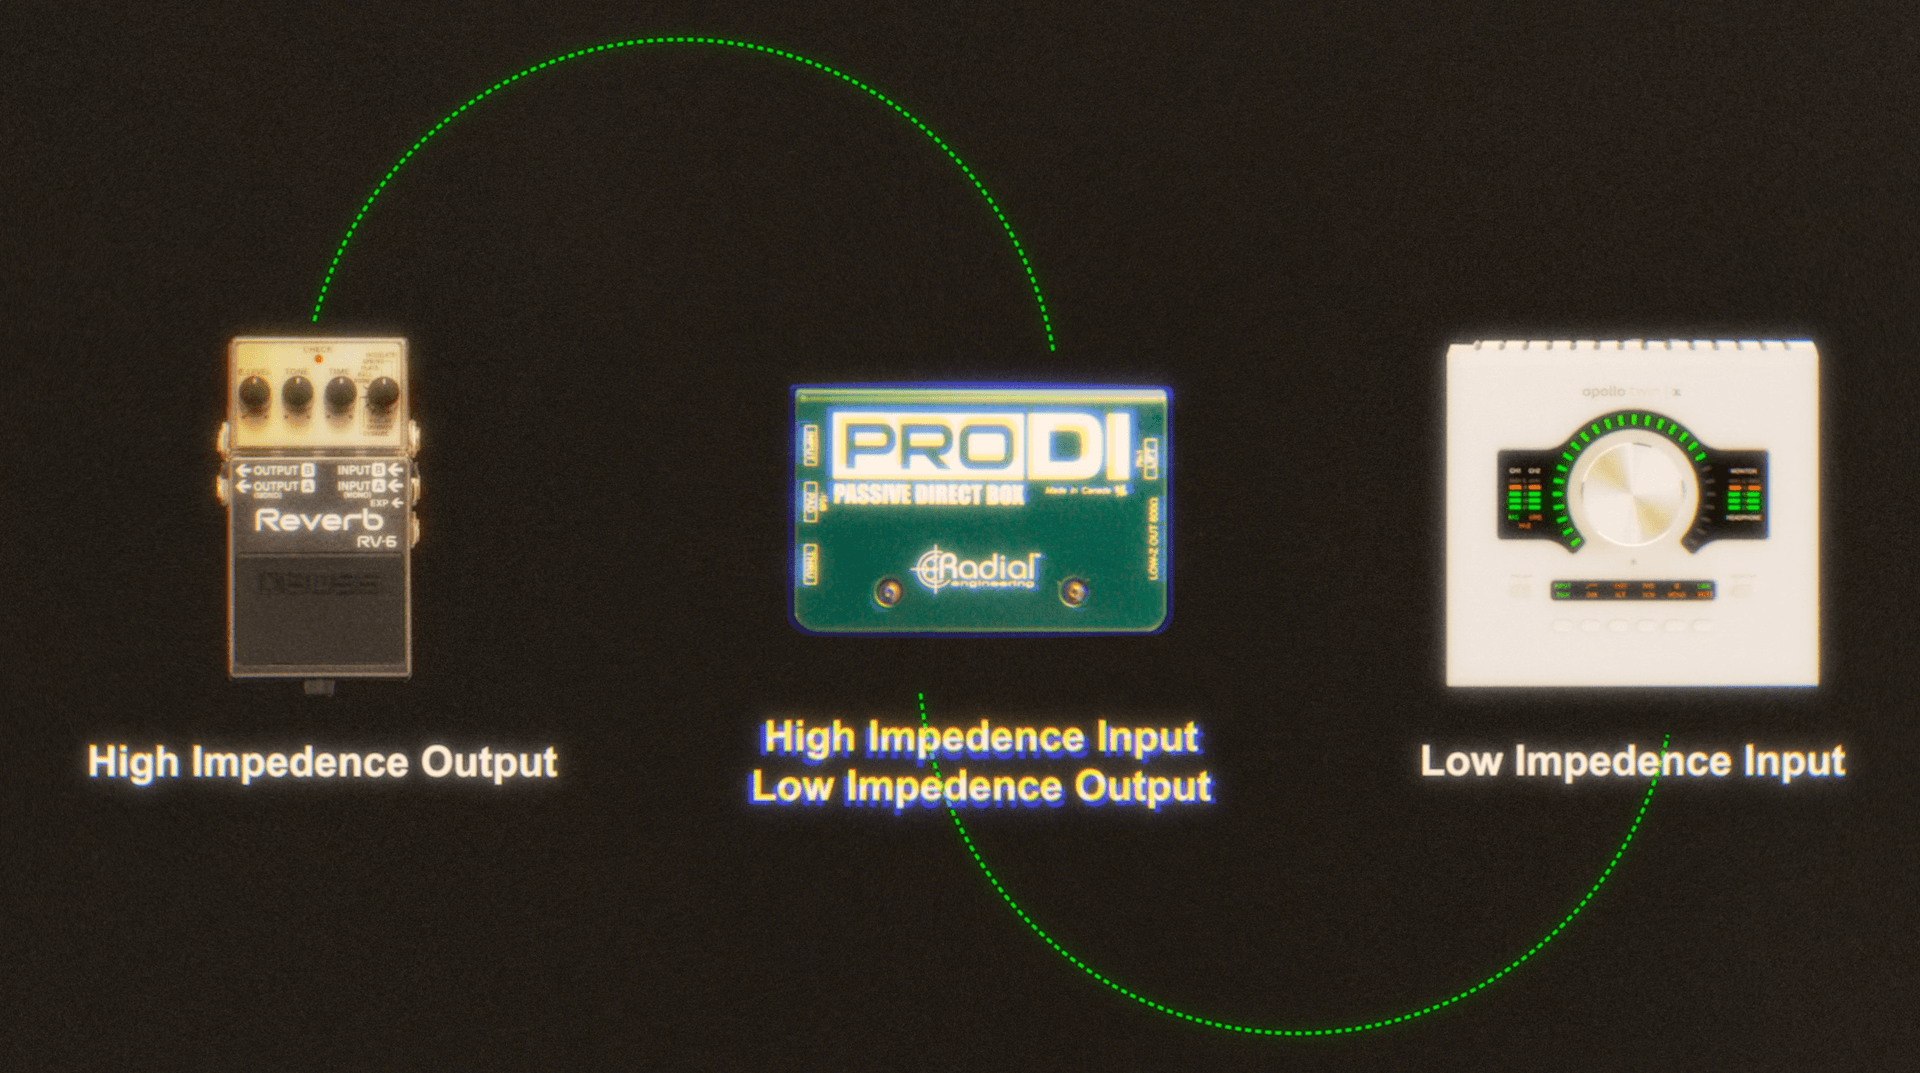
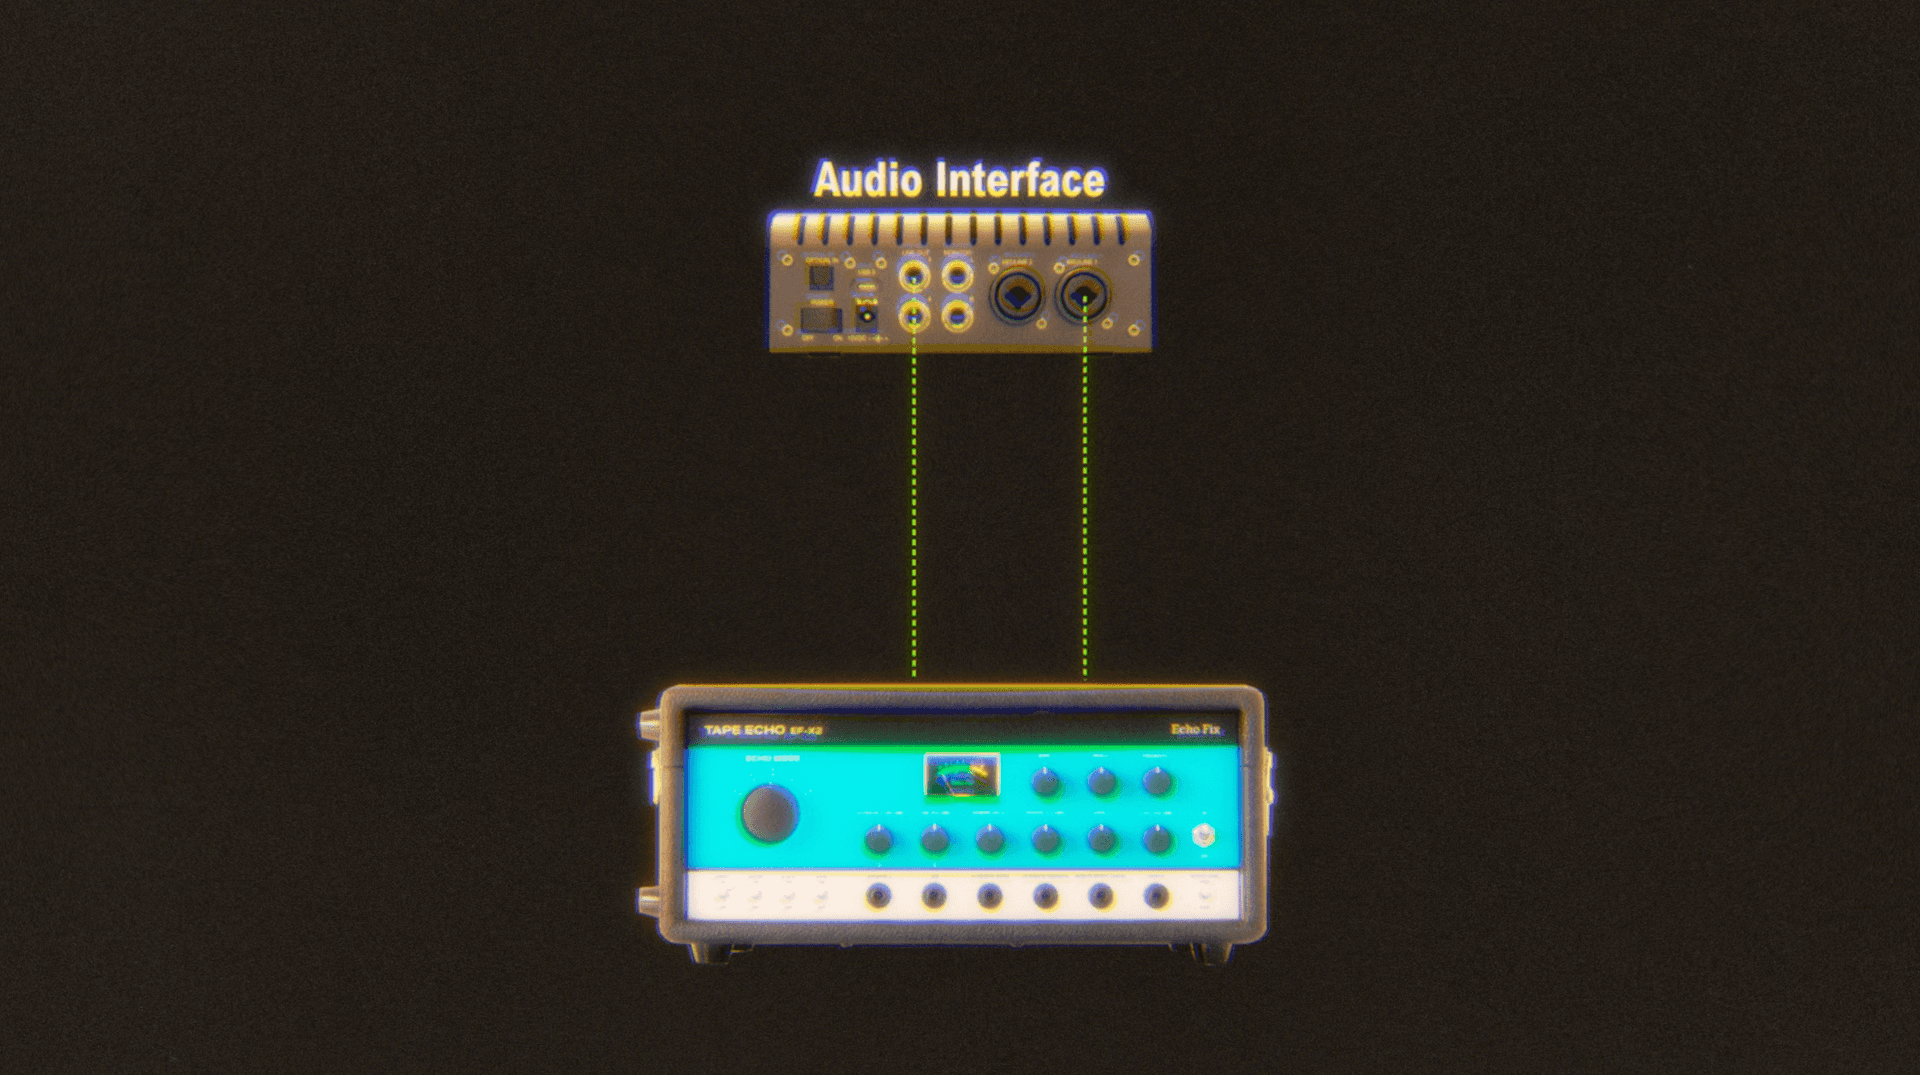
If your unit runs at line level, connect it directly to your interface's output and input. No reamp or DI box needed.
Studio outboard gear like rack-mounted reverbs and delays usually runs at line level already, so you can plug straight into your interface. Instrument-level pedals and stompboxes typically need the reamp and DI boxes to convert the signal cleanly in both directions.
Step 3: Download and Set-Up a Deconvolution Program
Download and open a deconvolution program. WaveArts IR Capture is free and works well for this. Any deconvolution software you already use will also work.
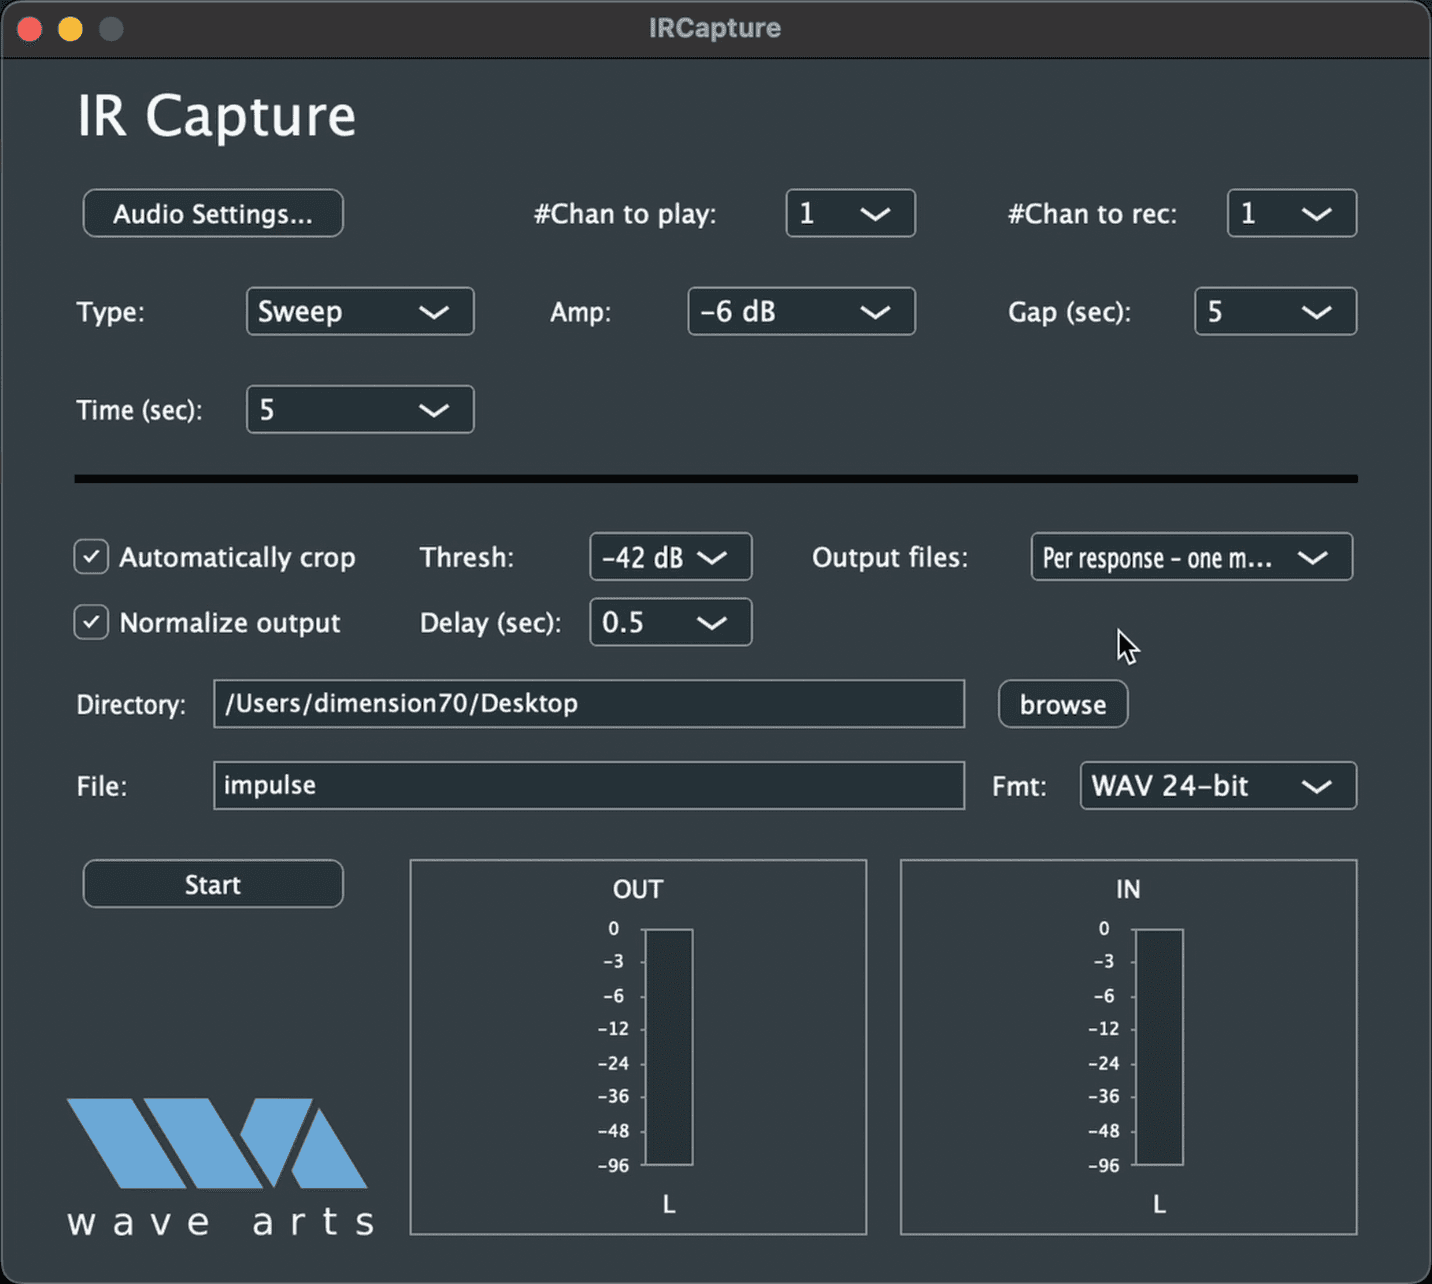
Inside the program, open your audio settings and select the interface you're using. Set your output channel and input channel to match how you wired your signal chain.
Set the sample rate to 48,000 Hz. Then on the main capture screen, confirm the following:
- Automatically crop: enabled
- Normalize output: enabled
- Output files: one mono file per response
- Format: WAV, 24-bit
Choose a destination folder and give your file a name before you start.
Step 4: Run the Sweep
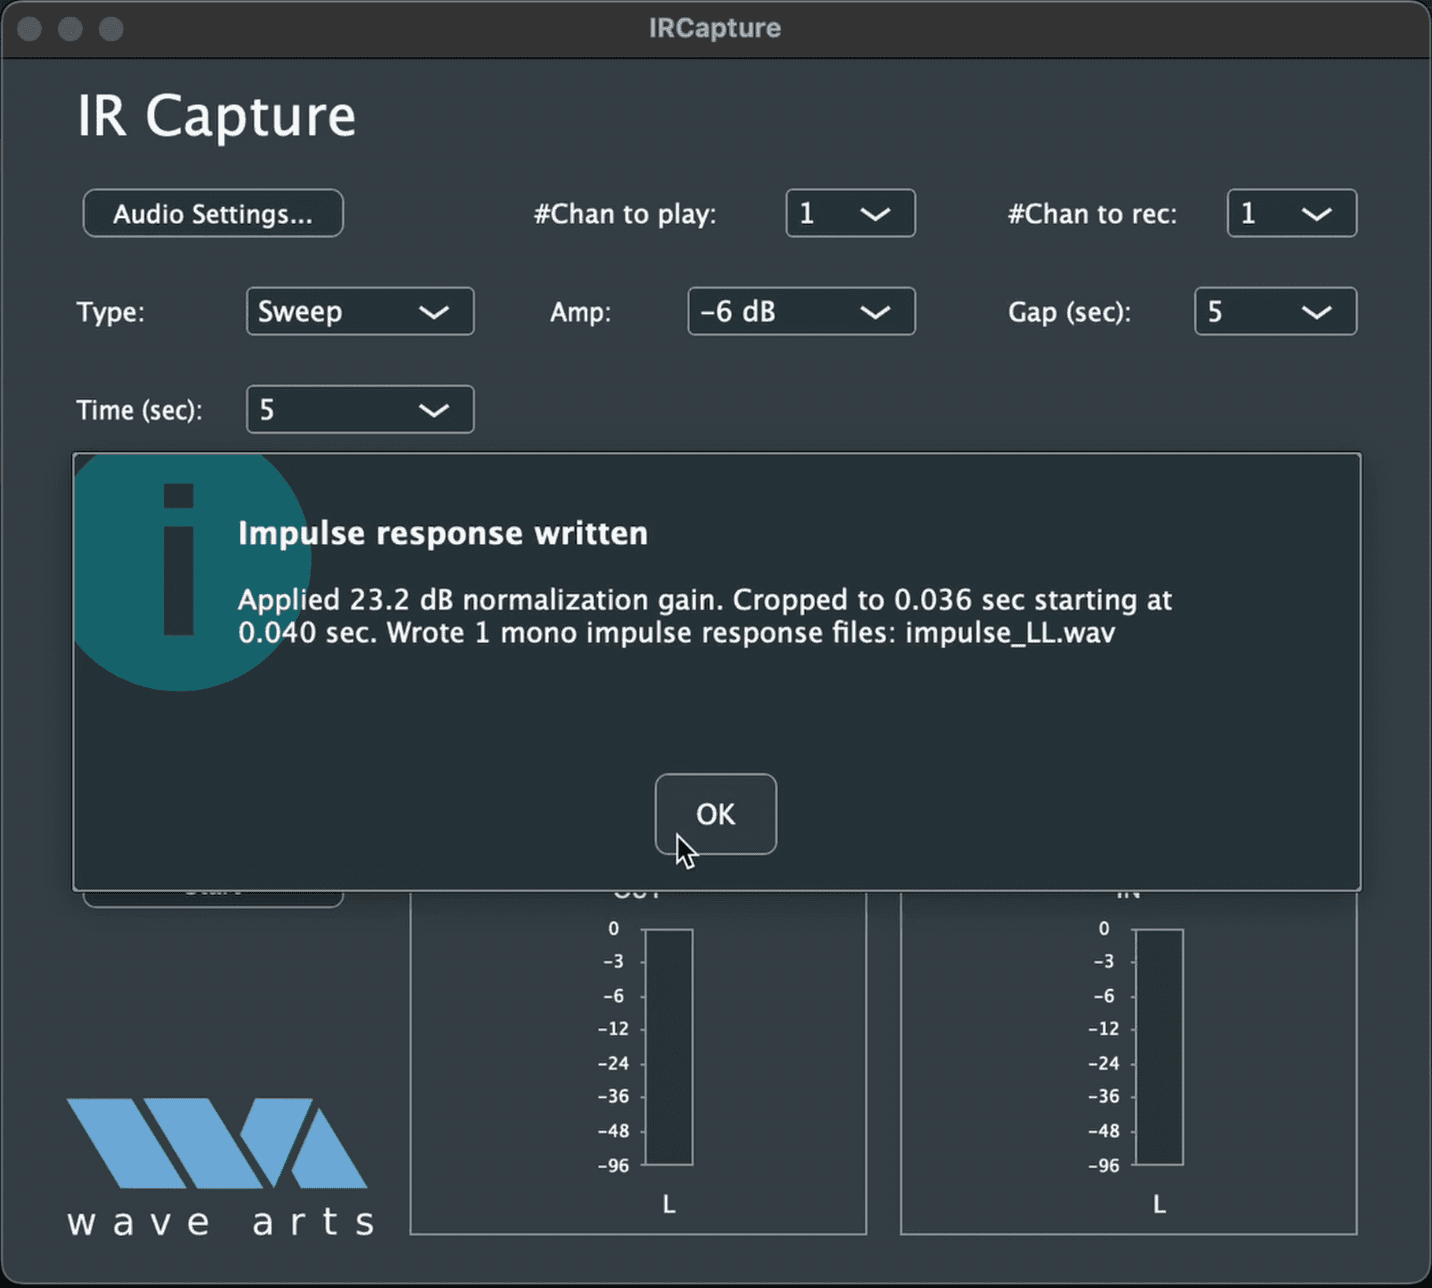
Hit start and let the sine sweep play all the way through your effects unit. Don't stop it early. The software records the sweep as it passes through your gear, then automatically runs deconvolution once it finishes.
Deconvolution mathematically removes the original sweep from the recording, leaving only your gear's response. That response is your IR. When the process completes, hit OK to export the file.
Step 5: Upload to TONE3000
Go to tone3000.com, click Create Tone, and select Upload. Bring in your IR file and fill in the tone pack details. We created an entire guide to help you name, photograph, and describe tone packs that you share publicly. Read the Tone Sharing Guidelines before you upload.
- Make and model of the effects unit
- The exact knob settings you used
- A description of the character and use case (slap delay, warm plate, slow chorus, and so on)
- The gear type, tagged as an Outboard capture
- Upload a photo of the actual gear you captured. Ideally, take photos during the capture process.
- ✅ Real photos of your actual gear
- ✅ Cropped square
- ❌ Stock photos
- ❌ Web photos
- ❌ AI-generated images
- ❌ Graphics or logos
- ❌ Edited photos
Clear, specific details help other users find your IR and trust that it came from real hardware.
What's Next
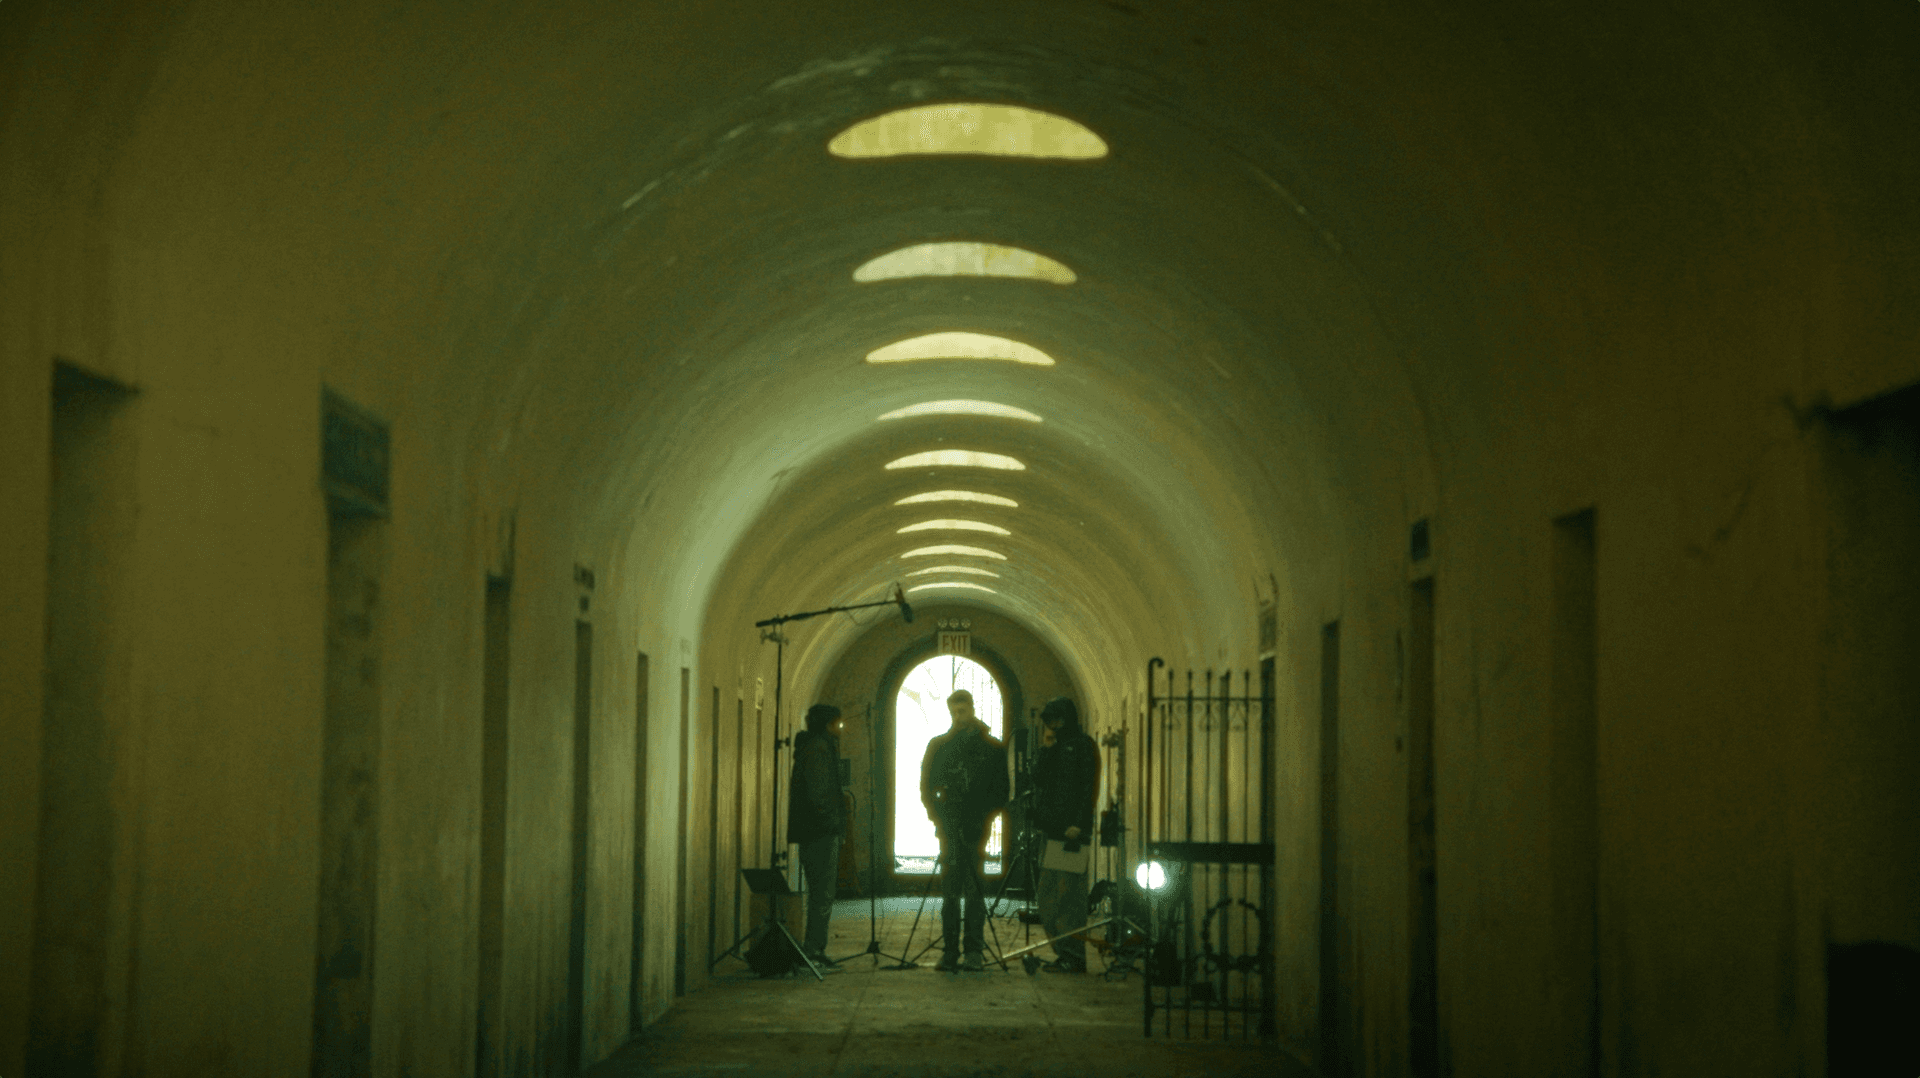
Now that your time-based effects unit is a reusable IR, you can drop it into any rig, anytime. Next, try the same sine sweep method on a physical space instead of a piece of gear. Any room works: a church, a cave, even a catacomb.
Ready to start exploring?
New to TONE3000? Check out our Get Started Guide or our Neural Amp Modeler (NAM) guide. Want to upload your IRs and share them with the community? You can upload impulse responses directly on TONE3000.
Need help?
Email support@tone3000.com or join our Discord community.
Related Guides
Impulse Responce (UR)




NEW TO TONE3000?
Discover hyper-realistic digital models of iconic gear, including the Fender Twin Reverb, Vox AC30, Marshall JCM 800, and thousands more. Getting started is easy—and free!