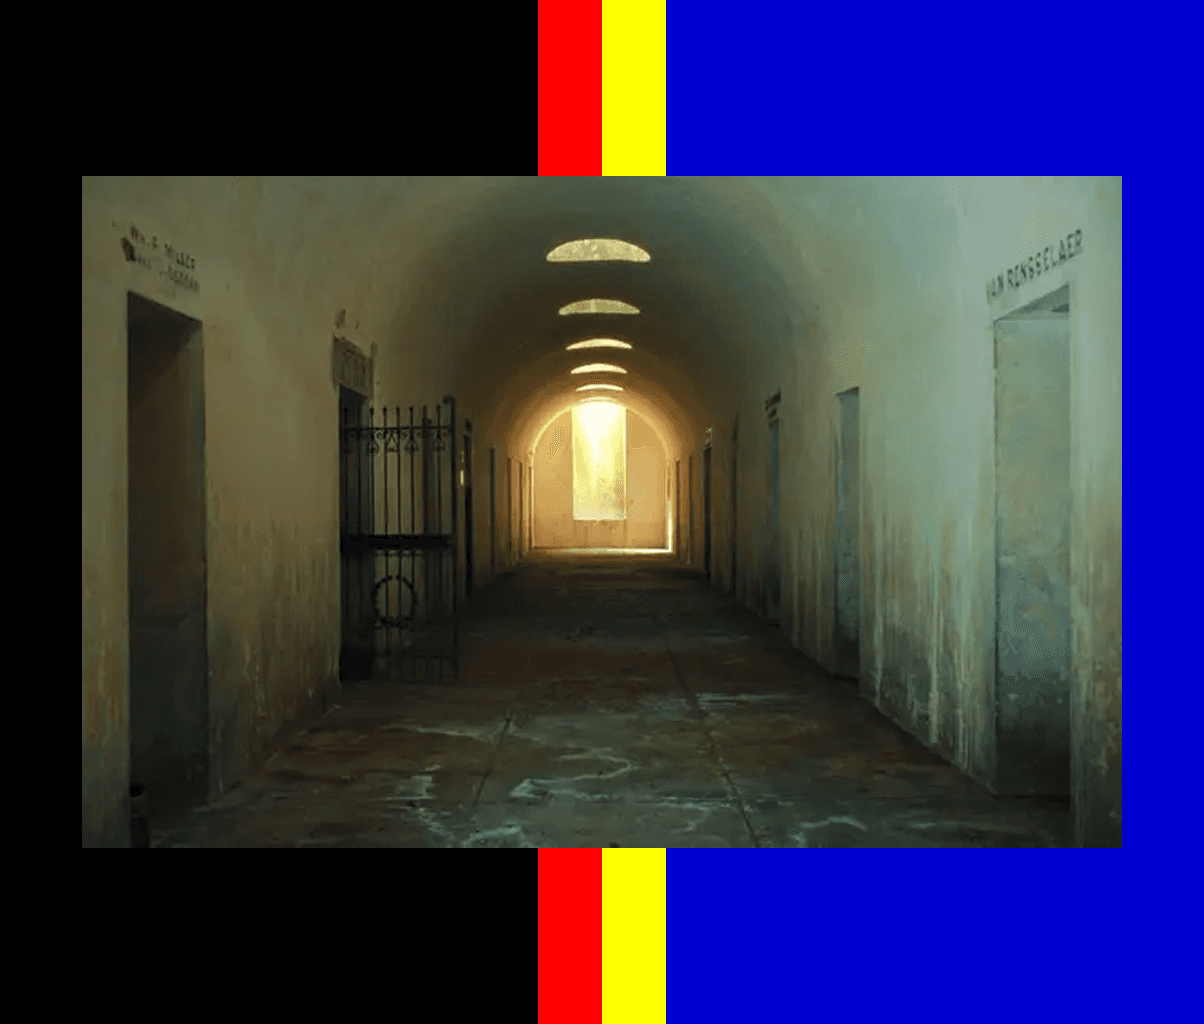
How to Capture an IR of a Space
Capture a digital model of any real space as an impulse response (IR) file. From a concert hall to a catacomb, this guide walks you through recording natural reverb with the sine sweep method and sharing it with the TONE3000 community.
In this guide
Overview
This guide shows you how to capture an impulse response (IR) of a real room using the sine sweep method. You play a test signal through a speaker in the space, record it with microphones, then run deconvolution to isolate the room's natural reverb as a WAV file you can load into any rig.
This method works for any room: a hall, a chamber, a stairwell, a basement.
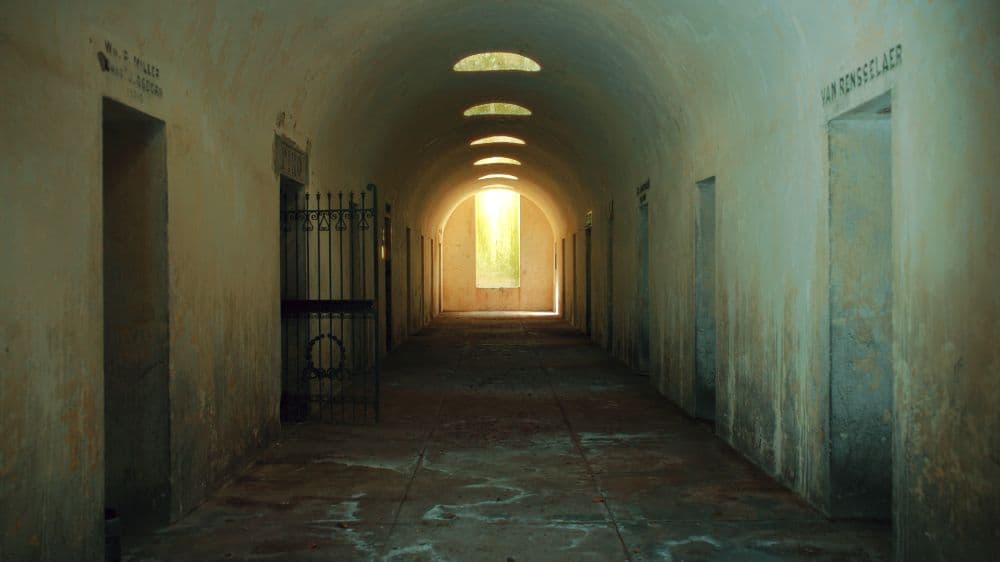
This guide accompanies the video above, in which we captured an impulse response of The Green-Wood Cemetery Catacombs:

Once you're done, upload your IR to TONE3000 and share it with the world's largest community for NAM captures and IR's.
Explore IRs on TONE3000
Explore NAM captures on TONE3000
What You Need
Before you begin, make sure you have:
- A room or space worth capturing
- A neutral playback device, like a studio monitor
- One or more microphones
- An audio interface with enough inputs and outputs
- A deconvolution program such as WaveArts IR Capture (free)
- Cables long enough to place your speaker and mics where you want them
Let's go!
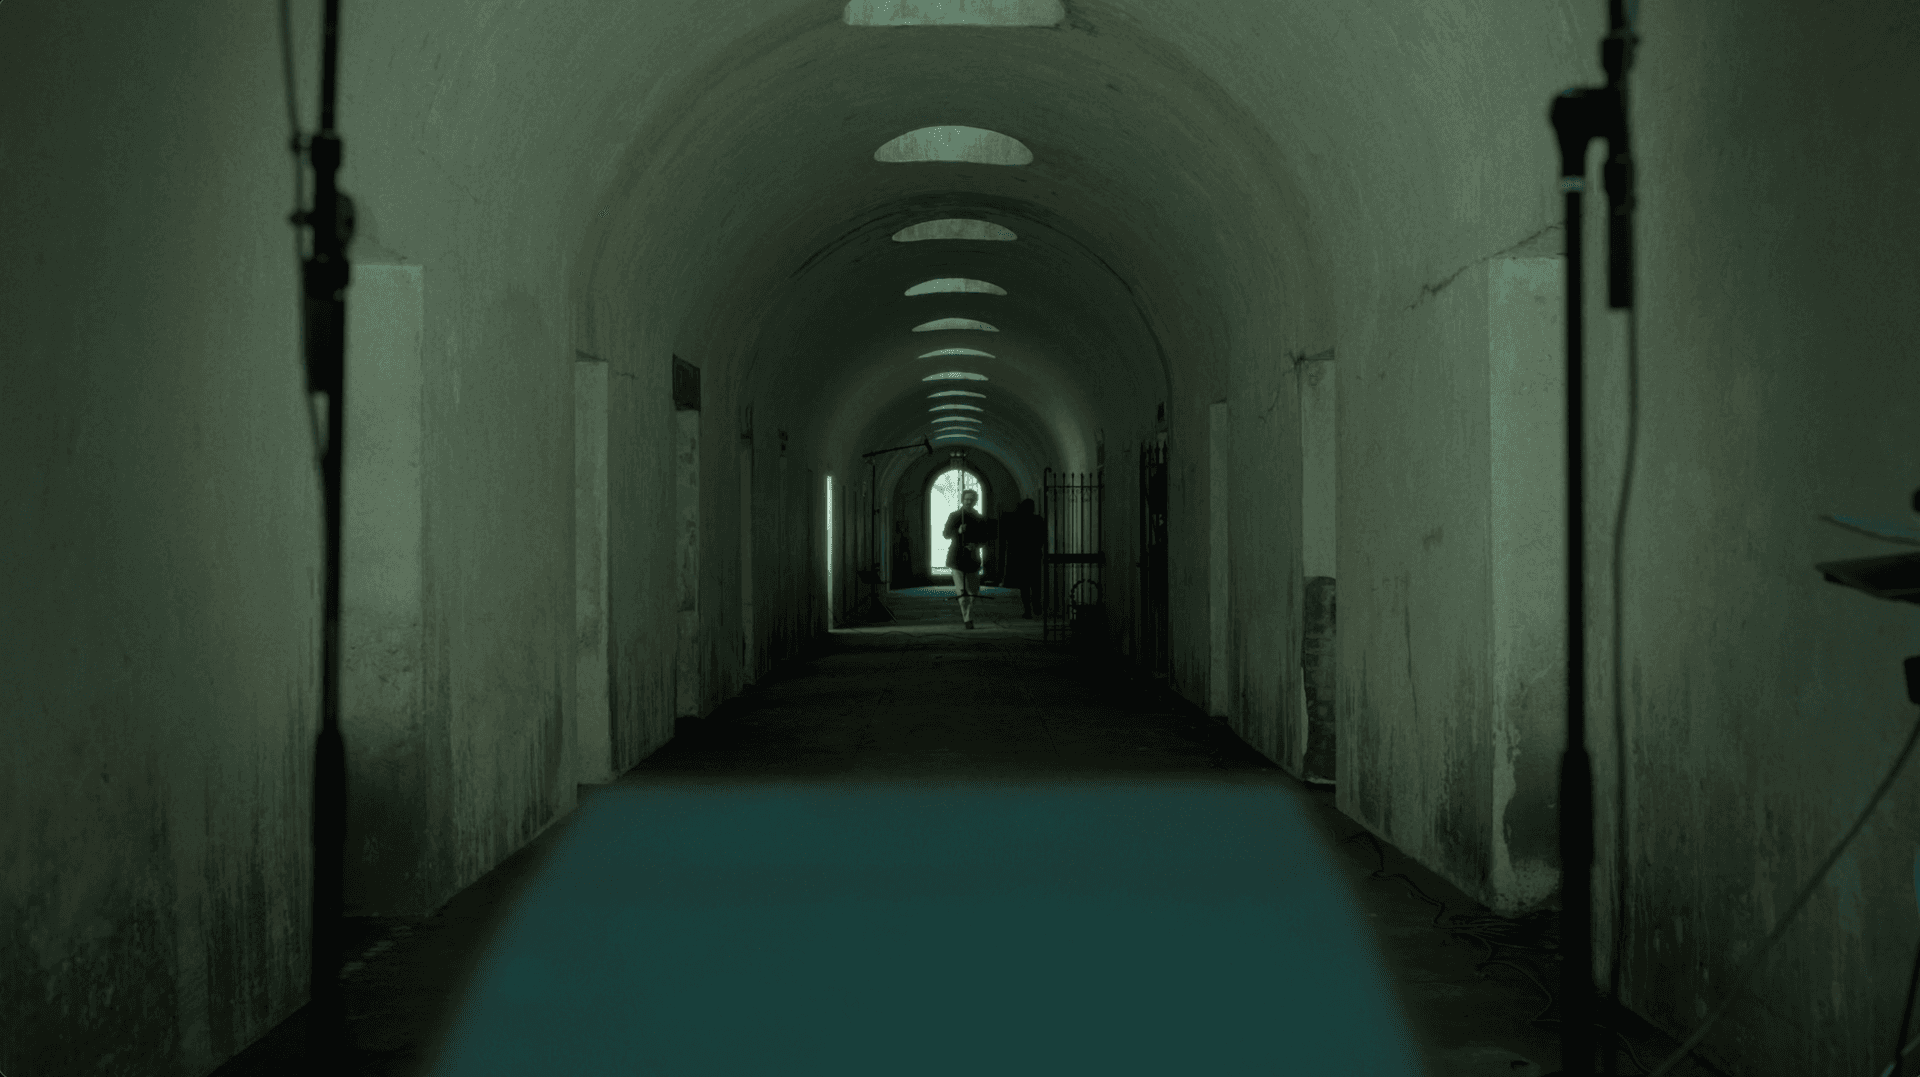
Step 1: Set Up Your Playback Device
Use a neutral, accurate playback device so you capture the character of the space, not the character of the speaker. A studio monitor works well. A good PA also works.
Just like capturing a cabinet IR with a neutral amp isolates the cabinet's character, a neutral speaker here isolates the room's character.
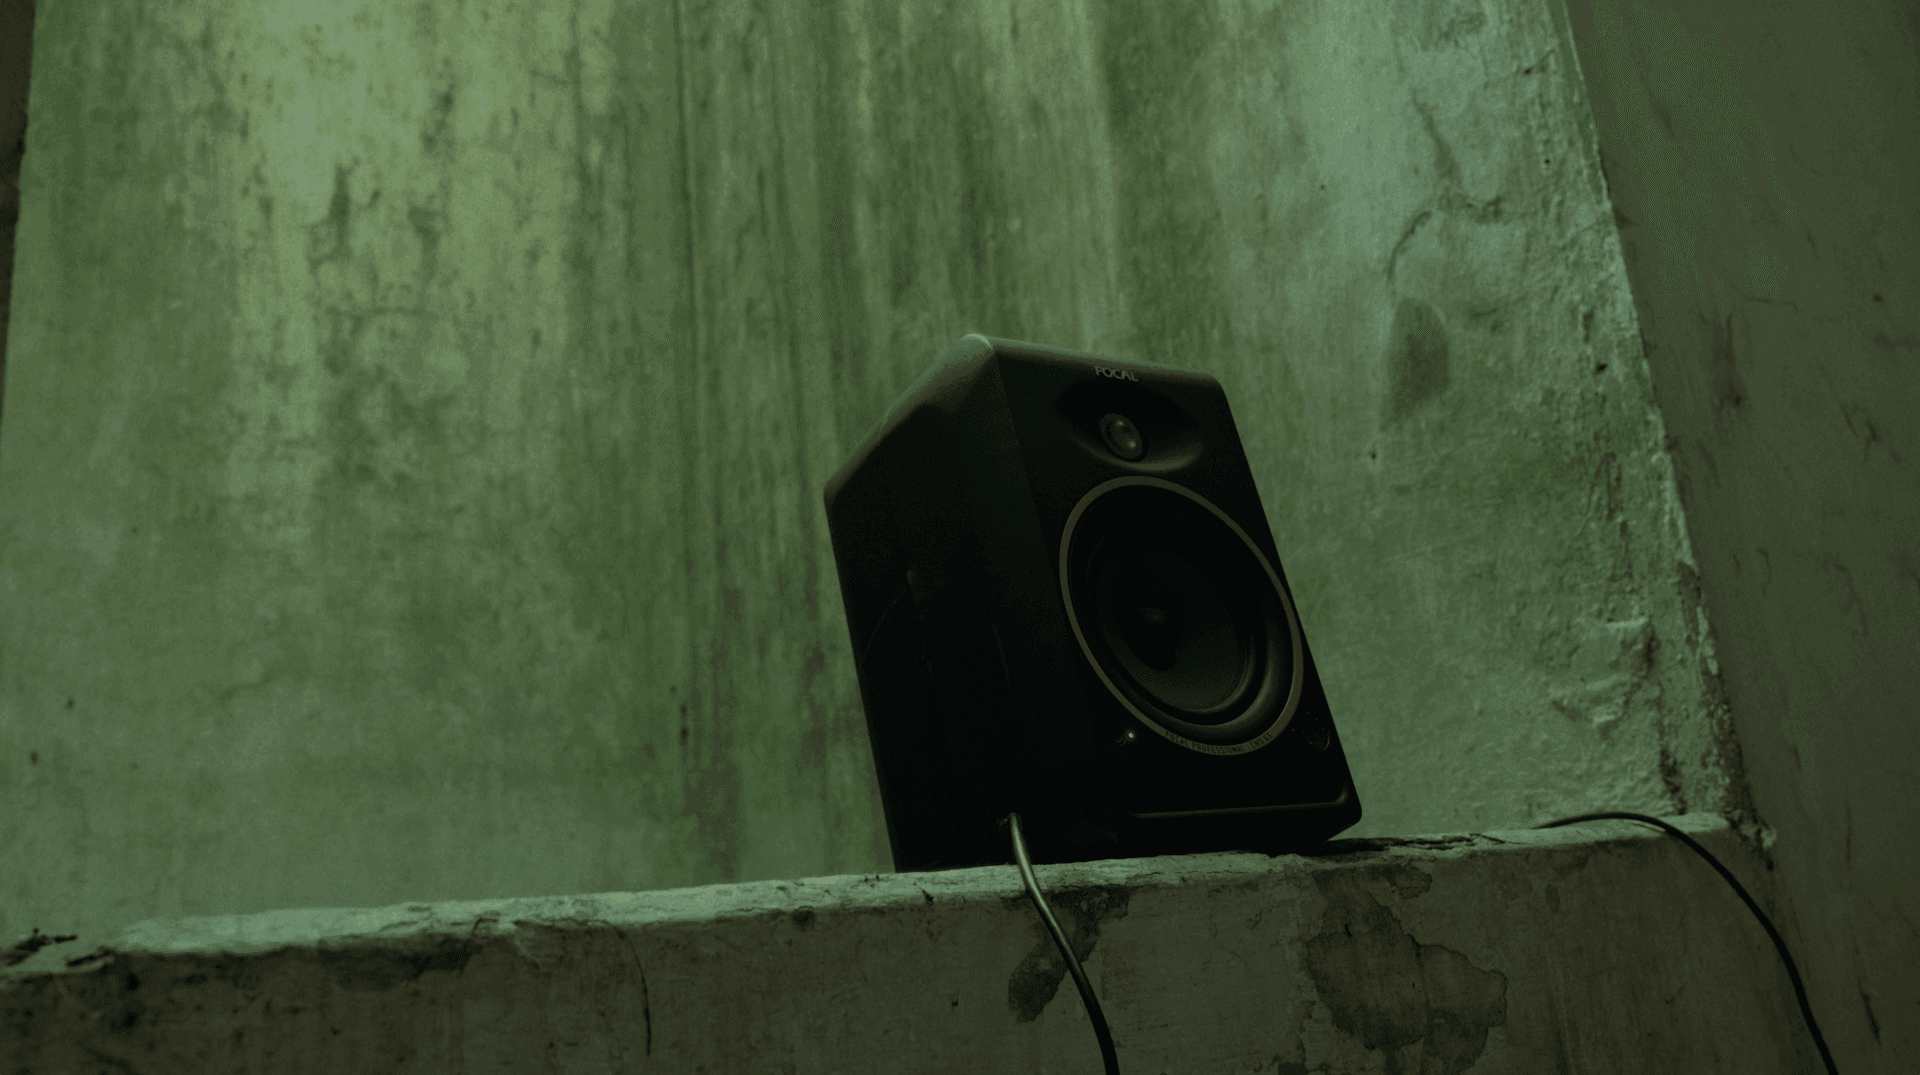
Before you place your playback device, walk the room. Clap, snap, or whistle and listen for spots you like. There's no fixed rule for speaker placement, but a few common starting points:
- Center of the room: fills the space evenly
- One end or a corner: projects sound into the center
- Where a performer would stand: ideal for halls, venues, and stages
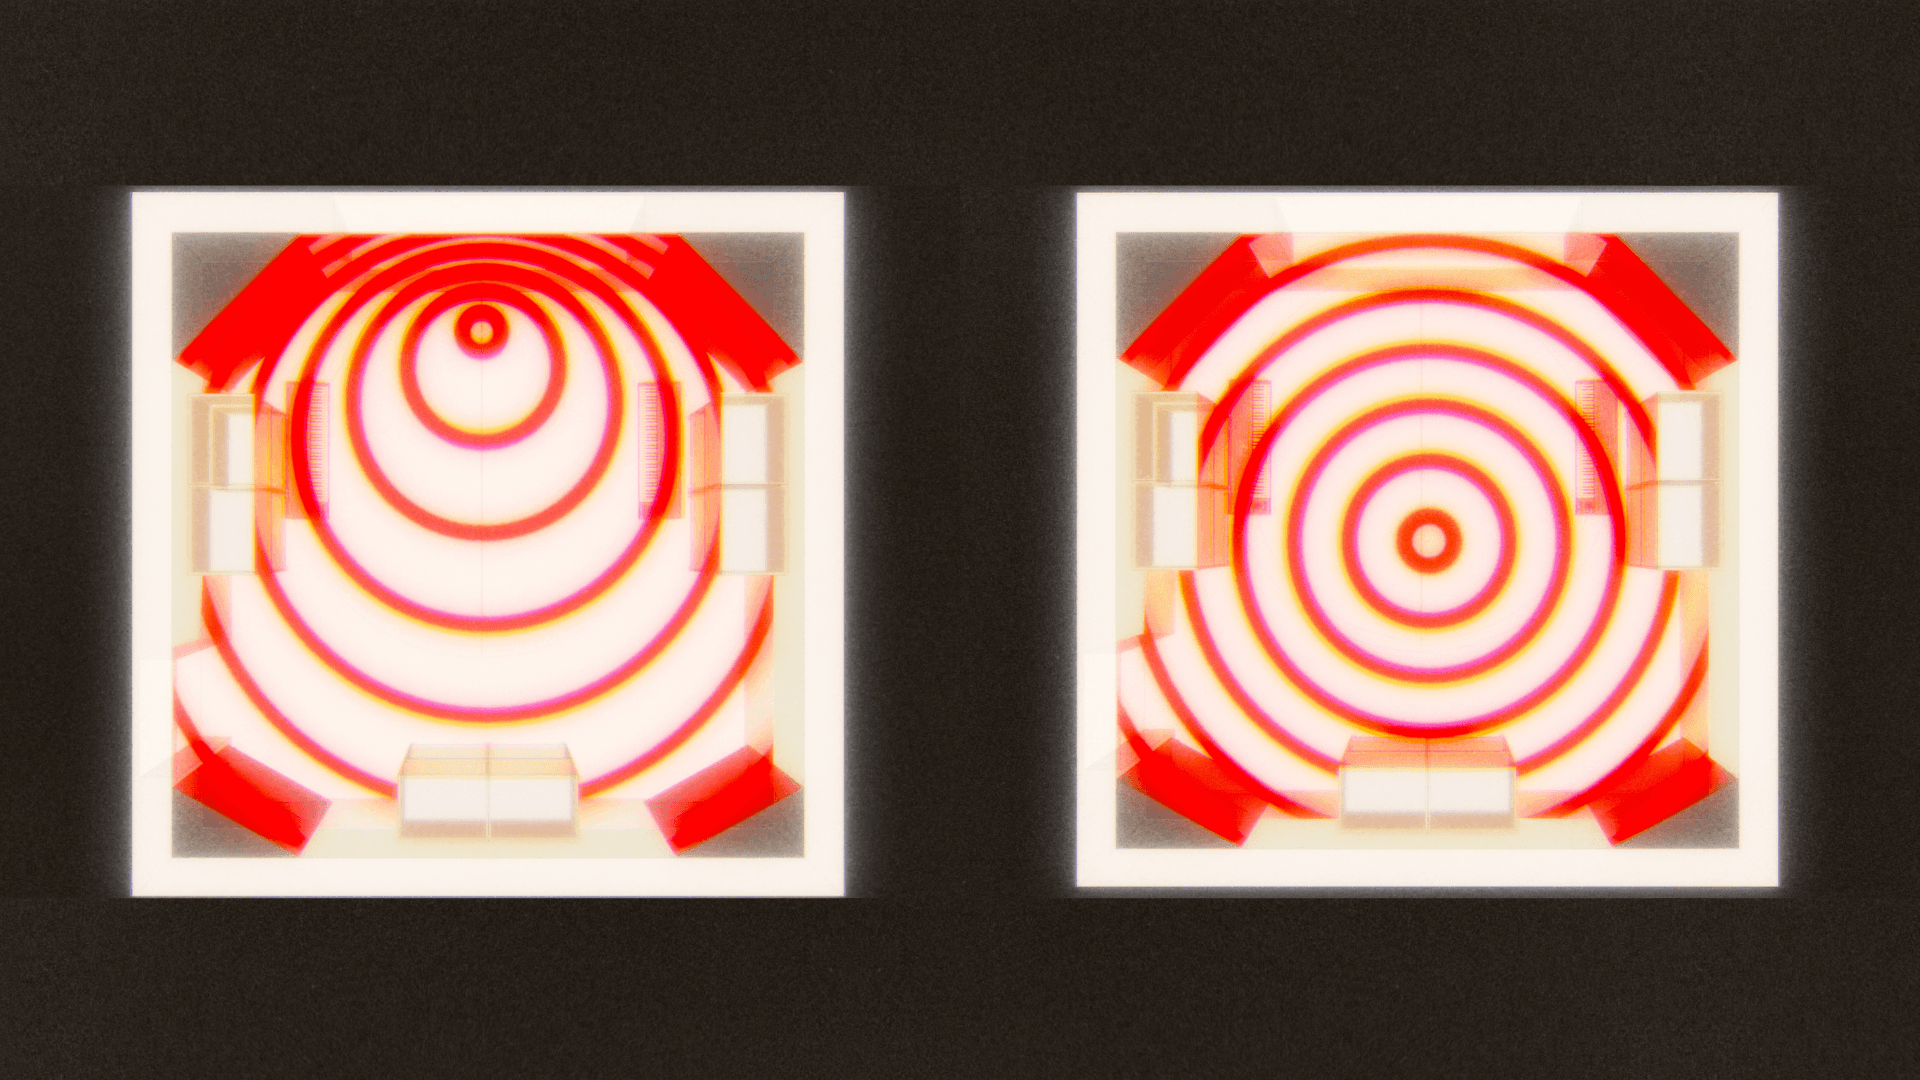
Once you've picked a spot, play music or a metronome through the speaker and walk the room again. This helps you decide where your microphones should go.
Step 3: Choose and Place Your Microphones
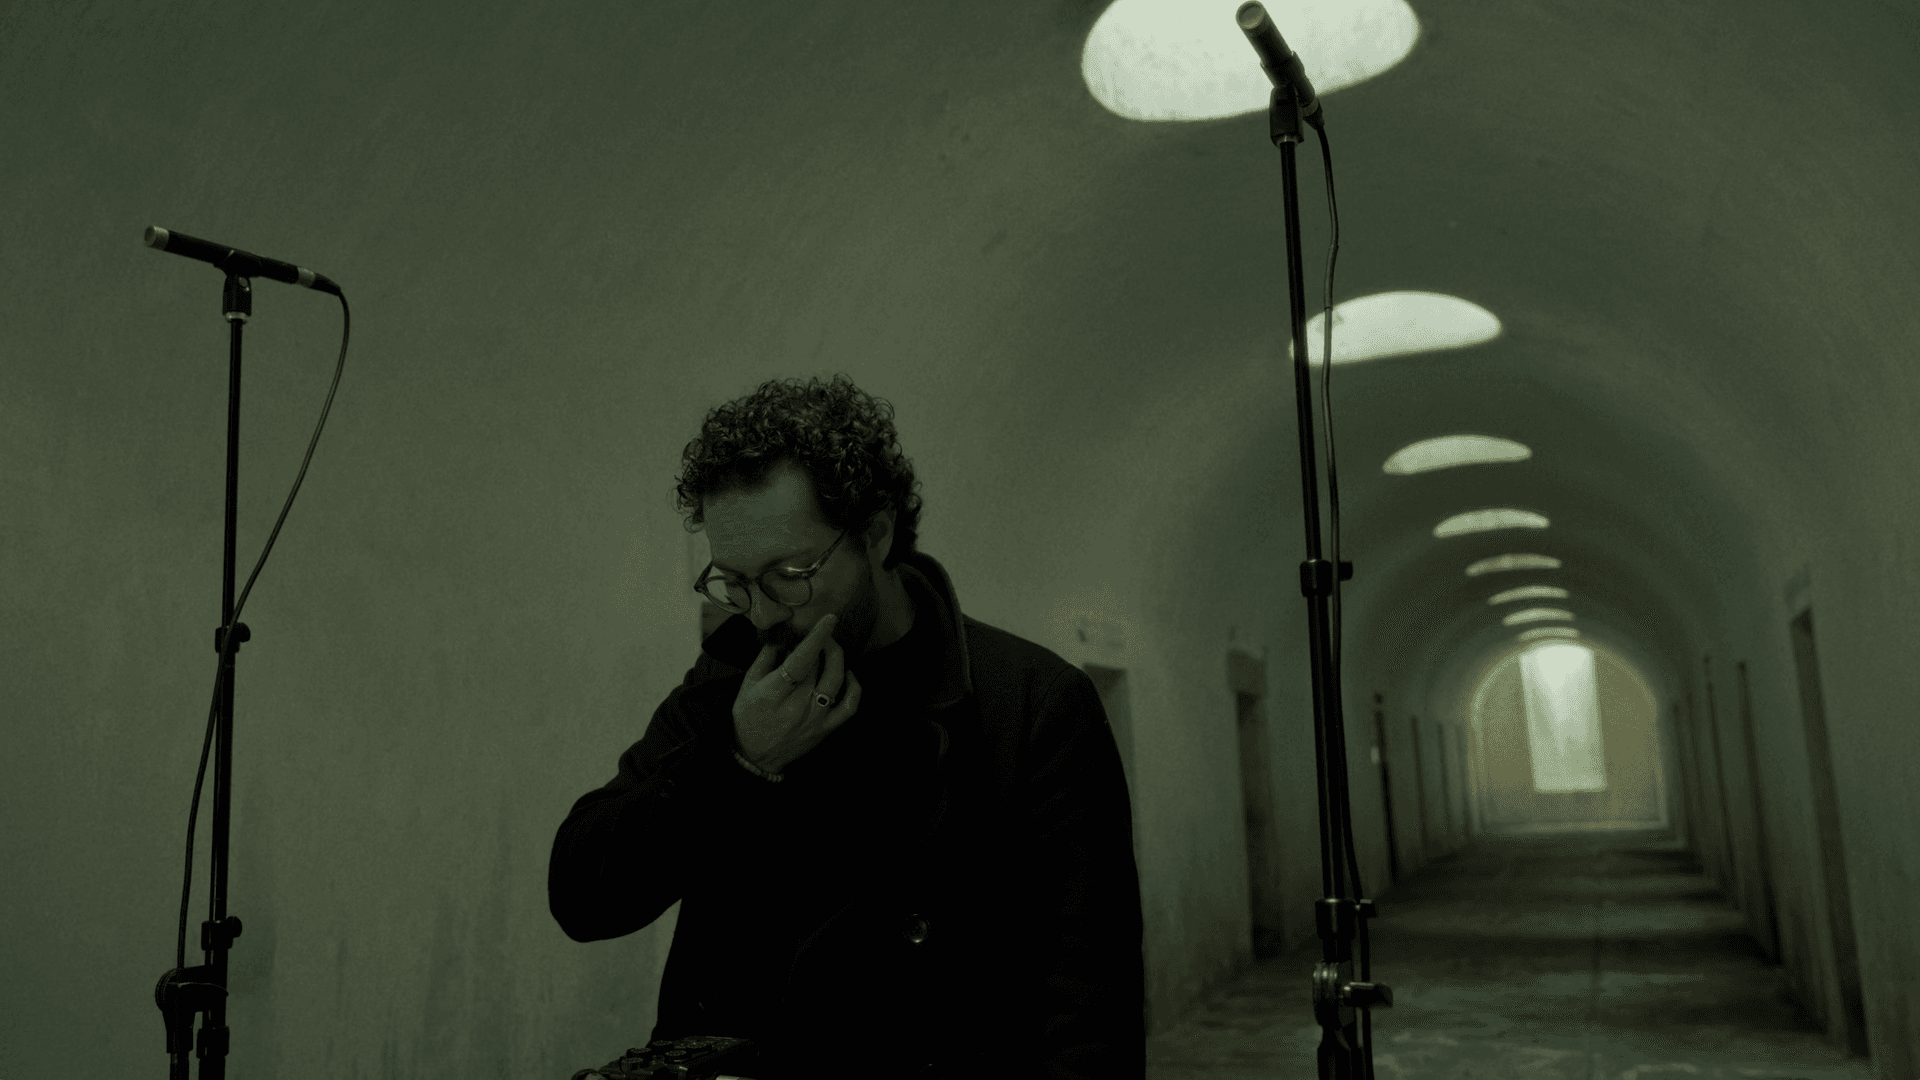
Pick microphones that sound accurate and natural. An omnidirectional mic is a strong choice, and a measurement mic is even better.
You can capture in mono with a single mic, or in stereo with a matched pair. Try a few different mic positions and distances from the speaker before you commit. Small changes in placement can noticeably change the result.
Step 4: Route Your Signal Chain
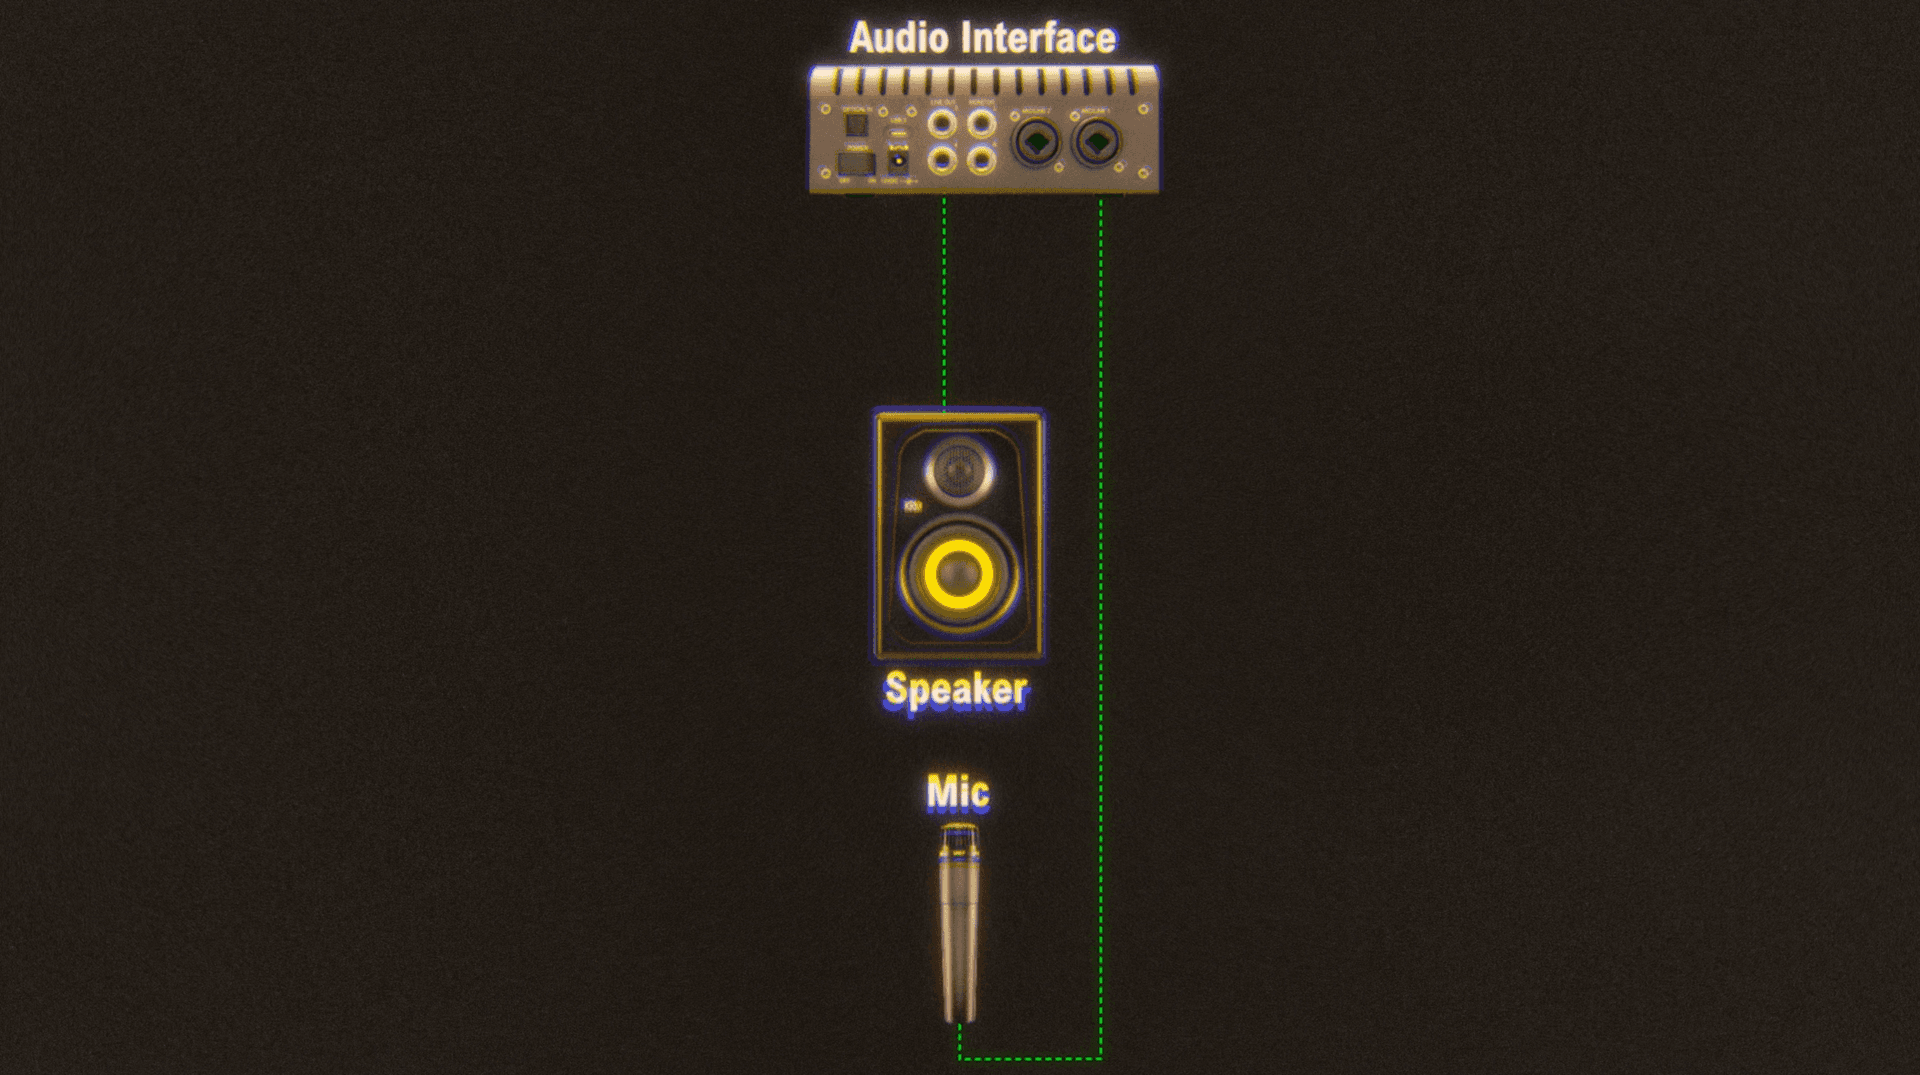
Connect your gear:
- Run an output from your audio interface into your speaker
- Run your microphones into inputs on your audio interface
Step 5: Download and Set-Up a Deconvolution Program
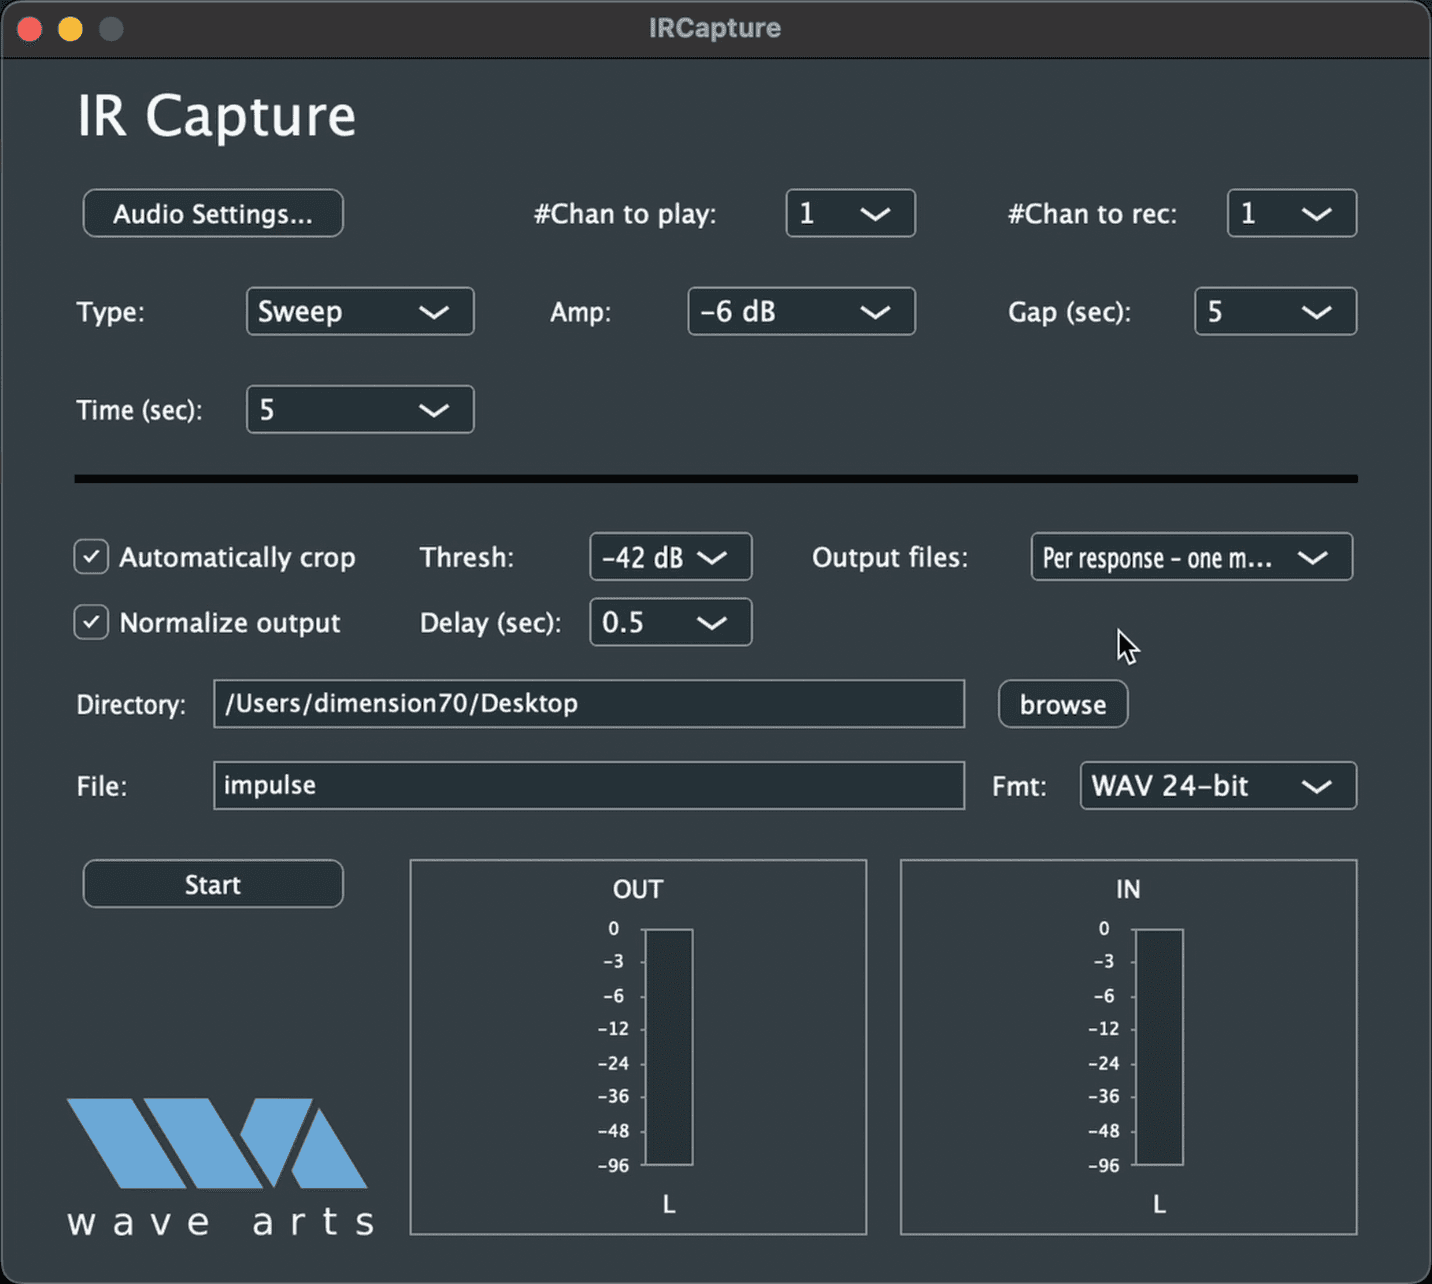
Download and open a deconvolution program. WaveArts IR Capture is free and works well for this. Any deconvolution software you already use will also work.
Inside the program, open your audio settings and select the interface you're using. Set your output channel and input channel to match how you wired your signal chain.
Set the sample rate to 48,000 Hz. Then on the main capture screen, confirm the following:
- Automatically crop: enabled
- Normalize output: enabled
- Output files: one mono file per response
- Format: WAV, 24-bit
Choose a destination folder and give your file a name before you start.
Step 6: Run the Sweep
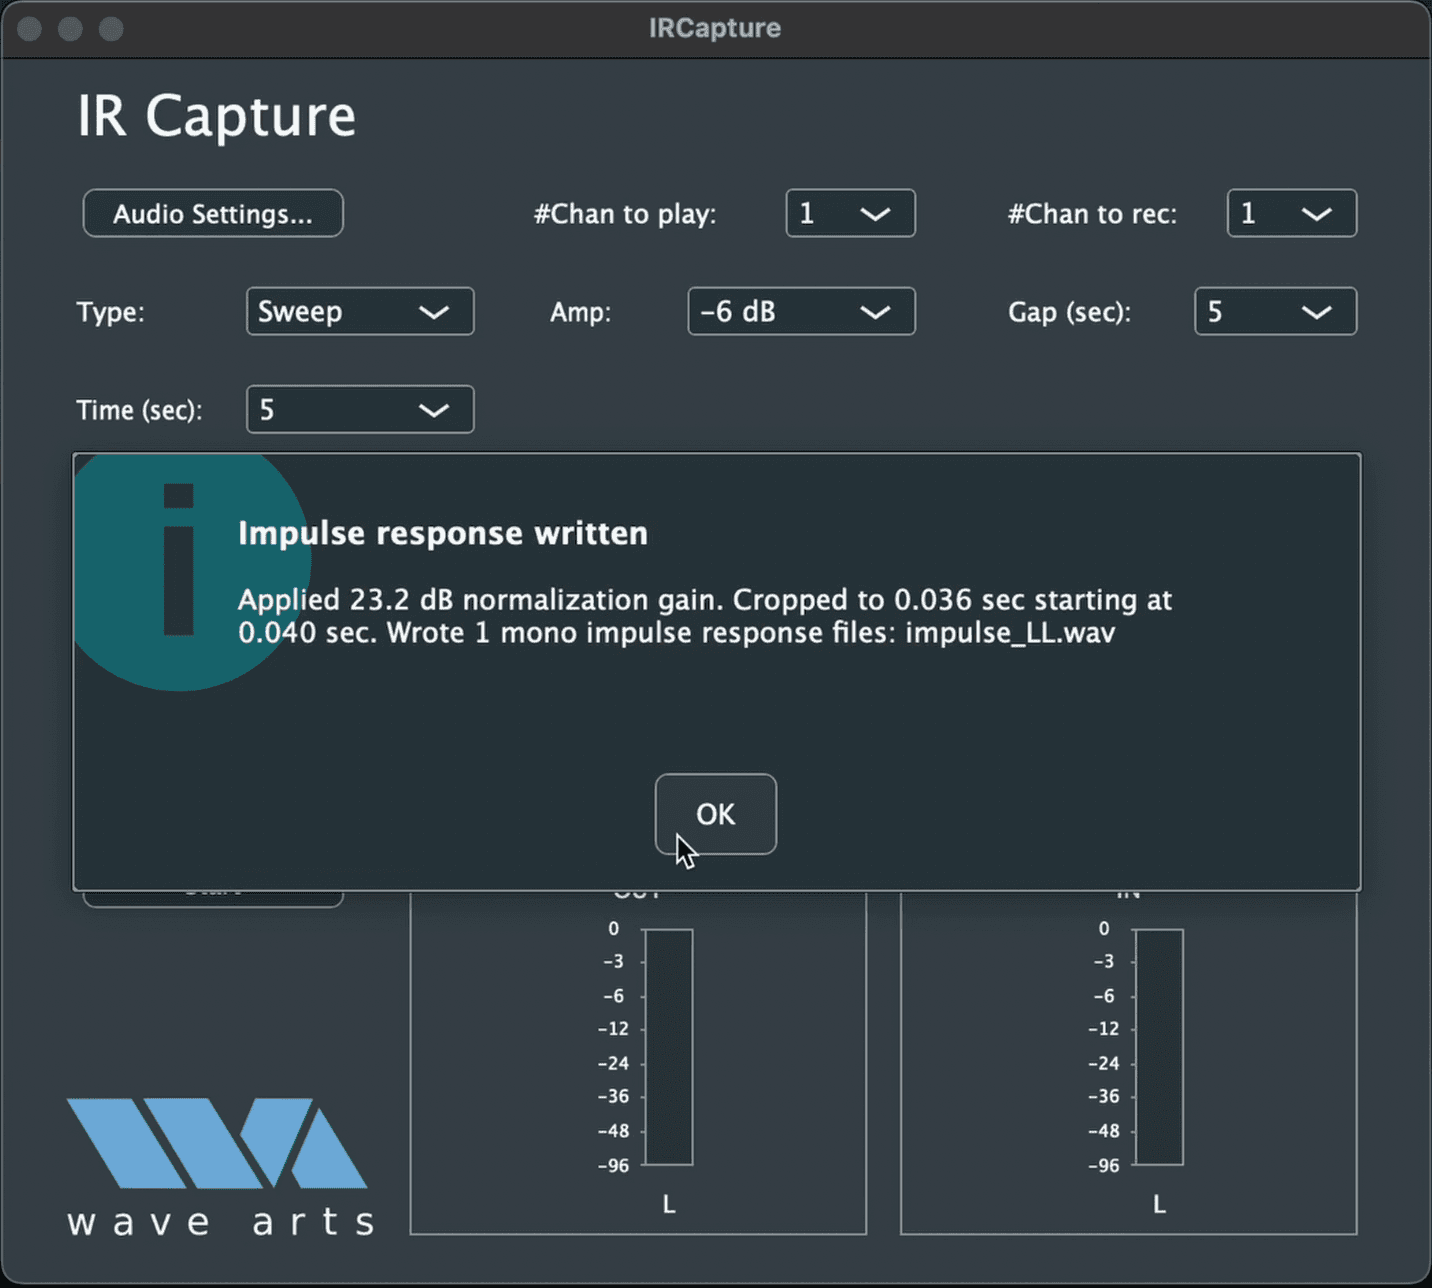
Hit start and let the sine sweep play all the way through your effects unit. Don't stop it early. The software records the sweep as it passes through your gear, then automatically runs deconvolution once it finishes.
Deconvolution mathematically removes the original sweep from the recording, leaving only your gear's response. That response is your IR. When the process completes, hit OK to export the file.
Step 5: Upload to TONE3000
Head to tone3000.com and upload your IR with the correct details:
- Make and model of the effects unit
- The exact knob settings you used
- A description of the character and use case (slap delay, warm plate, slow chorus, and so on)
- The gear type, tagged as an effect or outboard capture
- Upload a photo of the actual gear you captured. Ideally, take photos during the capture process.
- ✅ Real photos of your actual gear
- ✅ Cropped square
- ❌ Stock photos
- ❌ Web photos
- ❌ AI-generated images
- ❌ Graphics or logos
- ❌ Edited photos
Clear, specific details help other users find your IR and trust that it came from real hardware.
Ready to start exploring?
New to TONE3000? Check out our Get Started Guide or our Neural Amp Modeler (NAM) guide. Want to upload your IRs and share them with the community? You can upload impulse responses directly on TONE3000.
Need help?
Email support@tone3000.com or join our Discord community.
Related Blog Posts
Trending Tones




NEW TO TONE3000?
Discover hyper-realistic digital models of iconic gear, including the Fender Twin Reverb, Vox AC30, Marshall JCM 800, and thousands more. Getting started is easy—and free!